Ruined Battlefield |
|
|---|---|
 |
|
| ACT | 2 |
| Location | Shadowcursed Lands |
| Suggest Level | 6-8 |
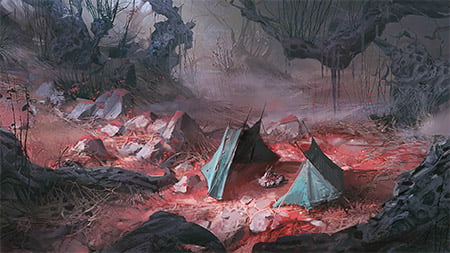
Ruined Battlefield is a Location in Baldur's Gate 3. In order to travel freely in this location, you need to always stay in the light, or receive blessings from Selune, or find a working Moon Lantern. On this page, you can find the information about the map, quests, enemies, notable items and other useful tips about Ruined Battlefield.
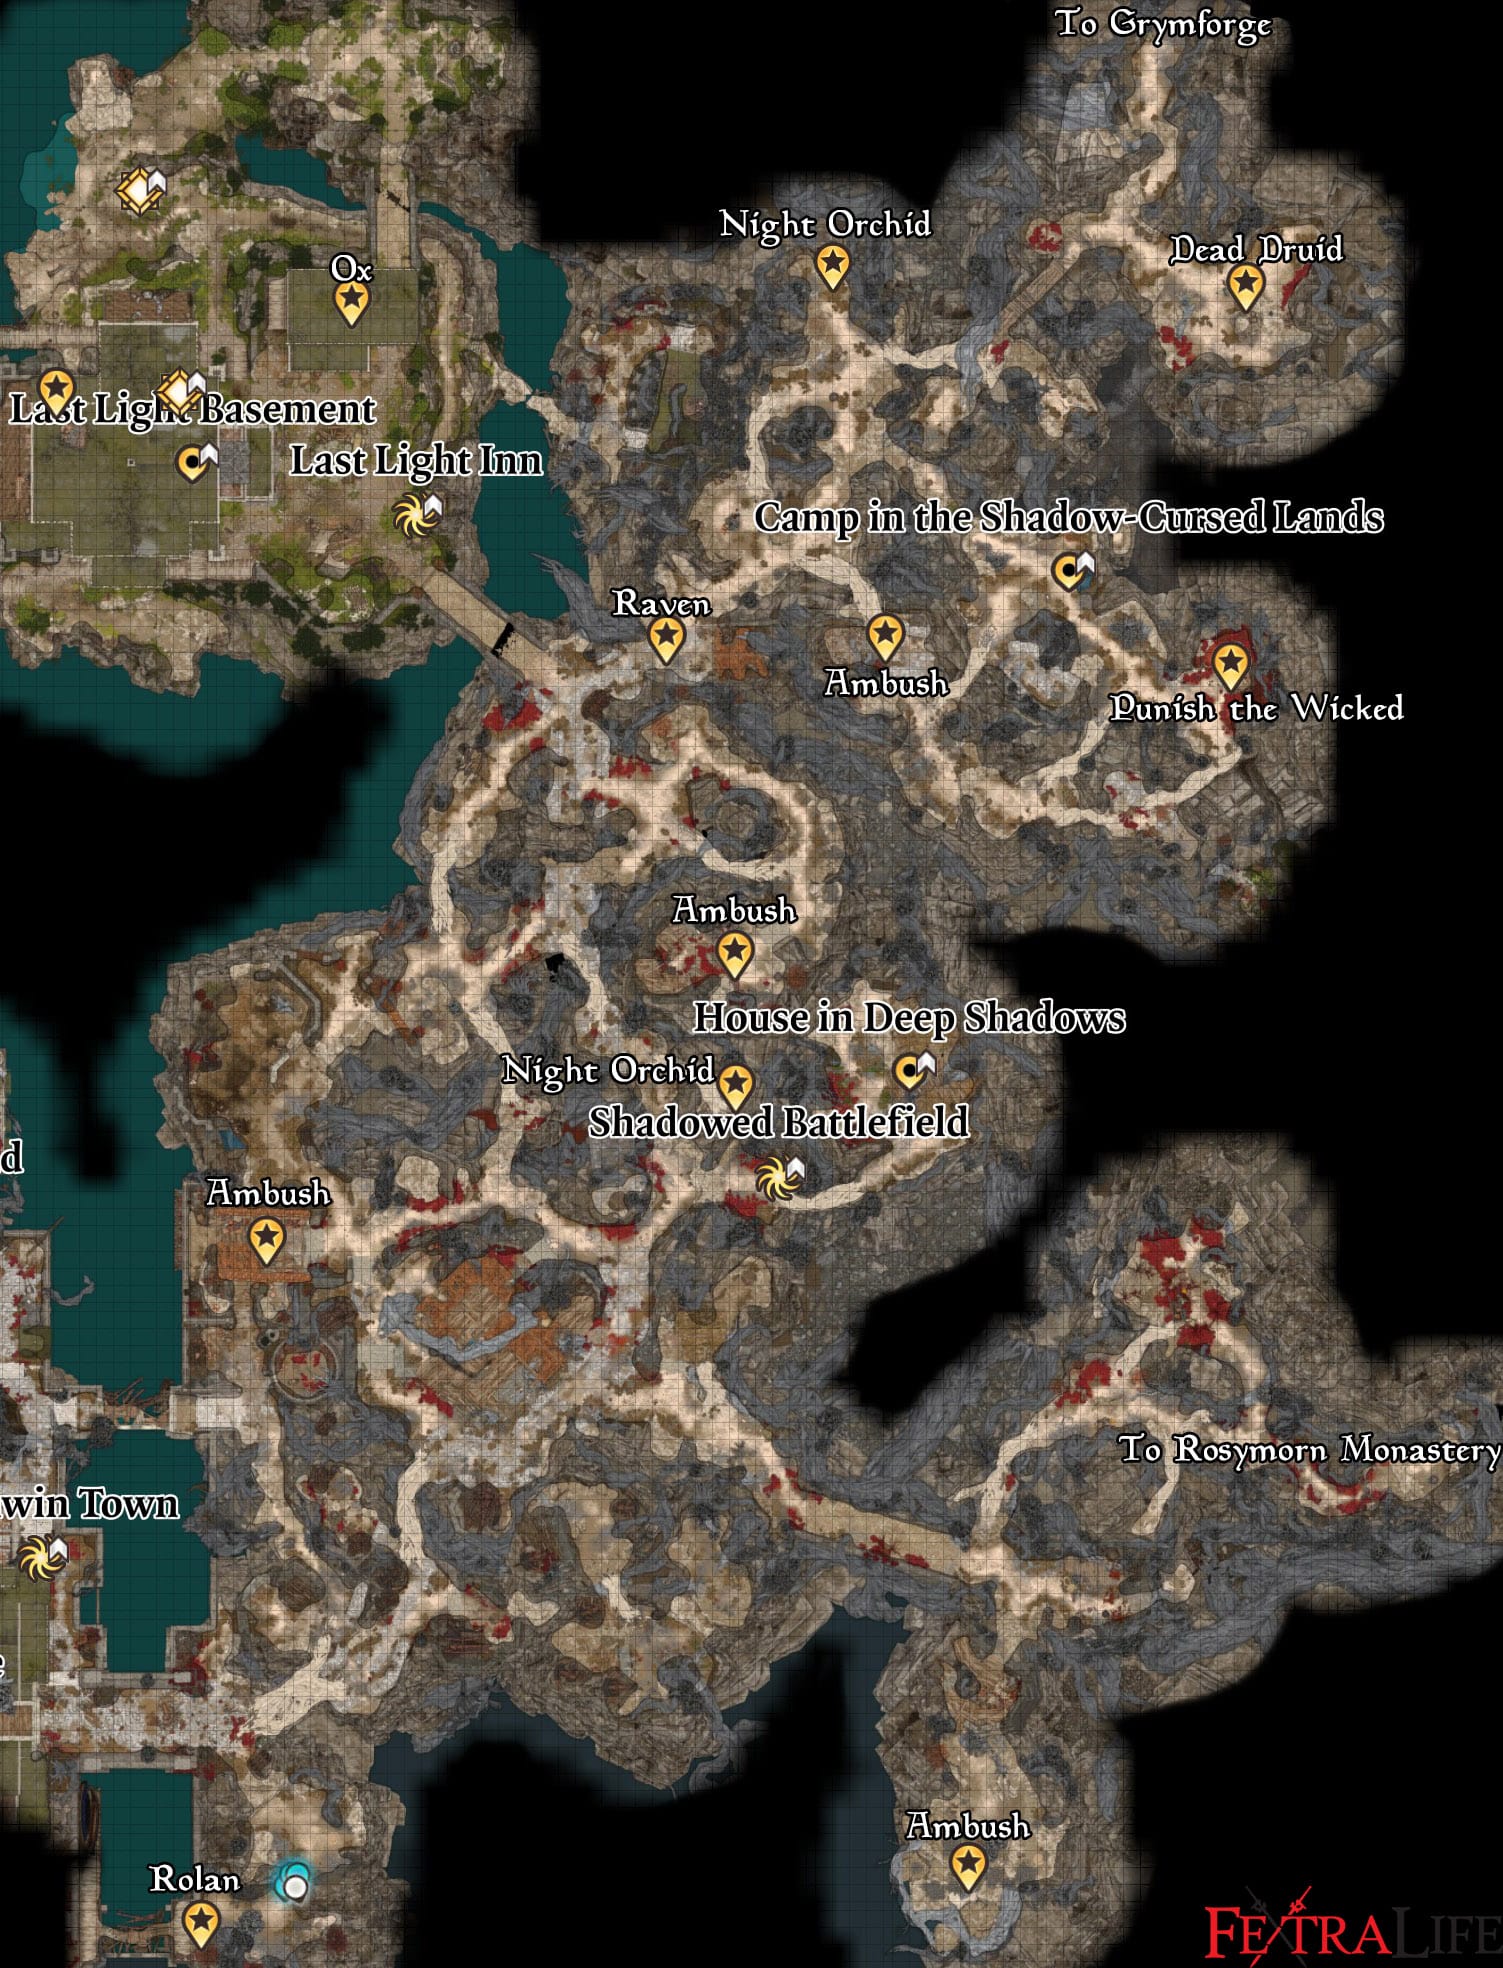
Ruined Battlefield Map
Ruined Battlefield Sub-Areas in BG3:
BG3 Ruined Battlefield Notable NPCs and Merchants:
- Dolly Dolly Dolly
- Elminster Aumar
- Harper Karrow
- Harper Lassandra
- Harper Meygan
- Harper Yonas
- He Who Was
- Oliver
Items in Baldur's Gate 3 Ruined Battlefield:
- Absolutist Expedition Key
- Broken Moon Lantern
- Cruel Sting
- Dark Justiciar Mask
- Dead Druid's Journal
- Elixir of Heroism
- Filigreed Feywild Bell
- Frost Prince
- Gloomstrand Shield
- Inscribed Githyanki Slate
- Luminous Gloves
- Moonlantern
- Orders
- Penumbral Armour
- Ring of Mental Inhibition
- Ring of Shadows
- Ring of Twilight
- Tarnished Pendant
- Thermoarcanic Gloves
- Unsent Letter
- Shield of Scorching Reprisal
- Ring of Self Immolation (X:26 Y:61 in a Wooden Chest and on a broken tower).
Baldur's Gate 3 Ruined Battlefield Quests:
- Infiltrate Moonrise Towers
- Lift the Shadow Curse
- Punish the Wicked
- The Blade of Frontiers
- The Hellion's Heart
- The Wizard of Waterdeep
Baldur's Gate 3 Ruined Battlefield Walkthrough
Reaching the Shadow-Cursed Lands
After you head up the elevator within Grymforge, you’ll find yourself in a place that looks like the ruins of a part of Grymforge. The plaques here have some writings pertaining to the Shar, and moving straight ahead to the west brings you to a locked Absolutist Expedition Trunk with lockpicking DC of 10, containing some potions and/or elixirs. Heading up the stairs and following the path around will have you bump into Elminster Aumar. He’ll call you over to ask about Gale, and you’ll have the following choice to reply with (naturally, these options might be different if you had brought Gale with you):
- As a matter of fact, I do. He’s resting in camp.
- May I inquire who is inquiring?
- Gale, you say? Never heard of him.

Choosing the second option will have him introduce himself, clarify his position as a friend of Gale’s, and then restate his question. To which you can now answer with either of the following choices:
- I do know Gale, yes. He’s in our camp at the moment.
- I’m afraid I must settle it in the negative: I do not know Gale.
Choosing the first option will then prompt him to ask if you could take him with you as you eventually head to your camp to which you can choose an answer from the following:
- It would be my pleasure.
- I’m sure you’ll have no trouble finding our camp without my assistance. I’ll see you there later.
Choosing the first option will automatically take you back to your camp.
Detour back to Camp
You’ll find Elminster near Gale. Talk to him and he will thank you and you’ll find out he was sent by a certain she. Gale will press him for his purpose, but the old man will express his want for rest and sustenance before anything else, to which you’ll have the following choices to say:
- Yes, Gale. Where is your decorum?
- I suppose we could part with a few of our rations.
- I’m not in the habit of taking in vagabonds.
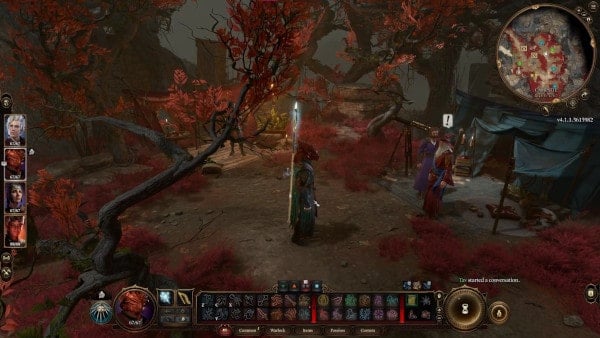
Choosing the first option will have Gale roll his eyes, to which Elminster will concede with his piece. He’ll finally declare that he came bearing charges from Mystra herself. You can intercept the conversation with the following choices:
- You were sent here as an actual divine messenger?
- I’m surprised she sent you in the first place after Gale’s… debacle.
- What message and what charge would that be?
- Speak fast, then, for none of this pertains to me.
Choosing the first option will have Elminster further explain that Mystra intends to give Gale a chance of redemption in a matter of speaking. It seems she knows about all your struggles thus far, to which you can reply again with:
- If the goddess herself is aware, I wouldn’t say no to some divine intervention.
- If even the gods know, why are we facing these threats alone?
- You won’t happen to know of a cure, would you? Some all-powerful, parasite-withering spell, perhaps?
Gale will approve of choosing the second option. Choosing either the second or third option will have him explain that it’ll take a greater power to cure you of the parasite, due to the Absolute’s great power, and that Mystra believes Gale is the only one who can destroy the Absolute. You’ll have the following choices to reply to this:
- Gale alone? How so?
- Mystra is mistaken. I will be the Absolute’s destroyer.
- Hogwash. Idle beliefs and false hopes.
Choosing the first option will have Gale himself answer your question. It seems Mystra has given the old man the power to stop the orb’s tugging so that Gale can instead unleash its singular explosive power at will, preferably in the direction of something called the Heart of the Absolute. You’ll have the following choices with which to make a comment:
- That’s monstrous! You’re tasking him to kill himself.
- Say what you will, but you can’t force Gale to go through with this.
- We’ll be rid of both the Absolute and Gale in one fell swoop. Win-win.
Choosing the first option will have Gale clarify that it’s Mystra who’s giving the order. Elminster Aumar will add that doing this will at least grant him redemption for his crimes against the goddess, and then proceed to use a spell that’ll allow Gale respite from the orb until he chooses to unleash it. He’ll turn to you and ask you to take care of Gale, to which you can reply the following:
- On my honour, it shall be done.
- There’s still a long journey ahead. We’ll find another way.
- I am not his keeper, and I do not accept your charge.
Choosing the first and the third option will have Elminster respond that while the gods may control fate, our wills are strong enough to change it.
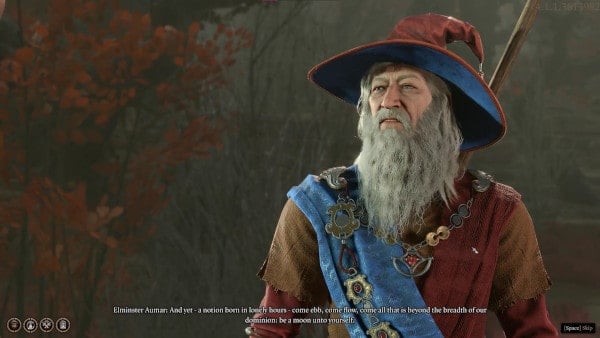
After he leaves you can speak to Gale alone. He talks a bit about Elminster and how he would’ve wanted to introduce you in different circumstances. You’ll have the following choice for dialogue:
- I’d always imagined Elminster to be more… imposing.
- An old man with a craving for cheese. Hardly the great wizard of legend.
- He didn’t seem much a friend, showing up and demanding you kill yourself.
- Actually, I was hoping to talk about something else.
The first option, along with probably the second, will have him clarify that Elminster just maintains the act of a fool, but is probably the most powerful magus in the world. Choosing the third choice will have him explain that the old man had no choice as Mystra’s Chosen. Regardless, he’ll eventually express how he feels now that he might have only a little time left to live. You can continue the conversation by asking if he was really considering going through with this task. After he makes an oversimplification of the task at hand, you’ll have the following choices for dialogue:
- I don’t understand. Can’t Mystra just destroy the Absolute? Or Elminster himself?
- So that’s it? You’re on a suicide mission now?
- There’s surely another way.
- What about me? Am I safe around you?
- Whatever you need to do, I’ll be there to help.
Choosing the first option will have him explain that while Mystra probably does have the power to intervene, having gods intervene with mortal affairs will likely just make things worse, and Elminster can’t go up against a god. The orb seems to be the only choice. Choosing the second choice will have Gale steel his resolve for the task somewhat, but will say that you’ll have to find the Heart of the Absolute first. You can then either affirm his resolve or not, but either way, you’ll have to wait until after you find the heart.
Entering the Ruined Battlefield
Exit the camp to find yourself back at the castle ruins. Past where Elminster was is an Absolutist Expedition Key, in case you aren’t able to pick the lock of the previous chest. Head to the west to a hall filled with overgrown roots. On the broken pillar to your right is a Broken Moonlantern. The corpse on your left should have some scrolls as well as Orders. It seems this particular adept was killed by her own explosives. Head further west to the end of the hall to finally enter the Shadow-Cursed Lands.
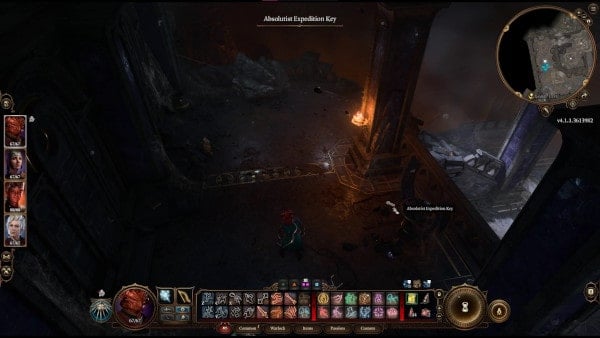
After the short scene, follow the path to the south. You’ll eventually have to cross some shadow-cursed ground, which will cause you to be afflicted with the Shadow Curse as well. Use a Torch or cast anything that can light your way in order to prevent yourself from being afflicted. Shadowheart seems to be immune to the curse, as a chosen of Shar. If you ignore the bridge to the southwest first and turn left to the south, you’ll come across some barrels and boxes with some miscellaneous items. You can find a campfire that was used by a Druid, now just a skeleton. Reading his Dead Druid’s Journal will have you do a Nature Skill Check.
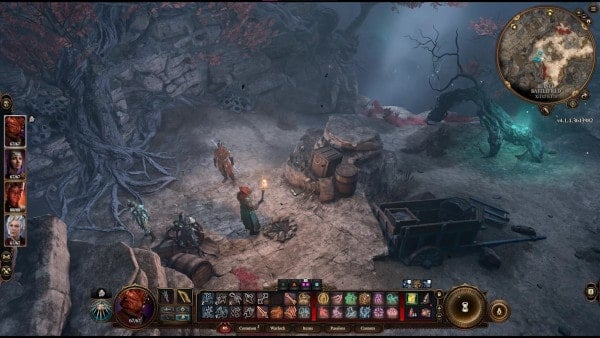
Head back north and then cross the bridge now to the southwest. The path up to the structure further south leads to a dead end and a skeleton you could loot for some jewelry and an Unsent Letter. Before you go down, you might want to light the brazier to give you a boost for later. Head down to the west to bump into the Harpers. Despite your best efforts at subterfuge, their leader Lassandra will spot you and ask who’s there. You’ll have the following choices to respond with:
- Lower your weapon first.
- My name is Tav. Who are you?
- A nightmare in the dark.
- Back away from them, palms up
Choosing the first and second choice will have them ask you to come forward with your hands up. You’ll roll a Perception check to see that it’s safe to do so. Unfortunately, one of them fails to move close enough with the torchers and gets taken by something in the dark. He emerges afterward, corrupted by the shadows. You’ll have the following dialogue options to choose from form here:
NOTE: Some dialogue interactions will have additional options depending on the Race or Class of your character.
- Move. I’ll take care of this.
- Get ready to fight.
- [WARLOCK] His soul… consumed by darkness. Not a good sign.
- Run

Choosing any of these options aside from the last one will initiate a combat engagement. You’ll be up against seven Enemies - six Shadows, and a corrupted Yonas, and will have the help of the Harpers. They shouldn’t be too hard but just don’t forget that you’ll get afflicted with the curse if you aren’t near a source of light. Any ranged allies can safely fight from the lit brazier in the higher structure back to the south. There will be a Shadow there though, so they will still have to be careful. After the fight, Lassandra will show you where you can go that’s safe from the curse. You’ll have the following choices to reply with:
- ‘Safe place’? You mean somewhere the shadows can’t penetrate?
- I’ll follow in a moment.
- Thanks, but I’m heading to Moonrise Towers.
Choosing the first will have her explain that the place she mentioned is an inn that’s magically protected. It also seems like traveling deeper in won’t be safe anymore with just torches and light Spells.

If you head to the southeast area you can climb some ledges to a locked Wooden Chest with containing an elemental arrow and some gold. Keep following the path to an abandoned camp that has the grave of an Ellie May. Keep heading southeast and then turn right when the path forks. Cross the vines and then jump the ledge to your left for another locked Wooden Chest containing another elemental arrow and some gold. If you walk a bit to the southeast from the chest and then cross the vines to the left, you'll end up at the platform where the other path from the fork leads. Approach the person attempting to speak to the dead for a cutscene. You'll have the following options to choose from to initiate a conversation:
- What's going on here?
- I've met few who can also commune with the dead.
- Not many people out here in the darkness.
- Ready yourself for a fight.
If you choose the first option, he won't really answer your question but comment on how you're exploring the lands without fear of the darkness. The white raven will ask if you can serve as the dead's voice. You can respond with the following options:
- Depends. Who murdered this woman?
- Speak plainly - what are you talking about?
- Why does the raven want to know?
If you ask the second question, he'll explain that the dead woman in front of you backstabbed her patrons as she worked at a bar in these lands. They all died because of her, and he says her victims must be avenged. If you retort that she's dead and has nothing more to pay, he'll explain that death is not the end yet. He'll say that he wants physical proof of her betrayals so that he can then summon her spirit and make her stand trial. You can ask him one of the following questions in turn:
- Why would you do that?
- [WARLOCK] That's some powerful magic - how do you do it? Can you show me?
- What do you need me to do?
If you choose the second question he'll eventually say that he could share the ancient secrets of his magic, but only to someone he deems as an ally. He claims to see your spirit of justice and asks if you'll help him with this task. Accepting the task will have him bid you to find Madeline's ledger in The Waning Moon, the brewery where she worked at, and bring it to him.
Once you're done here, head back and follow the path to the southwest, back to the recent chest that you looted at (X:114, Y:83). Keep following it until you reach a skeleton that you can loot for Bagida's Diary and a Key. Follow the path down to the west, where a successful Perception check will allow you to notice a burlap sack nearby hiding another Key. Past the signpost to the north will be four Shadow-Cursed Needle Blights waiting to ambush you, led by a Shadow-Cursed Vine Blight. Make quick work of them and then don't forget to loot the locked Wooden Chest at (X:65, Y:103) for some gold, materials, and liquids.
Follow the path to the north and then turn left at the fork to a ruined house. You’ll eventually spot a raven on the ground. Your party will roll Arcana checks to see that the raven has been claimed by the shadows. Interacting with it will start a combat engagement against twelve Shadow-Cursed Ravens. They shouldn’t be too hard to get through but you will have the added handicap of being Surprised. After the fight, there should be a locked Traveler’s Chest atop the roof of the ruined house with a lockpicking DC of 10 if you’d like to jump up and get it. Otherwise, continue southwest.
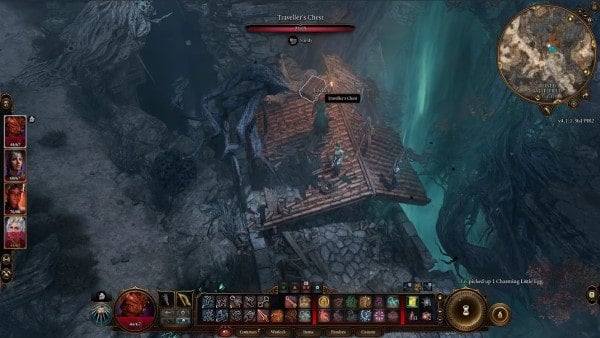
You’ll eventually get to an intersection. The path on your right to the northwest will lead to the Last Light Inn that the Harpers pointed you toward. In fact, you’ll find them at the entrance to the place so move toward them for a cutscene.
After Last Light Inn
Head north across a bridge with 3 traps you will find several unearthed graves. At X:-6 Y:215 if you pass 18 Persecption Check, you will see a rubble which has a corpse underneat. The corpse has Shield of Scorching Reprisal.
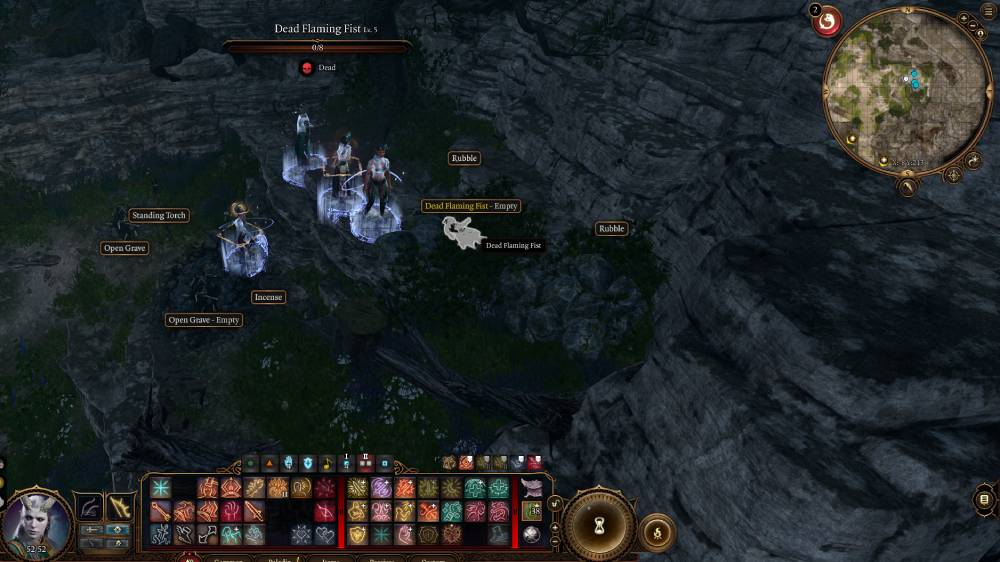
After crossing the bridge, head straight ahead to the path at (X:11, Y:9), toward the southeast. When the path splits three ways, head to the southwest first, to your right. You’ll come across the bodies of cultists and refugees alike. Loot as necessary. This must be where the ambush happened. The path splits three ways here again, so head first to the path going up to the west. You’ll notice some standing torches. A successful Arcana check will tell you they’re continual flames that can’t be put out. If you destroy all the torches you will have to fight 4 Shadow Mastiffs. One of them will be an alpha which will drop Shadow-Cloaked Ring (deals an additional 1d4 weapon damage against lightly/heavily obscured or shadow creatures). Using a Speak with Dead on a True Soul corpse nearby will just give you a hint how to destroy the torches.
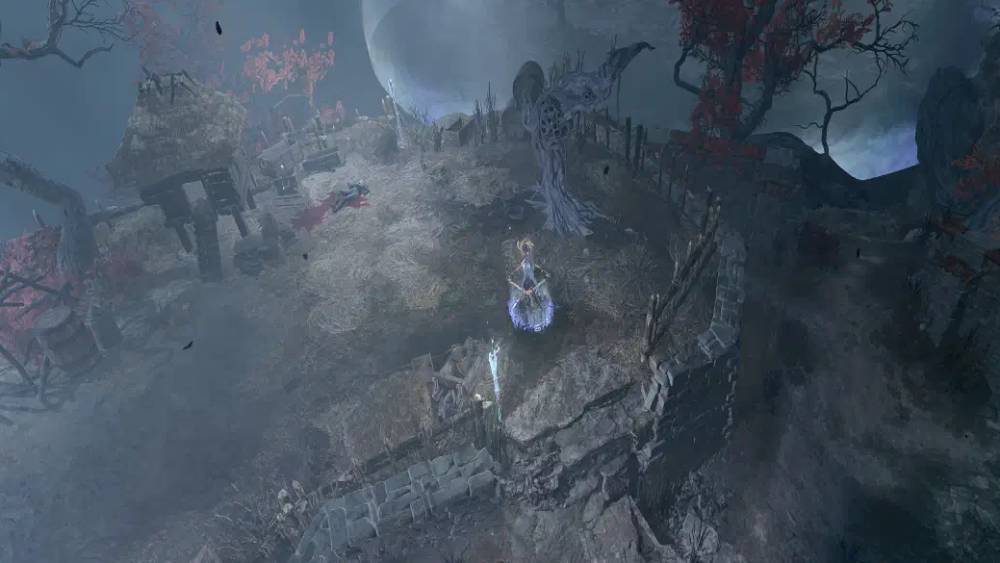
Follow the path out of this small camp to the southwest. You’ll come across a dilapidated storehouse right after an arch formed by a tree. Passing a Perception check here apprises you of a movable brick by the storehouse’s entrance. If you look closely inside, however, there are invisible meazals waiting to ambush you. Deal with the meazals however you see fit. If you brought Karlach along, she’ll gain inspiration from being attacked by invisible foes lying in wait. Loot as necessary as you explore the storehouse. Head back to the entrance and jump on a ledge to the left of the storehouse to then get to the roof. Cross the roof to the far end of the storehouse, where there’s a locked Potter’s Chest with a lockpicking DC of 14 containing a pair of Luminous Gloves.

Head back to the entrance of the storehouse and head up the stairs to the southeast. You should see some wooden stairs on your left as you go so head up there head into the ruined house. A cutscene will ensue as you watch some cultist pass by, led by the drider Kar’niss. One of them will notice you in the shadows who yells at you to reveal yourself. You’ll have the following options to react:
- Clear your throat to make yourself known.
- Stay hidden, keep watching.
- Attack!
If you choose to stay hidden, there’ll be an internal squabble, resulting in Kar’niss slaughtering the goblin that noticed you, so you’ll have one less to kill. After that, you can either clear your throat and reveal yourself, or do a Stealth check to wait for them to pass. Choosing the first option will have the drider recognize you as a True Soul and ask how you’ve survived the shadows without protection. As per your current objective of finding the answer to the same question, you can ask him in return how he has survived thus far. He’ll reveal that the lantern he carries is the key. You’ll then have the following courses of action to choose from:
- [INTIMIDATION] The Absolute has asked me to carry the lantern. Hand it over.
- Thank you - let’s go.
- Or I could kill you and take that light.
Naturally, choosing the third option will result in a fight, but there’s no telling if he’ll give the lantern over anyway. Kar’niss will likely start the fight with Sanctuary. If anyone in your party has Counterspell as a reaction, you can stop this. Otherwise, it’s not a bad thing to let it happen as might want to take care of the Enemies with lower health points anyway. Thanks to your antics, you’ll have to clear out the drider, two goblins, and two Half-Orcs. Kar’niss has a massive amount of health, but you should be able to whittle him down easily especially once he’s alone.
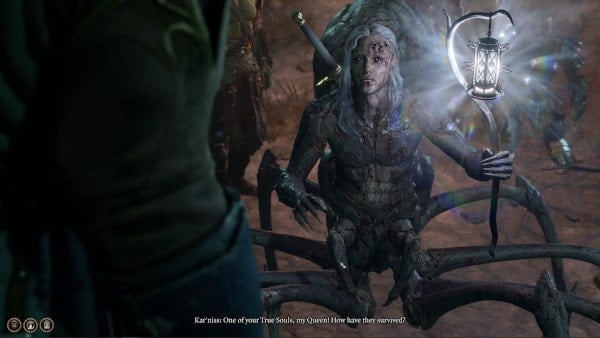
Looting him afterward will net you his Moonlantern and the Cruel Sting longsword. Taking the Moonlantern will reveal a pixie trapped inside that’s responsible for the light that protects against even the deeper shadows. A successful Intelligence check will tell you that they can be playful and even malicious. Dolly Dolly Dolly, the pixie will claim that she’s in constant pain inside the lantern as it’s the only way to get the light shining constantly. You’ll have the following options to respond with:
- Who are you?
- You’re fuel for the lantern? How does that work?
- What’s this mechanism at the base of the lantern?
- Release the pixie.
- Ignore the pixie. You’ll be needing this lamp.
Choosing the first option will have the pixie formally introduce itself as Dolly Dolly Dolly, and ask you to free her. Afterward, the first option will be replaced by a proposal to help you travel through the shadows in exchange for freeing her. If you choose that option, it’ll seem to wholeheartedly agree to it. Asking about the mechanism will have it claim that it’s dangerous for her to even talk about it. If you choose to release it, you’ll gain approval from Astarion and Karlach if you brought them along. She’ll then ask how she can repay you, and you’ll have the following options to answer with:
- I need to get through this shadow curse. Can you help?
- What’s on offer?
- Nothing - my help doesn’t come with strings attached.
Choosing the first option will have her toy with you for a bit but ultimately give you a magic bell, called the Filigreed Feywild Bell, that you can ring for the protection you asked for. Continue looting as necessary. One of the goblins will have some Thermoarcanic Gloves you can cop. Note that the pixie already has you blessed so there’s no need to actually use the bell yet. There’s a locked chest on the southwest side of the house that you can lockpick, or you can get the key for it on the roof, which you can get to with the ladder.
Depending on whether or not you’ve got Wyll in your party if you rest at camp now, Mizora will come for a visit. She’ll tell you that one of Zariel’s devils has been captured by the cultists and brought to Moonrise Towers. Wyll’s next task, as per their pact, is to free this devil. You’ll have the following options to respond to this with:
- And this is our problem how, exactly?
- Forget it. This ‘asset’ can rot in the Towers for all I care.
- If this devil is so powerful, how did they manage to get captured?
If you choose the first option, she’ll do her usual referencing of their contract. Before she leaves, you’ll do a Perception check here to see if she’s hiding anything behind her usual attitude, and blurry appearance.

If you did choose to take a long rest, you’ll be visited by your Dream Visitor again as you sleep. They’ll comment on how strong the Absolute’s influence is where you are, and then commend you for saving the refugees at the grove. You can respond with the following options:
- It wasn’t even a choice. They needed my help.
- It doesn’t seem like my help did them much good. The cultists caught up with them.
- It was a waste of time. I regret it now.
- I didn’t do it for them. The goblins were in my way, so I killed them.
Choosing the first option will have them say it’s not a choice just anyone could make, before wincing in pain. A successful Perception check will tell you that they’re hiding their struggle to protect you. You’ll have the following options to react with:
- What is it?
- Are you all right?
- Focus! Don’t you dare drop my protection.
- Say nothing.
A successful Insight check this time will tell you that despite her disciplined, strong demeanor, she also needs some comfort. You can choose to do the following:
- Say nothing. Wait.
- Hold (them) tight.
- You look terrible. Do you need a hug?
- Pull yourself together. We’ve got work to do.
They’ll appreciate the gesture if you choose to hold them and mention that it’s been quite a while since they’ve been held by someone. If you ask them who it was that used to hold them, they’ll reveal the name Belynne who they were very close to. They’ll tell you how the Absolute’s mental attacks to transform you have been relentless, but they’ll reaffirm her resolve to protect you for as long as they can.
Before leaving camp, you can talk to Wyll who’ll be quite pissed at his new task. You can ask him if this task violates their contract, as he was supposed to be killing devils, not rescuing them. Knowing how Mizora thinks, however, he confirms that the contract doesn’t say anything about saving a devil so the task still stands. You can continue the conversation which will end with the resolution to complete the task so he doesn’t get turned into a lemure.
Back at the ruined house in the Ruined Battlefield, you’ll next want to go down its south side, across a bridge made of large vines. The path splits three ways again. You can explore the east and west paths if you’d like, but they’ll lead to dead ends. Head to the south to eventually cross another, wider bridge made of even larger vines. You can loot the Githyanki corpse for some valuables and an Inscribed Githyanki Slate. The path to the west, shrouded in mist and thick darkness, leads to the Reithwin Tollhouse. Ignore it for now and head to the south. You can pick up a Dark Justiciar Mask along the way if you want. Keep following the path to the south and then to the west. There’ll be two locked Traveler’s Chests with a lockpicking DC of 10 before the makeshift bridge. They’ll contain some valuables and the Gloomstrand Shield.
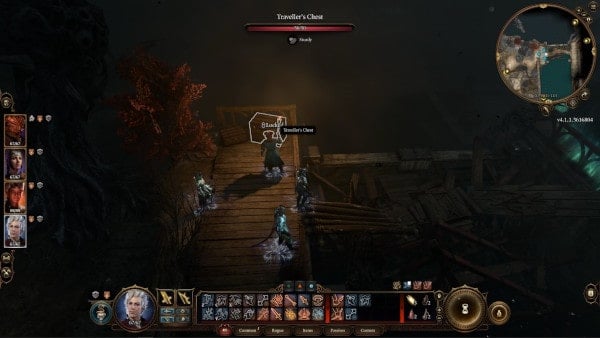
If you try to cross the bridge, you’ll enter a combat engagement as you’re chased by two Shadows. Head all the way back first to the ruined house where you encountered the drider Kar’niss, and this time head up the east path at (X:17, Y:19). Past the little public toilet booth will be a bridge with another wall of shadows. If you keep going east when the path splits, you’ll find yourself at where the drider and his lackeys made camp. The path to the east goes to a ruined tower, where there’s a locked Wooden Trunk with a lockpicking DC of 10, containing some potions. Head down the stairs past the archway beside the Wooden Trunk. If you approach the Gilded Chest you’ll do a Perception check to be able to see if anyone’s guarding it. If you fail it and interact with the chest, you’ll be ambushed by three Shadow-Cursed Needle Blights, and three Shadow-Cursed Vine Blights. The Gilded Chest contains the Frost Prince and some valuables.

Head back to the north, past the tower, and then keep going north when the path splits. Cross the bridge of vines to come crates and barrels. A backpack here has a note entitled, "Get to Baldur's Gate," which contains instructions on how to get to Baldur's Gate from the Emerald Enclave, through the Mountain Pass. Turn right when the path forks past them, and then turn right again to a dead-end to the south. You’ll find a locked Heavy Chest with a lockpicking DC of 6, containing some Alchemy materials and valuables. Head back to where you turned and turn east. Turn left, to the north, to find what you can deduce to be the remains of a confrontation between one of the Tiefling refugees and an ox. A successful Investigation check will tell you that the ox fell but not before being able to wreak havoc. A successful Medicine check will tell confirm your deduction. There's a Heavy Cheast on some higher ground at (X:128. Y:25) that you can loot. It'll have a lockpicking DC of 10 and contain some money. If you go back to where you turned left and then head all the way up to the east at the fork, you’ll find the Path to the Creche Y’llek, where you can go if you want to continue the route of the Main Quest Find a Cure.
Head all the way back again toward where you fought and killed the drider, but turn right at (X:31, Y:-13) before you get to the ruined house. You’ll pass by another house with a chest containing a book and some valuables. If you look out on the cliff toward the north, you’ll see a Waypoint below you. Get to it by heading back toward the southwest and then turning right at the fork.
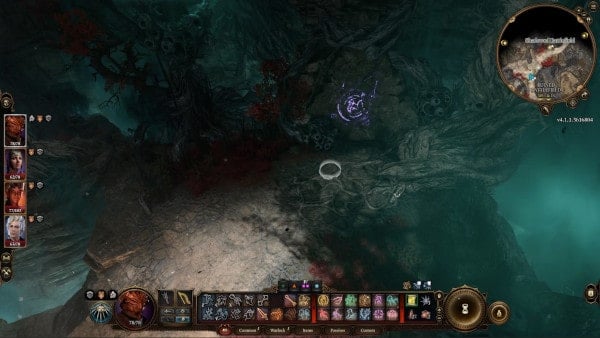
Head up the eastern path past the Waypoint. In the ruined house here, you’ll find Oliver, a strange Tiefling boy who seems to have some kind of entity lingering inside of him. He’ll ask if you want to play with him. You’ll have the following options to answer with:
- Who are you?
- Play? This is no place for a child - if that’s even what you are.
- Don’t startle people like that - easy way to wind up killed by mistake.
- [WARLOCK] [ARCANA] Another presence lingers near the boy. Study him, try to discern what it is.
- I don’t have time for this.
Choosing the fourth option and passing the Arcana check will reveal that the sad, old entity has already become part of the boy. You’ll have the additional option to call it out and tell him you know he’s something else. If you do so, he’ll deny it and say he has parents and a dog. You can probe him further with the following options:
- What are your parents’ names? Maybe I can find them.
- You want to play? Fine.
- [ARCANA] Study the boy. Try to understand his true nature.
- I don’t have time for this.
- We’re done here.
Choosing the third option will just have you repeat the same observations. Choosing the first option will have him exclaim that his parents don’t need names and that they’ll be angry with you if you don’t play with him. A successful Insight check will tell you that he dislikes your questions because these parents of his don’t exist. You’ll have the following options to say to him:
- You’re no ordinary little boy, are you? I can sense it.
- Sorry, I don’t think they’re coming back. Want to come to my camp?
- Face facts, kid. Your family’s dead - and you might be too.
- You want to play? Fine.
- We’re done here.
Choosing to finally play with him will gain approval from Shadowheart and Karlach, if you brought them along. He’ll explain that you just need to find him to win, and if you don’t, you lose. The locked chest nearby has a lockpicking DC of 10 and contains a Ring of Mental Inhibition along with some consumables. The wooden desk across it also has the same lockpicking DC and contains Oliver’s Diary and will reveal that Oliver indeed is not a kid anymore. You should be able to find him with a successful Perception check at the corner of the fences at (X:59, Y:28). He’s not going to like losing. To which you’ll have the following options to respond with:
- Let’s play again.
- Don’t be a sore loser.
- I think we’re finished here.
Choosing the second choice will prompt him to ask for another round. Karlach will approve of agreeing to it. This time, his so-called parents and pet will be trying to find you while you try to find him. A combat engagement will begin, and you’ll automatically be hiding when it starts. Chances are, you’ll get caught by the Shadows, which are essentially his family, and you’ll have to defeat them. When you do, you can go back to Oliver and talk to him, which Astarion will disapprove of probably because you lost the game, but will reward you with the Ring of Shadows. Head back to the Waypoint you activated and then follow the path west all the way to the end. You should find yourself back at the ruined storehouse where you fought some meazals. Enter the building and then turn left at the end this time, toward the south, at (X:-50, Y:3). As you follow the path, there should be a ruined tower on your left. Be careful going in, as a successful Perception check will reveal an explosive trap at the entrance. Inside, there should be a locked Traveler’s Chest under the shelf among the pots, with a lockpicking DC of 10, containing a Ring of Twilight. If you head to the west there’ll be a short, messy wooden bridge leading to some stairs with a thick layer of shadows. This is the entrance to the Reithwin Mason’s Guild.

BG3 Ruined Battlefield Notes & Tips
- In order to travel freely in Ruined Battlefield, you need to always stay near a light. You can carry a torch, or cast the Spells Light or Daylight. Shadowheart does not need to stay in the light since she's protected by Shar, the Goddess of Night, Darkness, and Shadows.
- Don't touch the shadow-cursed raven unless you want to fight a bunch of Enemies.
- After you reached Last Light Inn, you can receive blessings from Selune. But you still need a Moon Lantern to explore the heart areas of Shadowcursed Lands.
- Once you took the Lantern from the drider, you can keep it or free the pixie within. That pixie will gift you an item to keep you safe in Shadowcursed Lands.
- Don't leave the one with the lantern in camp, or your team will suffer heavy damage.
- You can find Night Orchid at Ruined Battlefield (X:54, Y:175) and gift it to Shadowheart for an extra increase in pproval.
- Play Hide and Seek in House in Deep Shadows to get the Ring of Shadows.
- You can save Rolan near the southmost bridge to Rethwin Town.
- For Alchemy materials, you can find Black Oleanders, Night Orchids, and Shadowroot Sacs in the Ruined Battlefield.
- Take the northern bridge from Last Light Inn. Find Penumbral Armour in a locked chest. You can access hidden loot in the Last Light Inn basement without going through a fight by taken the roots to the basement.
 Anonymous
You missed Kar'nis if you first visit Last Light Inn before. I lost 20 saves to meet him again.

 Anonymous
If you manage to catch Oliver while staying undetected from the shadows (you'll need to exit turn mode to talk to him), you'll gain Astarion's approval and Karlach (and sake background characters) will be inspired. You'll still get the ring of course.

 Anonymous
"If you choose to release it (the pixie), you’ll gain approval from Astarion."
I got disapproval from Astarion for releasing the pixie.
 Anonymous
What happens to harper Lassandra? In my playthrough she was alive after the ambush and walking around Last Light after, but in the raid on moonrise I didn't see her (alive or dead). In act 3 now and I'm assuming she won't pop back up, but just curious if anyone else knows anything. I don't know why exactly, but I really liked her whole deal

 Anonymous
If you pass a check (investigation?) when speaking to Mizora you can sense that she is nervous about failing to bring the target back after which you can use intimidation, performance or deception to negotiate with her to release wyll after this task. This also leads to a private conversation conversation with Karlach after everyones back at their tents about how the target could be anyone even someone like herself trying to flee hell, it obviously also leads to some dialogue with Wyll.


If you pass an Investigation(?) check at the grave of Ellie May, you'll see animal tracks leading off the cliff edge right next to her grave. Climb down two small ledges to find a hole in the ground containing her Family Ring (Death Save +2).
2
+10
-1