Moonrise Towers |
|
|---|---|
 |
|
| ACT | 2 |
| Location | Shadowcursed Lands |
| Suggest Level | 8-9 |
Moonrise Towers is a location in Baldur's Gate 3 (BG3). Moonrise Towers features different levels where you can encounter Ketheric Thorm and the rest of his army. On this page, you can find information about the map, quests, enemies, notable items, and other useful tips about Moonrise Towers.
Moonrise Towers was a fortified building located to the west of Elturel.
"These Absolute wretches are rallied at Moonrise Towers, farther along the Chionthar. Whoever is behind this magic must be there.” — Halsin
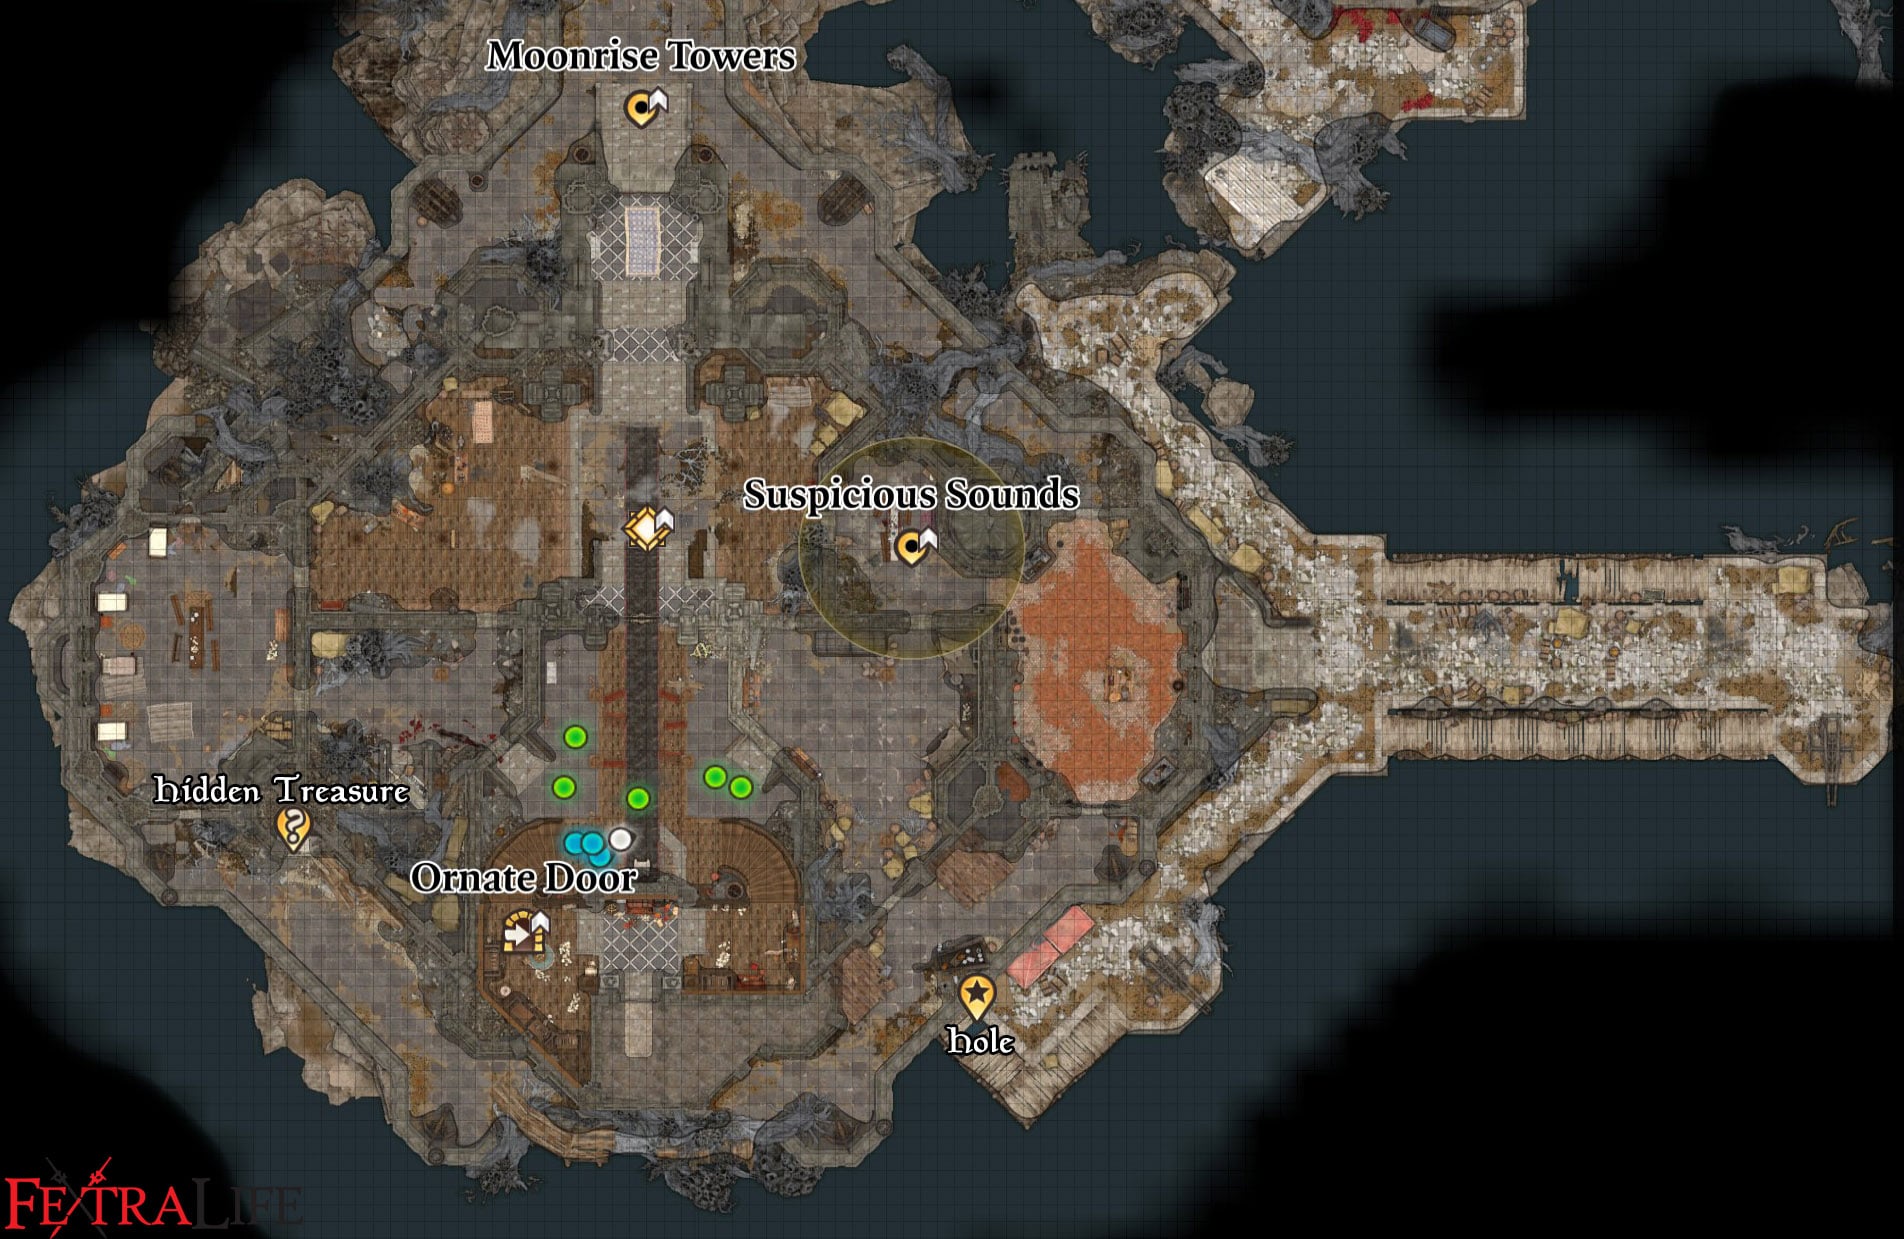
Moonrise Towers Map
Moonrise Towers Sub-Areas in Baldur's Gate 3
- Moonrise Towers Prison
- Main Floor
- Kitchen
- Oubliette
- Moonrise Towers Rooftop
Baldur's Gate 3 Moonrise Towers Notable NPCs and Merchants
- Araj Oblodra
- Lann Tarv
- Roah Moonglow
- Barnabus
- Jaheira
- Ketheric Thorm
- Nightsong
- Dame Aylin
Items in Baldur's Gate 3 Moonrise Towers
- Potion of Everlasting Vigour
- Moon Lantern
- Spellcrux Amulet
Baldur's Gate 3 Moonrise Towers Quests
- Find Ketheric Thorm's Relic
- Find the Nightsong
- Rescue the Tieflings
- Rescue the Grand Duke
- Find Arabella's Parents
- Rescue Wulbren
- Infiltrate Moonrise Towers
- The Urge
Baldur's Gate 3 Moonrise Towers Walkthrough
NOTE: There are 2 versions of this walkthrough that will affect the outcome of your relationship with one of the companions. We recommend following the version indicated here, but you may view the alternate version indicated in the guide later. The first guide will feature infiltrating the Moonrise Towers and playing along as a faithful warrior to The Absolute, only to betray them once you discover that Nightsong is the relic that Ketheric Thorm was referring to. Shadowheart will abandon her duty to Lady Shar by freeing the Nightsong, instead of killing her.

The Path to Moonrise Towers
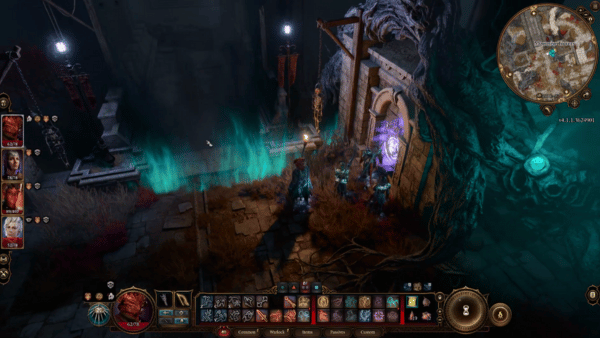
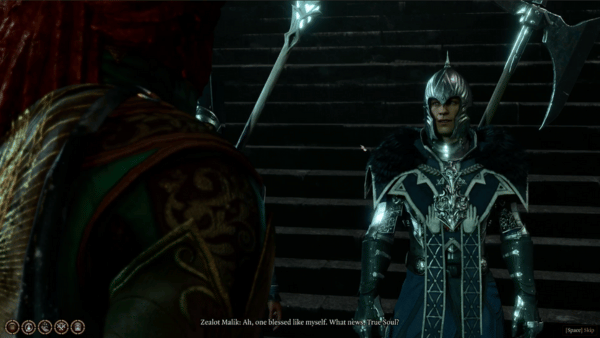
In order to reach the Moonrise Towers, you will be traveling in the Shadow Cursed Lands where you will meet different characters of different races. At exactly (X:-156 Y:-97) you will see a bridge with glowing lights coming from the ground underneath. There's also a Waypoint that you can unlock here. Walk towards the bridge where 2 guards will stop you at the foot of the stairs. The other one, named Zealot Malik will recognize you as "True Soul" and will begin to act more friendly towards you. To respond, you can choose from the following:
- Little from the field. What news inside?
- I might ask the same. Why is one of our ranks on guard duty?
- That's for your superiors to know.
- I've infiltrated an encampment of Harpers protected by a cleric of Selune.
- Great news: I'm here to take your head.
Given their friendly nature, it's recommended to avoid combat to avoid conflict. The goal here is to infiltrate the towers and pretend to be loyal to The Absolute and thus, choosing the first option will prompt them to give you information on what's going on inside. The other guard, Adept Merim, tells you that Z'rell is waiting in the audience chamber, whom she thinks, will be wanting to hear from you. There are ghouls patrolling on the sides of the entrance but they are not hostile and you can just walk up the stairs to enter the tower.
Interact with the Heavy Oak Doors, and continue to walk towards the center of the tower where you will be welcomed by Zealot Brinn. You will notice that there's a Scrying Eye roaming in this area, so be careful not to do anything suspicious that will raise their alarms. Explore the Main Floor and go to exactly (X:-128 Y:-193), you will find a trader named Araj Oblodra who will also notice Astarion, and refer to him as a pale companion. She will ask if you would accept her services and you can respond with the following choices:
- I'm listening.
- What does a "trader in blood" do exactly?
- What are you interested in my pale friend?
- I just want to see what you have in stock for now.
- Leave.
She continues to tell you that she trades blood and creates potions out of them. She will brew a potent potion for you and then she will keep the rest. She goes on to tell you that, the potion will be unique to you, one that contains your blood essence and The Absolute's blessing intertwined. Then you will have the next options to choose from:
- And what exactly will you do with the blood you keep?
- Sounds interesting. Let's do it.
- No, I'm not interested.
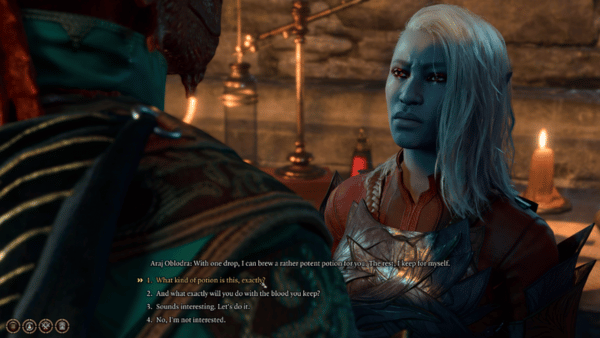
You find out that she keeps the blood for 'research' and does a little bit of experimentation with it. Next, you can decide if you want to go on with brewing a potion. If you agree, she will extract blood from you, and then as she collects it, she will turn her attention to one of your companions, Astarion to be specific. She mentions that he's a vampire and by this, Astarion responds that he won't bite, as they are all friends under The Absolute. However, Araj Oblodra will respond with, "Oh I prefer if you did." and then asks you a question, "I assume he belongs to you?"
- Excuse me? He's his own person.
- We travel together- that's all.
- He does what I tell him, if that's what you mean.
- Yes. All mine.
Choosing the first option here will gain Astarion and Karlach's approvals. Then, Araj will turn her attention to Astarion and she tells him that she has always dreamed of being bitten by a vampire. She offers to give you a potion that will increase your strength permanently if you let Astarion bite her. However, Astarion will refuse her and will instead ask for your help to decide on this matter. You will have 3 options:
- He said no. There's nothing more to discuss.
- I am surprised, Astarion. I thought you'd jump at a chance like this.
- Just bite her- the potion sounds useful.
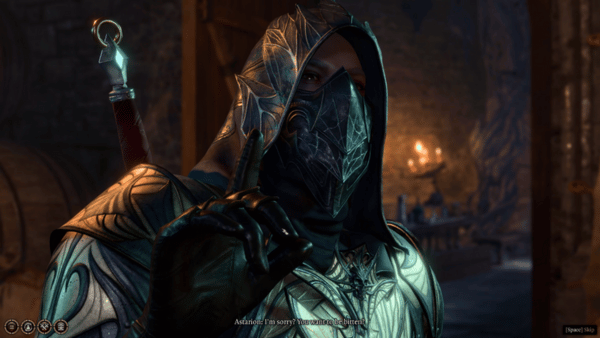
If you force Astarion to do this, he will disapprove of this, however, you will gain 2 potions. One is unique to your character, during our playthrough, we got the Elixir of Dragonborn Prowess: Fire. Then, for the other potion, Potion of Everlasting Vigour, which increases your Strength by 2 permanently. You may also interact with Araj Oblodra again, to check her wares. She's also a trader dealing in Moonrise Towers.
Exploring the Main Floor of Moonrise Towers
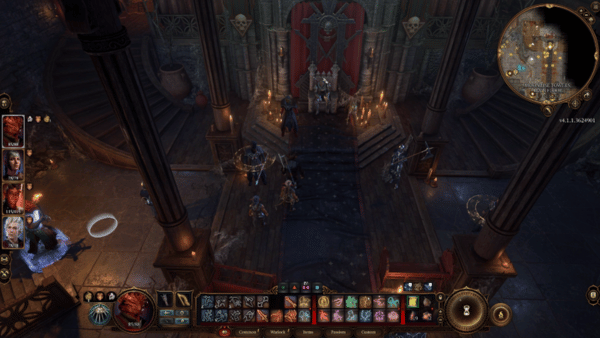
After you encounter the trader in blood, you can continue to explore the Main Floor of the Moonrise Towers and head to (X:-152 Y:-200) where you will find Ketheric Thorm sitting on his throne and his audience. The lives of Fezzerk and his group are being decided upon by Z'rell. They are being questioned about what happened. You will get an option to respond here:
- Don't kill them! They're loyal followers of The Absolute.
- Keep silent and keep watching.
- Hear, hear!
- Attack.
During the first exchange, if you choose to keep silent, Ketheric Thorm will turn his attention to you and will ask for your judgment. Then, you will get the next choices:
- They're faithful soldiers. You should set them free.
- I saw the horrors they committed in The Absolute's name.
- Just kill them- they're worthless.
- Attack the half-orc and the general.
If you choose the first one, Ketheric Thorm will disagree, saying that he can't afford more mistakes. He will order the goblins to be killed, but one of the unbelievers, the one unaffected by the parasite, will throw a spear into Thorm's chest, in an attempt to kill him. However, it seems that Thorm is unaffected by this and even asks to try again. He demonstrates that he cannot be killed and when he's done, he proceeds to kill the rogue goblin swiftly. Fezzerk's fate will be handed over to you, and you are free to decide on how you want to deal with them. If you show mercy on the goblins, Astarion will disapprove of this.
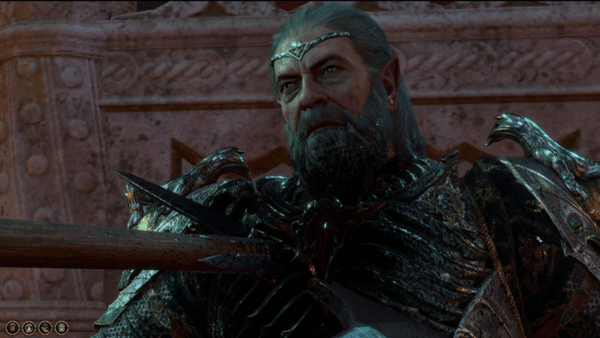
Continue to go around the Main Floor of Moonrise Towers and you will find Lann Tarv, who will have a dialogue with Karlach. An old friend of hers, named Flo, wishes to hand over three Soul Coins to her. These soul coins can come in handy, but you also consider that it's dangerous to accept any offers from a Cambion. If you reject this, Karlach will give you her disapproval. After that, you may also check Lann Tarv's wares, who is also a trader. Also, Roah Moonglow, another trader is also stationed here.

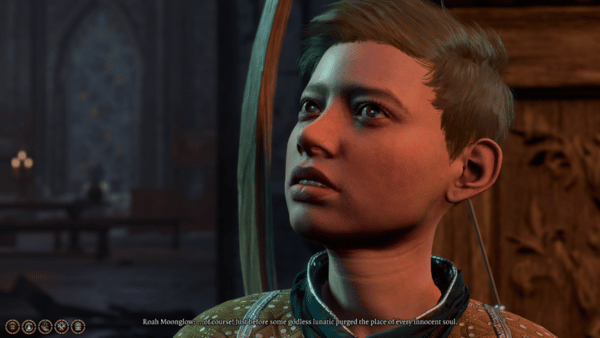

You will come across Mig, a troll who tells you about meat sounds. She suspects that it's as big as the whole tower and can be heard loudest from the kitchen. With this, you head to the Kitchen located at (X:-112 Y:-197). You will find Linsella among gnolls that seem tame enough to listen to her. As you talk to her, you will find out that she was able to control them with the power of The Absolute granted to her, putting the beasts under her control. As she demonstrates her power, the gnoll will try to break free from her. Your character will get an option to intervene or not with the following choices:
- [WISDOM] Sever her control once and for all.
- Reinforce her efforts with your own.
- It seems you're not as commanding as you think.
If you attempt the Wisdom check, you will need to pass a DC of 16. When successful, the gnoll that he calls Barnabus will be free from her control and attacks her. Now, in the face of a gnoll, you will have options on how to face it:
- [PERSUASION] Easy! I freed you- I'm a friend.
- [INTIMIDATION] Try it- I dare you.
- [ILLITHID] [WISDOM] Now, now, Barnabus- behave.
- Attack.
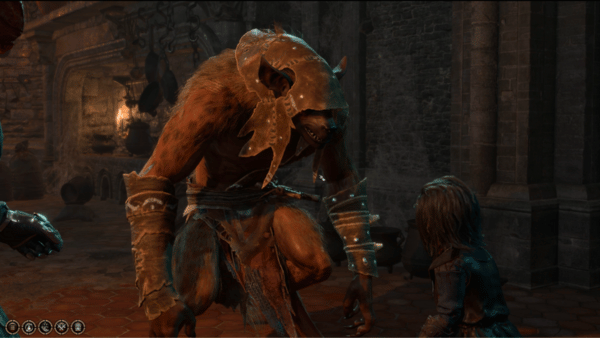
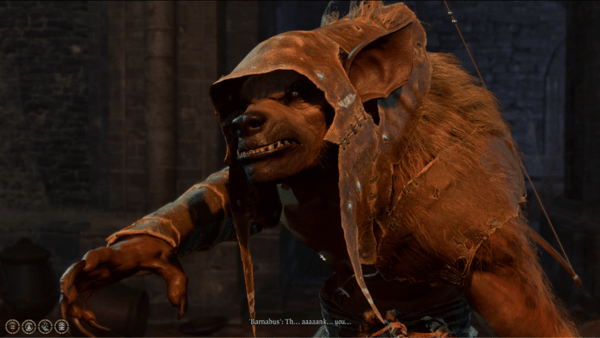
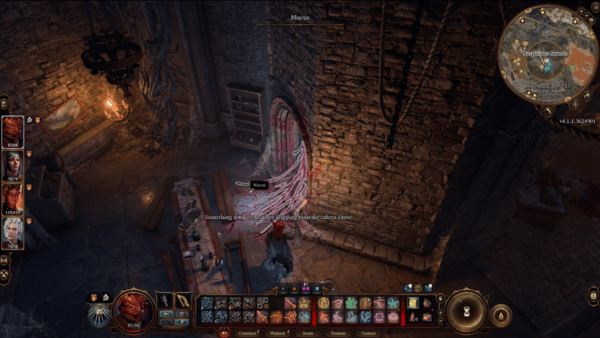
If you attempt any of the checks, you will need to pass a DC of 16. When you are successful with Persuasion, the gnoll will thank you for freeing it. This event called "Pied Piper" will inspire Astarion, where you will successfully influence gnolls, either to break free or continue being subservient. Following the meat sounds that the troll mentioned earlier, you will arrive at (X:-127 Y:-175) You will find some sort of mucus blocking a doorway. Given its current state, your party won't be able to enter and investigate from here.
Going into the rafters, either through the floor above or by the ladder in the foyer, the party will find a cracked wall above the mucus. Reaching in to the crack, the dream visitor will claim that it is a trap, and you will be given a chance to remove your hand. If you fail the save, or allow yourself to be connected, your mind will be pulled into another realm where you meet the absolute, and talk to her voice. If you are playing The Dark Urge, the voice will recognize you and call you by name.
Exploring The First Floor
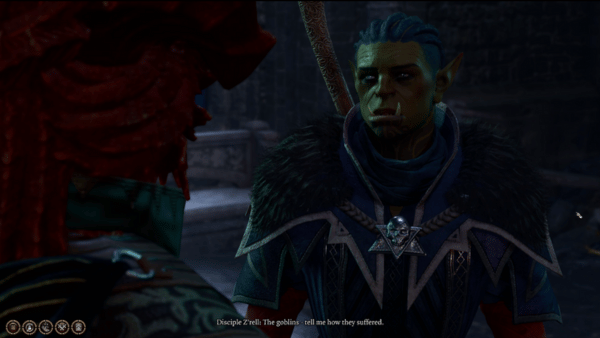
At (X:144 Y:-210), you will find yourselves on a landing that will take you to the First Floor of Moonrise Towers. There's a bigger journey awaiting your party here and the first thing that you will witness here is Z'rell and Radija in a conversation, that no one is allowed to disturb the prayers of Thorm on the rooftop. They reiterate that no one is allowed, not even Z'rell. She will turn her attention to you and ask about how you handled the goblins.
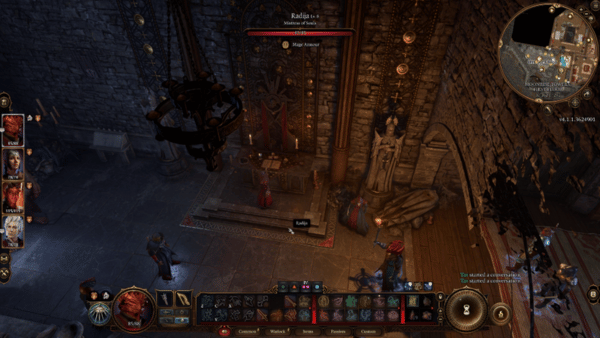
Given that you let the goblins walk free in this walkthrough, she will discover the act that you have done after reading your mind. You will get the following options as you try to redeem yourself:
- [DECEPTION] Dead, they're a waste. Free, they spread the word of The Absolute.
- [PERSUASION] They won't get far. Let the curse take them, and save us the job of cleaning up their innards.
- You said I could do whatever I wanted with them- so I did.
Attempting the Persuasion or Deception check will require you to pass a DC of 16. If successful, she will go through again your mind to discover your wants and hopes. This, however, has a bigger reason for why she's doing it, as she's questioning your faith. You will now get the following options to respond:
- [PERSUASION] Distract her with thoughts of your care for Shadowheart.
- [PERSUASION] Distract her with thoughts of your romantic desires.
- [DECEPTION] Fake it- fill your mind with love for the Absolute.
- Distract her by drawing her toward your hunger for power.
- [WISDOM] Overwhelm her by unleashing a wave of hatred as you prepare to attack.
Choosing the first option will require you to pass a DC of 14, when successful, she shares her story of how the Absolute gave her everything she wanted which is freedom. She gives you a mission and then you hear the voice of the dream visitor inside your head. They urge you to play along so you can get closer to the general, and so you'll be able to find the answers you seek. She tells you that General Thorm needs a relic that is currently located at the mausoleum beneath the tower. She asks you to make contact with Disciple Balthazar and retrieve the relic.
To reach Balthazar's room, you will head to the first floor where you will see Glourik standing watch by the door at (X:-133 Y:-187). With Balthazar's room key, you can explore his room and pick up the Moon Lantern, which you will be needing as you explore the Mausoleum later on. You will notice that there's a locked Metal Door within his room, and attempting to unlock this will require passing a Dexterity check DC of 30.
Inside the room, you will find an undead hound guarding the area. You can attempt an Animal Handling, Performance, or Intimidation check that will require you to pass a DC of 18. Once successful, you can now freely roam the area without fighting the hound. There are more chests that you can unlock in this area as well and pick up valuable items such as elixirs and scrolls.
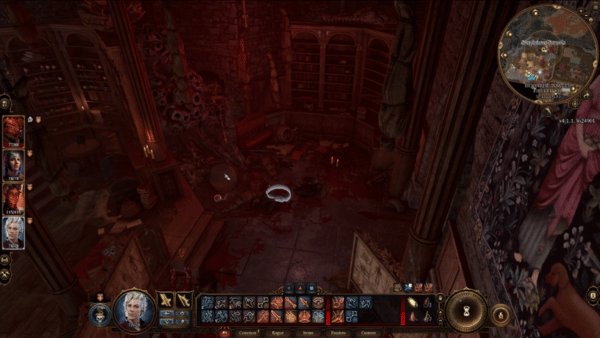
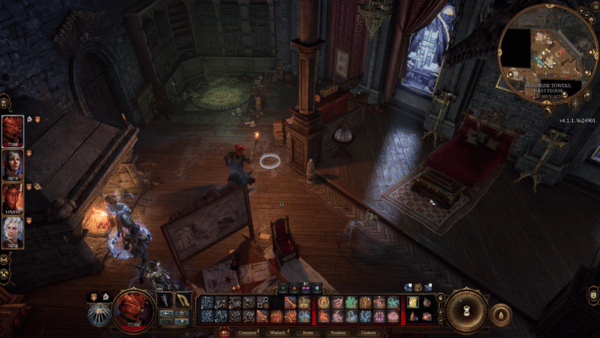
There's another locked door here, that will lead to a different room. Unlocking this door will require you to pass a DC of 15. Inside this room, you will find more chests to loot and letters to discover. The unique chest can be found at the foot of the bed where it transforms into a Mimic the moment you get near it. When you're done killing it, you can loot its items.
Heading to the Moonrise Towers Prison
When you're done exploring the Main Floor and First Floor, you can now go to the Prison located beneath the tower. You will find a stair leading to this area at (X:-175 Y:-193). Interact with the stairs here and this will take you to the Moonrise Towers Prison. If you still have a good relationship with the cultists or haven't started a fight with them, the guards will let you in without a fight. Make sure to explore each room here if you want to stock up on scrolls and elixirs. You will also find barrels and chests that you can open. As you head into the prison rooms, you will find a Scrying Eye guarding. With this sentinel, you have to make sure not to do anything suspicious while it watches in that area.
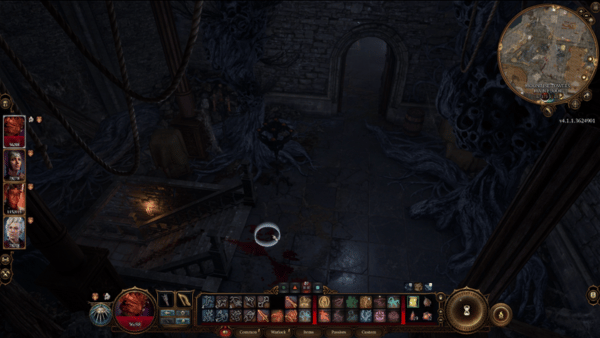
You will find the Tiefling Lia standing at the prison cell with who you can engage in a conversation, this however, will be put to a stop by one of the guards watching, forbidding you from speaking to them. You will be given 3 options to respond:
- [DECEPTION] I have permission from Balthazar. Ask him.
- [PERSUASION] What are the prisoners going to do? Talk me to death.
- My apologies- won't happen again.
Attempting the Persuasion check will require you to pass a DC of 14. When successful, you can continue talking to Lia and she tells you that the gnomes are up to something and they're working together. Urging you to find these gnomes to talk to them. Continue to go around the cells and you will find Wulbren, who is curious about how you were able to order the guard successfully. He wants to know what is your business with them. You can offer to help him for free or for a fee or tell him that you want to torment him.
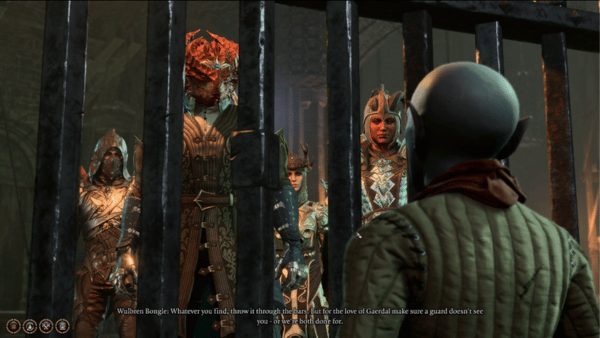
If you choose to help them for free, he will want to know the reason behind this. You can attempt the Persuasion check that will require you to pass a DC of 10. Your turn to respond:
- Barcus told me you were here, and asked me to help.
- [PERSUASION] I know the Tieflings imprisoned here- I want to break you all out.
- [PERSUASION] My mind is my own- the Absolute has no control over me.
- [DECEPTION] I'm an undercover agent for the Flaming Fist.
- Fine, die in here for all I care.
When successful, Wulbren will tell you about his plan which involves looking for tools. He will ask for you to hand them anything that can break rocks and also make sure that no one will see you helping them. He also tells you that the Warden robbed them of their tools, and you can start looking from there. Locating the Tieflings and Wulbren will update the quests for these characters in your journal.
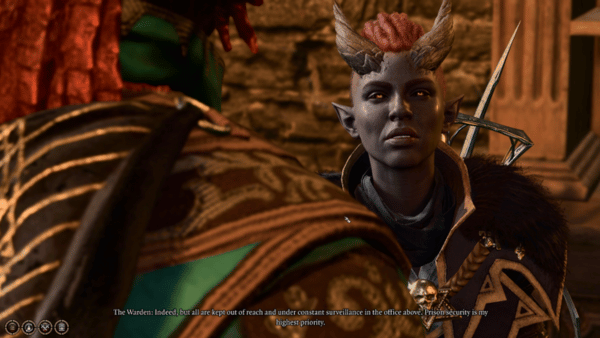
You will find the Warden in their room at (X:572 Y:-655), and ask her questions about confiscated items to reveal that she is hiding these in the office above. You may also attempt the Intelligence check which will require you to pass a DC of 13, this will reveal that levers behind her desk can open the doors of the cells, and the larger lever is used to trigger the alarm.
With her back turned against you, you can sneak to go up the ladder. However, there is a Scrying Eye in this area so it's not advisable to steal the tools under its watchful eyes. The moment you get spotted, she will confront you to explain yourself:
- Acquiesce and follow to prison.
- Try to talk your way out of it.
- Try to convince them you belong here.
- Perhaps some gold would make up for my little indiscretion? (1238)
- Try to buy your way in. (4952)
- Attack.
Choosing the second option will you further choices which requires you to pass a DC of 15:
- [DECEPTION] Would you look at that- my map's upside down. I should have turned right at that crossroads.
- [INTIMIDATION] Let me be, or you won't live to regret it.
- [PERSUASION] Haven't you ever been turned around on your way to a date with destiny?
Another option is to fight The Warden since this area is unseen from the level above. Make sure to destroy the Scrying Eye in this area so that the others will not be alerted. After this, you can now search the office where items are being stored. Make sure to loot the Warden's body to retrieve the Spellcrux Amulet and the Moonrise Guard's Key from her.
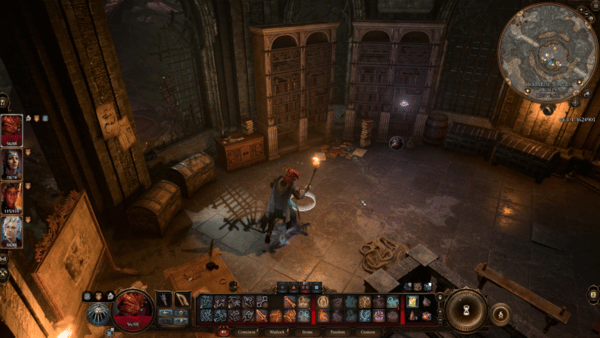
The chests above are locked but you can unlock them by doing a Dexterity check which requires you to pass a DC of 14-16, which varies on the difficulty of the chests. With The Warden gone, you can free the tieflings and Wulbreg by interacting with the levers behind the desk. However, there are still guards nearby so this will commence a battle between them and your party. It is best to take care of the nearby guards before handing them the tools so that they can escape through the tunnels.
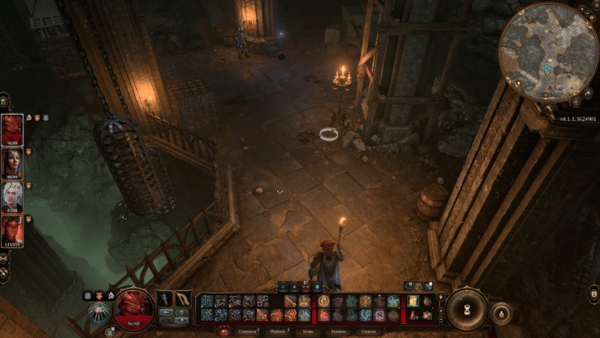
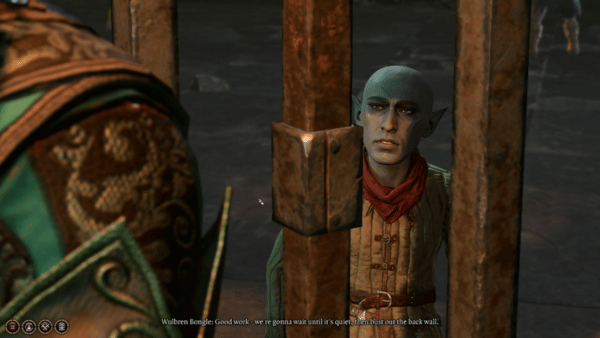
Follow them through the tunnels by using the walls that they have broken through. You will find a boat docked at (X:572 Y:-577) and their party will take their leave. This will complete your quests Rescue Wulbren and Rescue the Tieflings.
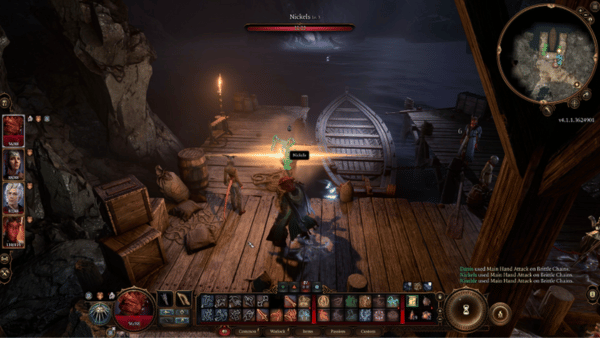
Now that the prisoners have escaped Moonrise Towers, you can continue investigating the prison. You will find traces of the red mucus that you found in the kitchen at (X:507 Y:-617), there is a cragged rock that you can interact with that will take you to the Oubliette. This event of reaching the bottom will inspire Karlach on Delving into the Deep. Hook Horrors are roaming about in this area and these monsters are immediately hostile as soon as they see you. There's not much to do here but continue on the quest given by Z'rell, which is to aid Balthazar in looking for the relic. You will see some enemies gathered at a lower level of Oubliette, but this area is still blocked and you will need to go back up to the towers and look for another entrance.
To Gauntlet of Shar
In order to defeat Ketheric Thorm, you now realize that there's a power that makes him invulnerable. Your investigation will lead you to travel to Gauntlet of Shar where you will continue to aid Balthazar at the request of Disciple Z'rell. At the Verge of the Shadows at (X:-718 Y:-845) you will find a body of water that serves as the entrance to Shadowfell, the domain of Lady Shar. You will get a warning that the state of the region can change depending on your decisions, such as quests becoming unavailable. If you proceed to do so, we recommend following our guide to get your desired outcome.
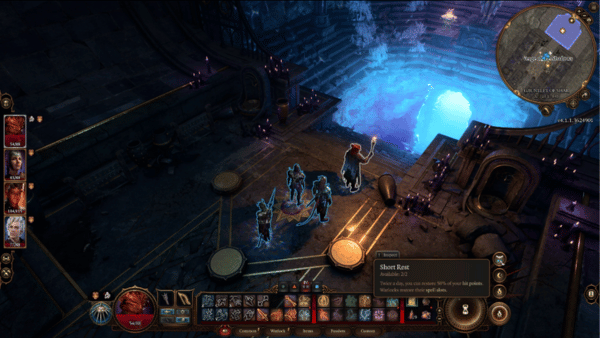
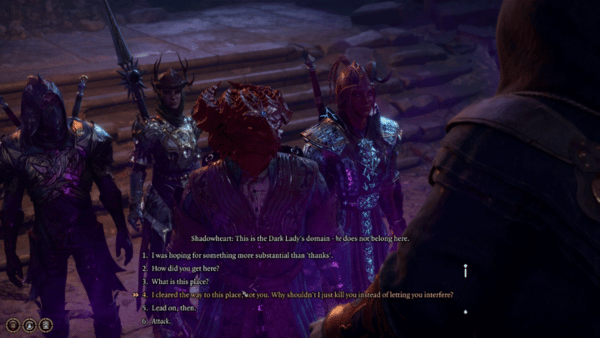
As you step forward into the statue and through the body of water, you will feel your body struggle as you fight back the sensation. Your character will get knocked out, together with your party. Once you come back to your senses, you will find yourselves in Shadowfell, and Shadowheart immediately recognizes the presence of Lady Shar. However, you will be interrupted as Balthazar flies in to tell you to hurry along and become a witness to his work. Shadowheart defies him and quickly tells him that he does not belong in the Dark Lady's domain. You will now get the following options to respond:
- I was hoping for something more substantial than 'thanks'.
- How did you get here?
- What is this place?
- I cleared the way to this place, not you. Why shouldn't I just kill you instead of letting you interfere?
- Lead on, then.
- Attack.
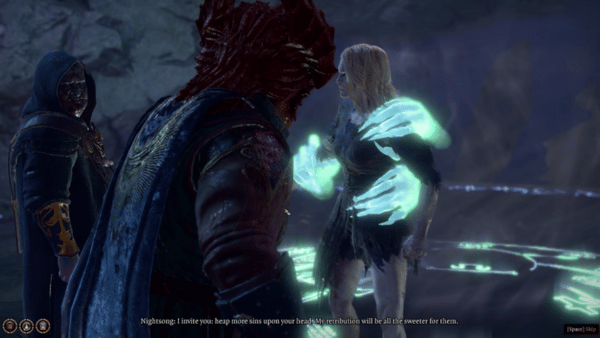
In this area, Balthazar has no desire to fight even if you choose the 4th one. He will ask that you follow him as he leads the way into Nightsong's Prison. Your party will be doing a series of jumps until you make it to the bottom of Shadowfell. The pattern shouldn't be difficult and each member is guaranteed to survive the jumps as long as it's near the ledge, and not falling off the rocks. Once you finally catch up with Balthazar, you realize that the relic that Discipe Z'rell was referring to was the Nightsong, which is in fact, a humanoid. She invites you to "heap more sins upon your head. My retribution will be all the sweeter for them." Nightsong continues to reveal, that she supplies Ketheric Thorm's immortality with her own soul. Balthazar calls her "Aylin" and commands you to keep back to secure her for a journey. You will now get the following options to respond:
- Wait- the Nightsong is a person?
- What are you going to do to her?
- I can't let you take her, Balthazar.
- Attack him.
If you choose the first one, Balthazar tells you that she is more than that. He shares that she possesses immortal strength and lends it to General Throm through his work. After realizing that she is the key to Ketheric Thorm's immortality, you will now have the option to save her or let Balthazar do his job.
- If she's the reason Ketheric Thorm is invulnerable, you're not taking her. Leave, or you're a dead man.
- Go on, then. Take the Nightsong to Ketheric. Get it over with.
- Attack him.
If you choose the first option, Karlach will give you her approval and you will begin to fight Balthazar right after. Take note that this area is surrounded by Balthazar's minions and they will have the advantage as they are in a higher position. Plan well so you can survive this assault. With Balthazar out of the picture, the Nightsong addresses Shadowheart. She possesses the power to free her or kill her. Shadowheart will turn to you and tells you that "Her fate is mine to seal. Let me handle this." but the Nightsong tells her that the only fate she's sealing is her own and that to become a Dark Justiciar, she will know no love, no joy, but only servitude.
Shadowheart is conflicted about what she wants to achieve and you will be given the option to help her out:
- Trust Shadowheart- do not interfere.
- Do as you must.
- Is this truly what you want?
- Choose your own way, Shadoeheart. You cannot allow your goddess to control you.
- Please, Shadowheart. Don't do this.
If you choose the 3rd option, you will sense hesitance in her voice. You will get another chance to talk to her, or sway her with the next choices:
- Trust Shadowheart- do not interfere.
- Do as you must.
- Choose your own way, Shadoeheart. You cannot allow your goddess to control you.
- Please, Shadowheart. Don't do this.
Choose the 4th option which will then lead you to the next choices:
- All right. You have my support.
- This is wrong... but I can't afford to lose you. Do what you must.
- You want to fight? Fine.
Next, choose the 2nd option so Nightsong will once again, interrupt your conversation with Shadowheart. Nightsong reveals that she knows of the only memory that Shadowheart has. The memory of her being hunted by wolves, and yet, Shadowheart still can't remember what she has lost. Shadowheart still believes that she is meant to become the Lady Justiciar, and you will get the next choices here:
- Kill her. Let's finish this ritual.
- [PERSUASION] Don't do it, Shadowheart. Don't kill her, you'll regret it.
- She knows something about you. Spare her, and see what she has to say.
- Say nothing.
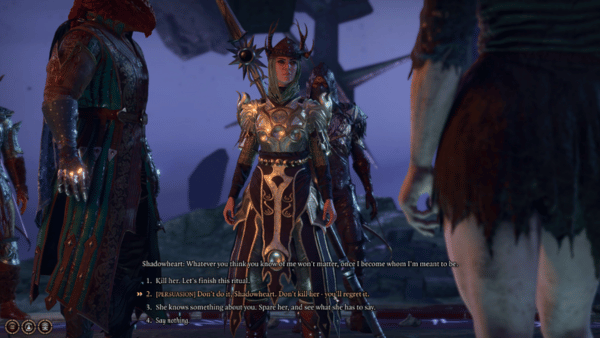
If you attempt the Persuasion check, you will need to pass a DC of 21, choosing the 3rd option will also get the same results and grant the approval of Karlach. When successful, she will procure the spear of Lady Shar and grips it tightly as if she's ready for anything that was to come, and yet, she throws away the spear, abandoning her lifelong quest. Shadowheart now fears that she will be disowned, and she fears what will happen next to her. Nightsong tells her that her fate is not fixed and to lay a friendly hand on her, to fight the battle that has been awaiting her, the one that will take your party to Ketheric Thorm, back to Moonrise Towers.
Upon doing so, she calls out to Moonmaiden Selune as power surges through her arm. She declares that the Nightsong is no more, and she transforms into an armored Dame Aylin. She spreads out her wings and swings her mighty sword. She addresses Shadowheart once again and urges that she was able to spurn her Dark Lady, and may start to feel a stirring of the truth after what she has done. Dame Aylin that there is a battle yet to be fought after being freed from her century-long prison. She will now ask Shadowheart, "Are you ready?"
- Ready for what?
- Dark Lady be merciful... What have I done?
- To get out of this place? Absolutely.
- For my weapon? Naturally.
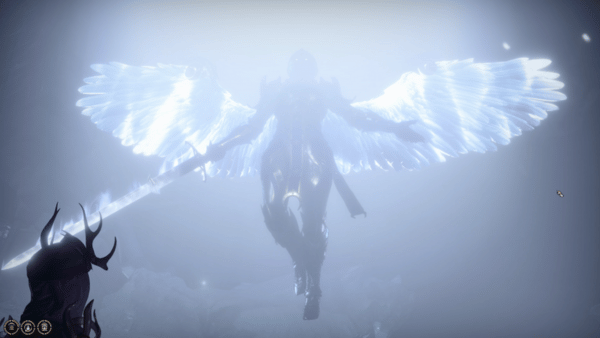
If you choose the first one, she responds with "To kill Ketheric Thorm" and she will fly away to lead the assault in Moonrise Towers against Thorm's army. Shadowheart asks that you leave Shadowfell already after what she has done, and she doesn't want to be in her domain when her rage falls upon her. Freeing the Nightsong will grant you Selune's blessing and a Moonlight Glaive. As you travel through the portal, Shadowheart goes out for a moment. She tells you that she heard Lady Shar's voice after she defied her. She has been abandoned by her goddess and allies. Powerless, she will now seek answers from Dame Aylin. Afterward, you now get the option to respond to Shadowheart as you please if you want to progress your romance with her.
The Alternate Version
NOTE: This walkthrough is the alternate version that begins from Gauntlet of Shar and involves Shadowheart killing Nightsong. This guide shows Shadowheart embracing her Lady Shar, and gives Shadowheart the opportunity to become the Lady Justiciar.
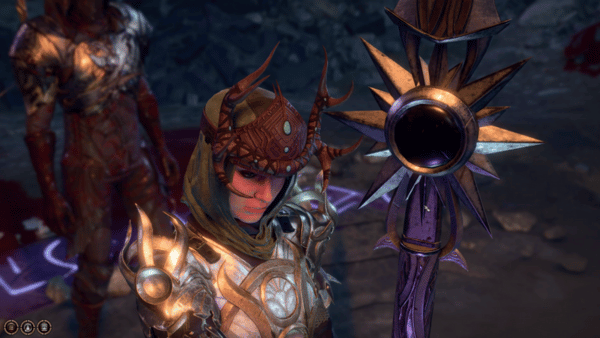
When confronting the Nightsong, she tells Shadowheart that the only fate she's sealing is her own, that she will know no love, no joy, but only servitude. At this point, you sense Shadowheart's hesitation, and you may be able to sway her from the path of duty to the path of light. If you want the outcome of Shadowheart becoming Lady Justiciar, choose the second one.
- Trust Shadowheart- do not interfere.
- Do as you must.
- Is this truly what you want?
- Choose your own way, Shadoeheart. You cannot allow your goddess to control you.
- Please, Shadowheart. Don't do this.
Then your next choice should be the first one. However, if you choose the first one, Karlach will give you her disapproval, while Astarion will give his approval.
- Kill her. Let's finish this ritual.
- [PERSUASION] Don't do it, Shadowheart. Don't kill her, you'll regret it.
- She knows something about you. Spare her, and see what she has to say.
- Say nothing.
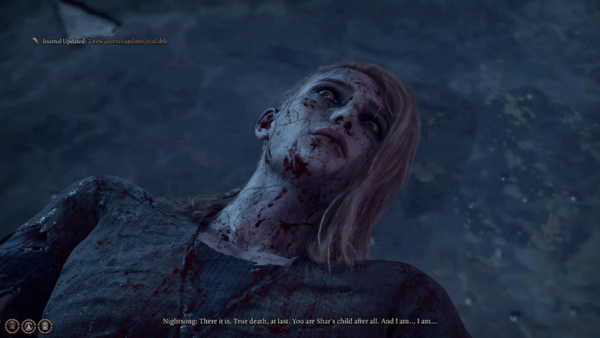

Shadowheart summons the Spear of Lady Shar and pierces Nightsong with it. Nightsong tells her that she is Shar's child after all as she feels true death, at last. Shortly after, Shadowheart will hear the voice of her goddess, Lady Shar. She calls out to her as her Chosen, her Warrior, and her Dark Justiciar. After this, Shadowheart will receive rewards from Lady Shar. Lady Shar speaks of attacking Ketheric Thorm after he shunned her embrace and using her domain to house the Nightsong. If you follow this guide, killing Nightsong will complete the 'Find the Nightsong' quest. You can now begin your attack on the Moonrise Towers, now that you were able to weaken Ketheric Thorm.
Shadowheart will receive the following rewards:
- Dark Justiciar Gauntlets
- Dark Justiciar Half-Plate
- Dark Justiciar Mail
- Dark Justiciar Boots
- Shar's Spear of Evening
Return and Infiltrate Moonrise Towers
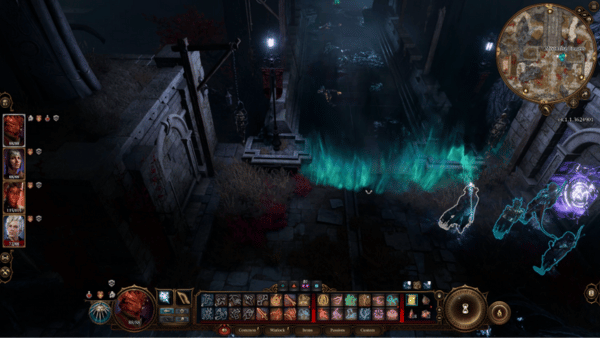
With Dame Aylin leading the fight against Ketheric Thorm's army, she will fly across the Shadow Cursed Lands and make her way to Moonrise Towers. As for your party, your travel will begin at the bridge of Moonrise Towers where Jaheira awaits at the foot of the stairs. She tells you that she is the last one standing, and asks if you will take the final steps together, with her.
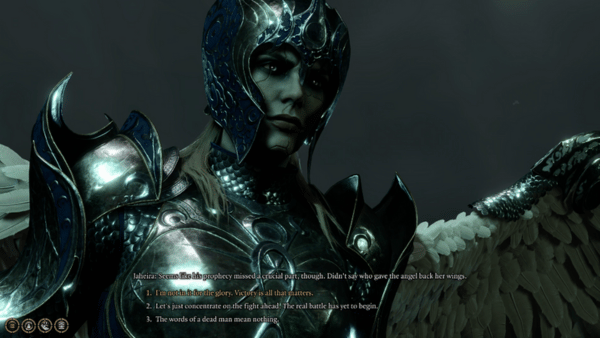

- It would be my honor.
- If you're the last Harper standing, it's only fitting that you walk alone.
If you choose the first one, Karlach will give you her approval. You will be leading the assault on Moonrise Towers and you will find Thorm's army waiting for you at the Main Floor. You will battle Disciple Z'rell, Barnabus, and the others. Make sure to plan ahead so you come out victorious in this battle. You will have temporary companions in this area, like Jaheira, and you can take full control of her temporarily.
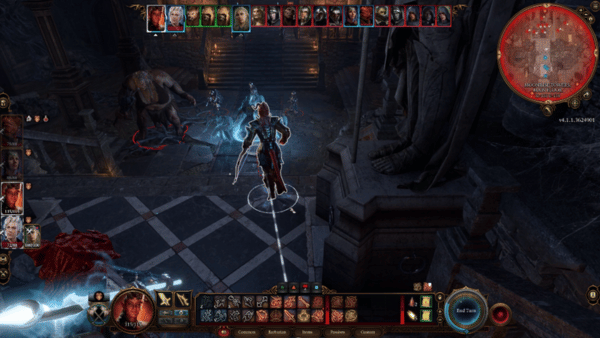
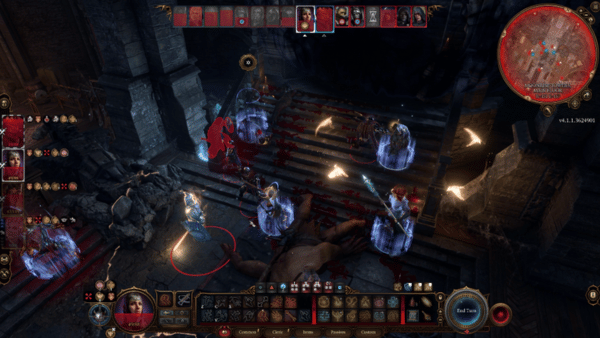
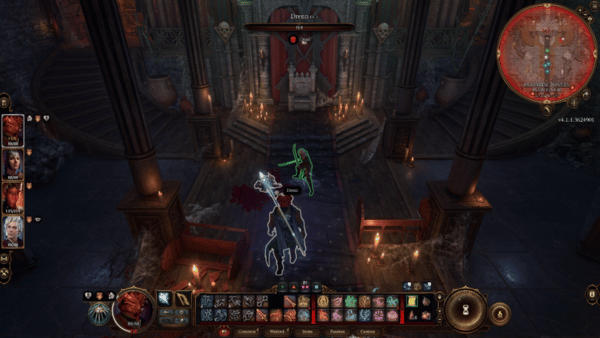
After clearing the Main Floor, Jaheira offers to stay behind as you go up the tower with your party and assist Dame Aylin. She wants to make sure that no one will be able to cross and assist the battle against Thorm. She tells you that the final audience with Ketheric Thorm awaits you. There are still enemies awaiting on the First Floor that you must defeat on your way to reach Thorm. Fight the disciples and eliminate them to find Thorm.
As you open the Ornate Door, this will lead you to Moonrise Towers Rooftop, where a weakened Ketheric Thorm stands before you. He demands to know what you have done to him and you can respond with the following options:
- You're mortal again, Thorm. I've come to finish you.
- You did this to yourself.
- You were feeding off Nightsong for a century. No longer.
- [INTIMIDATION] Surrender now, and I'll consider letting you live.
- [PERSUASION] Melodia wanted more for you than this, Ketheric. Stop, and you may redeem yourself yet.


If you attempt the Persuasion check, you will need to pass a DC of 10. Balthazar responds that there is no redemption for him. He acknowledges that he died a long time ago and he only intends to bring Isobel back. After this, you get another set of options to respond to Thorm:
- You're wrong, Ketheric. It isn't too late for you.
- Melodia is waiting for you in the afterlife. Return to Selune, and your souls will be reunited.
- So you'll continue this spectacle of violence? To what end?
If you choose the second option, Thorm will refuse to believe you because the Moonmaiden failed to intervene when his life was dismantled. He acknowledges that a true soul like you has defeated him, but the gods beat him first. Now, you will have the following options:
- I can help you, Ketheric- if you let me.
- It isn't too late Ketheric. Your story doesn't end here.
- Come quietly, and you'll be spared.
- Seeing one's enemies cowed never gets old.
Offering to help Ketheric by choosing the first option will get Karlach's approval but Aylin will interrupt your conversation and demands that Thorm fight. You can try to tell Aylin that he has surrendered, but Aylin refuses to believe your word and will continue the battle against him. Thorm now realizes that he needs to use his power that can't be hidden anymore. He offers you one last chance to bow, or he will destroy both you and Dame Aylin.
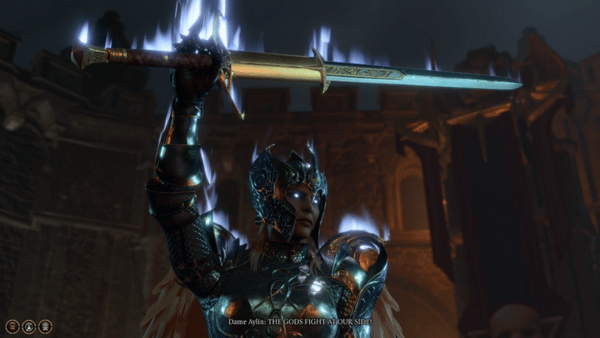
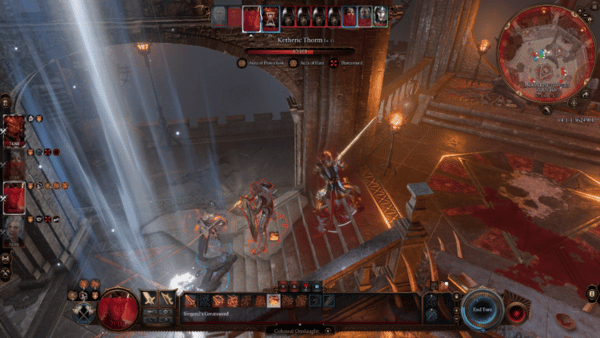
He commands you to bow but it will be revealed that you have The Prism with you. This angers Ketheric Thorm and the battle will now begin against Ketheric Thorm. Your party will raise their weapons against Thorm and what's left of his army on the rooftop. There's still quite a handful of them here and they are surrounding the area. Make sure to plan accordingly and focus on defeating Thorm first. Once you get Thorm's HP to 0, he will not be downed, but instead, he stands up once more and tells you that his Lord beckons him. Dame Aylin will fly away and swoop down as if ready to end it all, however, Thorm has been keeping his trump card all this time.

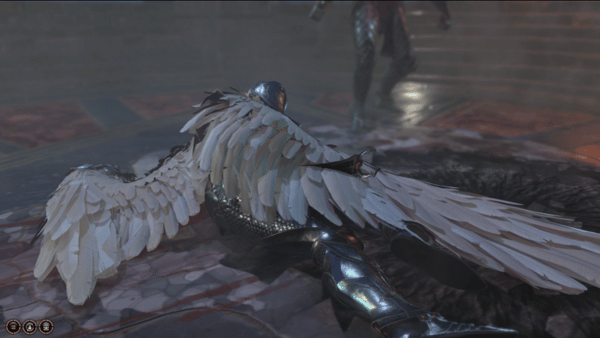
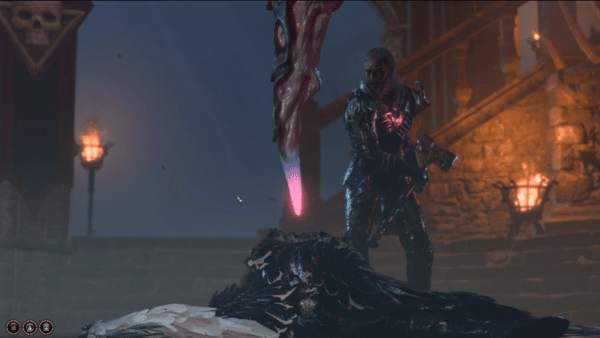
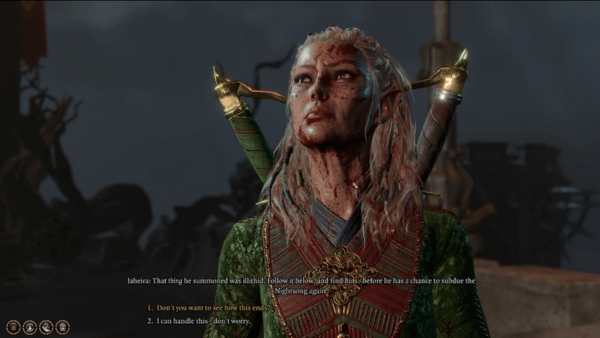
A colossal tentacle swings upwards from the foot of the tower and attacks Dame Aylin, she vanishes right before your eyes together with Thorm who was able to escape his fate, for now. There are still enemies left behind by Thorm, make sure to eliminate them to focus on the task at hand. When you're done fighting, make sure to search the chest atop the throne where Ketheric Thorm was seated. You will find Jaheira has followed you to the rooftop. She tells you that she fears that the Nightsong has been captured again and that their next step is to follow it beneath the tower to find them. You will get the following options to respond:
- Don't you want to see how this ends?
- I can handle this- don't worry.
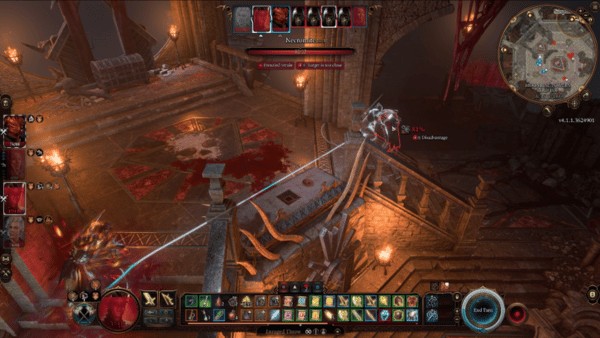
For the next dialogue, you will get an option if you want Jaheira to follow you in battle. If not, she will stay behind and be on guard with her harpers. After Thorm's escape, the one way to reach them is to drop down the chasm created by the colossal tentacle. You can camp just before you begin the next battle so you can replenish your health and spell slots of your party.
The Walkthrough for Moonrise Towers ends here and you may continue reading the next location: Mind Flayer Colony.
Notes & Tips
- You can search Ketheric's room to find his connections with Gortash, and several letters and diary about his wife and daughter. Later you can use this to persuade Ketheric to surrender, save you a battle at Mind Flayer Colony.
- When you storm the Moonrise Towers with Jaheira and Dame Aylin, don't forget to loot the dead cultists for Mind Flayer tadpoles.
- Moonrise Towers is a significant area for The Dark Urge and their story.
 Anonymous
damn i did shar before even before i got to moonrise i guess i missed out on the str potion?

 Anonymous
Does anybody know what happens if, after discovering the Absolute in the cracked wall of the castle, you talk to Mig and you choose 'I don't know what it tastes like, I didn't lick it' option? I chose 'it tastes salty' to which she responds she doesn't care for salty meats and doesn't give you any more dialogue. Was wondering if she would go try it herself?

 Anonymous
After finishing the story with ketheric, if you leave moonrise and fast travel back, all the pilgrims(if you didn't have them killed) respawn and are killed by harpers.

 Anonymous
I managed to kill everyone in Moonrise Towers before I had to fight Balthazar, minus Roah Moonglow, her bodyguards & Araj Oblodra. I knocked out Bugbear merchant just to be safe to see if he shows up later in the story, as well as the Pilgrims. The pilgrim near Araj is peaceful. The three Goblins are peaceful with me after I did all this too. I also went upstairs to the roof and used Heat Weapon on Kethric, and stole his hammer and then retreated through the door. I'm really curious what the assault will be like. I killed every other absolute in the area.

Potion of Everlasting Vigor works with Wildshape. Very useful for Moon druids, especially if you have the Tavern Brawler feat(gives bonus to attack roll in wildshape but not damage roll. still very nice accuracy bonus).

If you use the last dialogue option with the guards on the bridge and attack them outright - all true souls inside become hostile, but not the other npc's, like ogre or Roah. However - coming close to any hostile npc's will make other npc's hostile as well. On the other hand - if you use any other options with npc's on the bridge and keep them friendly, you can literally kill them outright after the dialogue without any repercussions.
Also - for some weird reason, if you try to steal the gold from Flo - everyone becomes hostile, no matter what. Seems like the usual cycle of searching for thief just doesn't happen. Even if you teleport out - when you come back, everyone will be hostile. Meanwhile - stealing from Roah right next to him works fine.
 Anonymous
As the Dark Urge, freeing the Gnolls from Linsella's mind control will result in them indicating they recognize you as their lord, though they don't elaborate further. They will remain friendly without needing an additional skill check. There does not appear to be a way to make them attack you outside of force attacking them after the conversation.

 Anonymous
Speak with animal potion when you meet the dog and you get a very interesting conversation with the dog in Ketheric's Quarters.

after talking with the Mig, we climb the stairs to the ceiling, and already there you can examine the tentacles

haven't seen a post on Barnabus yet but fyi: if you let help him gain back control against the absolute lady controlling him, and don't kill him and his friends after, all three will help you during the moonrise tower official attack. Quite handy.

 Anonymous
If you take Astarion to Moonrise Towers Araj Oblodra one of the vendors there will offer you a permanent +2 strength potion if you let him drink her blood.


This is missing the minthara being alive stuff
1
+10
-1