Goblin Camp |
|
|---|---|
 |
|
| ACT | 1 |
| Suggest Level | 4 |
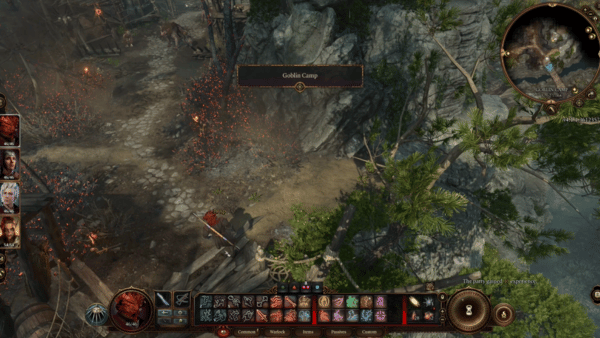
Goblin Camp is a Location in Baldur's Gate 3 (BG3). The Goblin Camp is located West of Druid Grove where you will encounter multiple quests, enemies, and a story-rich area that will give you countless experiences. On this page, you can find information about the map, quests, enemies, notable items, and other useful tips about Goblin Camp.
Goblin Camp Map
[MAP]
Goblin Camp Sub-Areas in Baldur's Gate 3
Baldur's Gate 3 Goblin Camp Notable NPCs and Merchants
Items in Baldur's Gate 3 Goblin Camp
- Crusher's Ring
- Scroll of Grease
- Garnet Ring
- Elixir of Poison Resistance
- Arrow of Lightning
- Holy Water
Baldur's Gate 3 Goblin Camp Quests
Baldur's Gate 3 Goblin Camp Walkthrough
Infiltrating the Goblin Camp in BG3
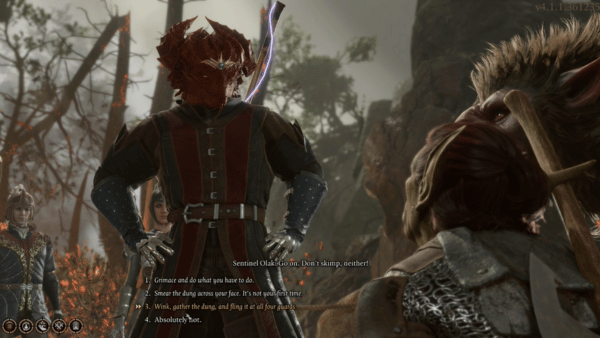
There are several ways to gain entry to Goblin Camp. In this guide, we will approach the guards, and speak with Sentinel Olak. You will have to convince him of one of the options presented to you or engage them in a battle. By engaging them in a battle, you will be able to gain the approval of Lae'zel and Astarion.
You will find yourself in a conversation with Sentinel Olak, together with his minions, wargs, and other goblins. Deceive him by telling him that their leader summoned you. As part of this act, you will get to choose an option later to "Wink, gather the dung, and fling it at all four guards." Take note that by doing this, a battle will commence and will also grant the approval of your companions.
If you attempt the Charisma Check, you'll have to pass a DC of 15. You still have 4 other options to proceed here and you can succumb to the Goblin's wishes, but risk the disapproval of your companions.
- [Illithid] WISDOM: Stand aside.
- [Intimidation] I'm a hired sword- employer's inside. Stand aside. Now.
- [Nature] Glossy coat on that animal. Does she belong to the Nordiland worgata family?
- [Deception] Your leader summoned me.
- [Detect Thoughts] Read the goblin's mind.
This fight should be an easy one with a well-balanced party, and this will grant you access to the Goblin Camp without alerting hordes of goblins. Approach the bridge that you see here, and at about (X:-103 Y:36), you will encounter a small group of goblins seated by a table, and you will engage in a conversation with Devout Wasp. You can ask him if he has seen the Flaming Fist, any survivors of the attack, and finally, about Moonrise. Devout Wasp will also point the way to enter Goblin Camp with one word: North. Before this, he acknowledges that there are survivors who has been taken into Moonrise.
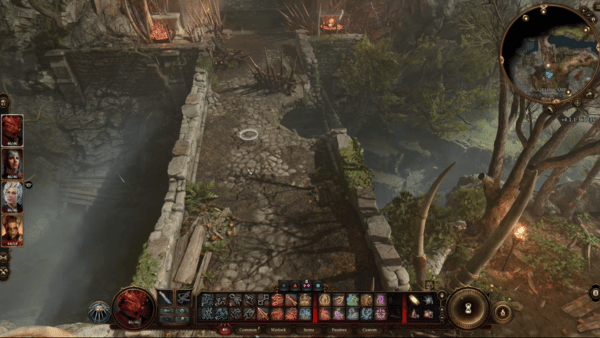
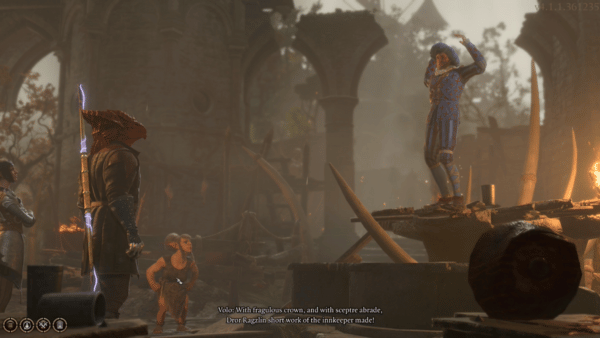
When you reach coordinates (-X:103 Y:391), you will see a broken bridge. Continue following this path that will lead into the Goblin Camp. Finally, the mobs are no longer hostile here unless provoked. You will see Volo, the Bard performing as he struggles to entertain his audience.
You will have 5 options here as you approach Volo. Be careful making any of these choices as this could put Volo's life in danger, unless of course, that applies to your roleplay. There are no DC checks to be made here, but the Goblin Gribbo will react to your presence, and Volo will continue to distract the goblins.
- Give him your rapt attention.
- Fragulous? Galide? I don't know this language.
- Bravo!
- Boo! Get off the stage!
- Leave.
This interaction will update your journal, adding Volo to your objectives, as part of Save the Refugees. Inside the camp, you will find Grat the Trader, you can buy items from him as needed, as long as you have the gold to pay for the goods. The goblins inside aren't hostile so you are free to interact with them. As you look around, you will find a Waypoint at (X:-72 Y:-42). This is placed next to a bloodied platform where Crusher, a goblin, is telling a story of how he crushed humans. Approaching the goblin will give you 4 options:
- Lot of assumptions here. I don't think I'm better than anyone else.
- I don't just think so; it's a fact. You're nothing but dirt beneath my feet.
- Leave.
- [ILLITHID] WISDOM: I'm your superior. You'd better show some respect.
Crusher here will then command you to kiss his foot but Lae'zel immediately reacts to this. She refuses to see you grovel to the goblin, and if you do so, will risk her disapproval. After that quick interaction, you will have another 4 options:
- You can't be serious.
- I'd sooner spit in your face.
- [INTIMIDATION] How about you kiss my feet instead?
- Attack the goblin.
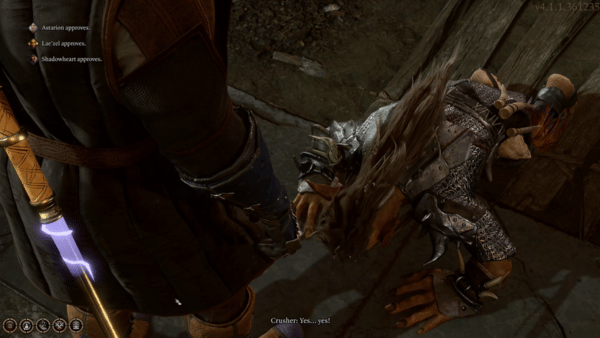
Take note that starting a fight with Crusher will cause the other goblins to join in and risk your party's life in danger. If you choose Intimidation, you will need to succeed a DC check of 15. If you succeed at this, you will get further options with Crusher:
- Not so high and mighty, after all.
- [INTIMIDATION] You better kiss my foot. Now.
- [ILLITHID] WISDOM: You will obey me. Kneel.
- [DETECT THOUGHTS] Scan his mind.
- Leave.
Depending on what you choose, you can provoke the goblin into a fight. Kill him and you can loot Crusher's Ring from him. The first one will further anger him and will commence a battle. However, a sneak attack can put this fight to an end immediately with the help of one of your companions. The rest of the goblins will watch on as Crusher bows down and kisses your feet. You are still free to explore the goblin camp, and no hordes will be triggered by doing this.
Explore the Goblin Camp to find more items, and you can climb the ladder behind the platform where Crusher was defeated. This will lead to a grassy area, at (X:-55 Y:456), you will find a bridge of stone reaching over to the other side. Be careful here as this area is ladled with traps. Astarion is skillful in navigating traps, and you can use his abilities to avoid them and reach the locked chest safely. Astarion can also pick the lock of this chest that will give you multiple items like a scroll and other camp items. Now, you can return to the camp where you will find the majority of the goblins gathered together.
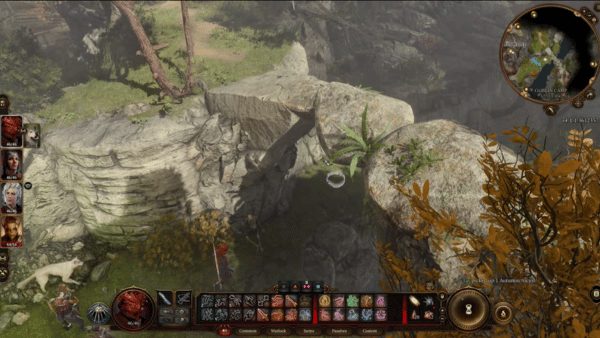
There's a shortcut here that will lead you to the upper area of the camp where Stimk is resting. He is awakened by the loud sound as your party jumps over. You can try Deception, which requires a Charisma DC check of 15. Failing this will result in a battle with Stimk. This could be a little dangerous if your party is not prepared, however, you can try to reach this area in another way by going around and avoiding making loud noises that will wake him up.
After this, you will approach the Gazebo located at (X:-96 Y:445) where Booyahg Piddle, a goblin is reading a book. Your goal here is to convince the goblin to hand over the book, and gain Shadowheart's approval if you wish to do so. To do this you will have to choose Persuasion from the 5 options presented to you:
- [ILLITHID] WISDOM: You will give me the book.
- [INTIMIDATION] It'll be a very short lifetime if you don't hand me the manuscript.
- [PERSUASION] You should spend your time in prayer- not reading this nonsense.
- [DETECT THOUGHTS] Scan his mind.
- Leave.
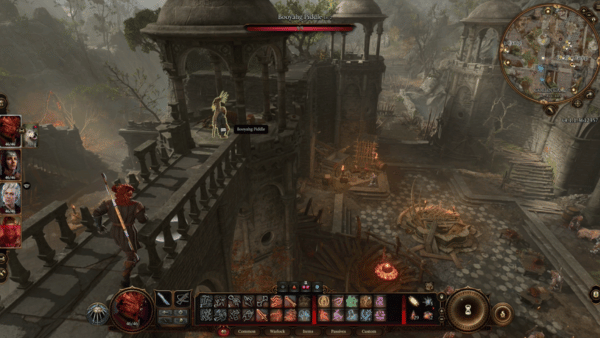
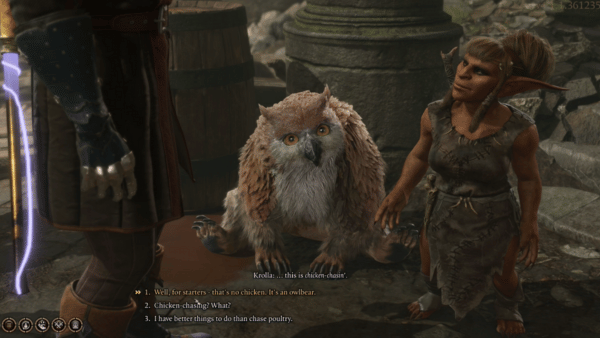
To pass this, you will need to get a Charisma DC Check of 10 or higher, and successfully persuading Booyahg Piddle will cause him to give you the item: "On Goblins: My Life Among the Conquering Host" and the approval of Shadowheart. Next, you will want to go to the area below, where the rest of the goblins are gathered. You will find Krolla here again, who invites you to Chicken Chase. You can attempt to free the young Owlbear here by persuading it that the Goblins are responsible for its pain. It will then attack Krolla, but in order for the Owlbear to escape, you will have to help it by defeating the Goblin horde.
The Shattered Sanctum
Further exploring the Goblin Camp will take you to the Shattered Sanctum. You will find the entrance to this area by approaching a troll called Guard Gurgon at (X:-104 Y:462). This character is not hostile and you can just walk inside the Shattered Sanctum. Once inside, Shadowheart will engage you in a conversation and informs you that being inside this area gives her an uneasy feeling, and she would like to leave as soon as you're done with what is needed in the area. She doesn't explain any further and ends the conversation there.
In this area, your goal is to locate Liam, one of the survivors who are being tortured by Goblins. You will be given 5 options on how to approach this encounter:
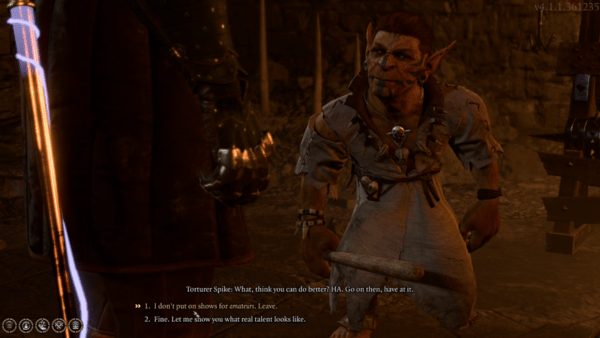
- Why are you torturing him?
- This looks interesting- let me put him through his paces.
- [ILLITHID] WISDOM: Leave, both of you.
- [DECEPTION] Go have yourselves a drink. Your boss sent me to relieve you.
- [PERFORMANCE] I'm taking over. Your sloppy handiwork is going to kill the prisoner too quickly.
- [DETECT THOUGHTS] Read the goblin's thoughts.
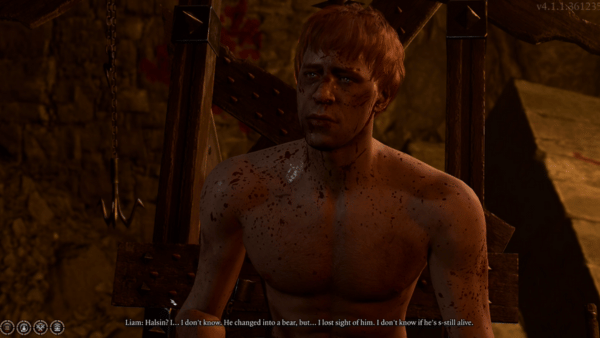
Choosing Perfomance will require you to succeed the Charisma with 15 DC Check or higher, and you can make the goblin leave so you can talk to Liam freely. Liam has information about Halsin and the Druids to the west. With the features of Astarion, he can free Liam from his shackles and he will escape to warn the Druids of the danger coming to them. Before leaving, he tells you that he has last seen Halsin transforming into a bear, but that was the last time that he has seen him. Liam will vanish into the darkness, and you can return to the others again.
Notes & Tips
- Other Notes & Trivia for Goblin Camp goes here
 Anonymous
Dont forget to poison the beer goblins are drink on your way in. (do buy the archer gloves from the vendor before doing it so as those are archer bis).

 Anonymous
If you don't have performance for the torturer then use the detect thoughts option. It's a DC 9 roll vs the deception which is DC 20.

 Anonymous
If you intimidate Crusher he will walk away and you can just follow him out to the bridge where he is by himself. Don't push him off. Just have 2 people attack him at once to kill him and take the ring. If he survives an initial attack he will quickly heal himself so keep queuing attacks.

 Anonymous
What is with the 3 Relief of Selune's on the western side of the camp?

 Anonymous
I freed the goblin in the cove. arrived at the goblin camp. she went inside. i provoked the goblin who wanted me to kiss his feet. started a fight and i killed EVERYONE outside (except owlbear puppy of course). went inside. it was like nothing happened and i was escorted further by our rescued prisoner :)

 Anonymous
 Anonymous
The order you do the camp is important (in terms of making it easier). Also, an exploding barrel or two might help against the camp leaders. Free the bear/druid, although I did it after defeating one of the leaders (the priestess).

To gain the Owlbear you just need to have say either you find 'chicken chasing' is repellant, then persuade her to give them to you, or for you to first beat the race, then talk to the owlbear (requires some checks), then if you ask Krolla for the owlbear she'll just give it to you.

 Anonymous

There a +1 great axe here too under the bridge there a path that lead to a small shrine there’s a trap that 15 dice and a crude chest with 10 dice difficulty in side is a few items and the +1 great axe
1
+10
-1