Rivington |
|
|---|---|
 |
|
| ACT | Act 3 |
| Location | Baldur's Gate |
| Suggest Level | 8-10 |
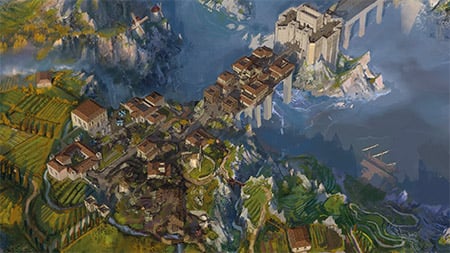
Rivington is a Location in Baldur's Gate 3. BG3 Rivington is in the northern portion of Faerun and can be accessed in Act 3. On this page, you can find related information about the Map, Quests, Enemies, notable Items and other useful tips about Rivington.
Rivington Sub-Areas in Baldur's Gate 3
- Gur Camp
- Open Hand Temple
- Circus of the Last Days
- Arfur's Mansion
- Requisitioned Barn
- Sword Coast Couriers
- Abandoned Windmill
- Angleiron's Cellar
- The Rivington General
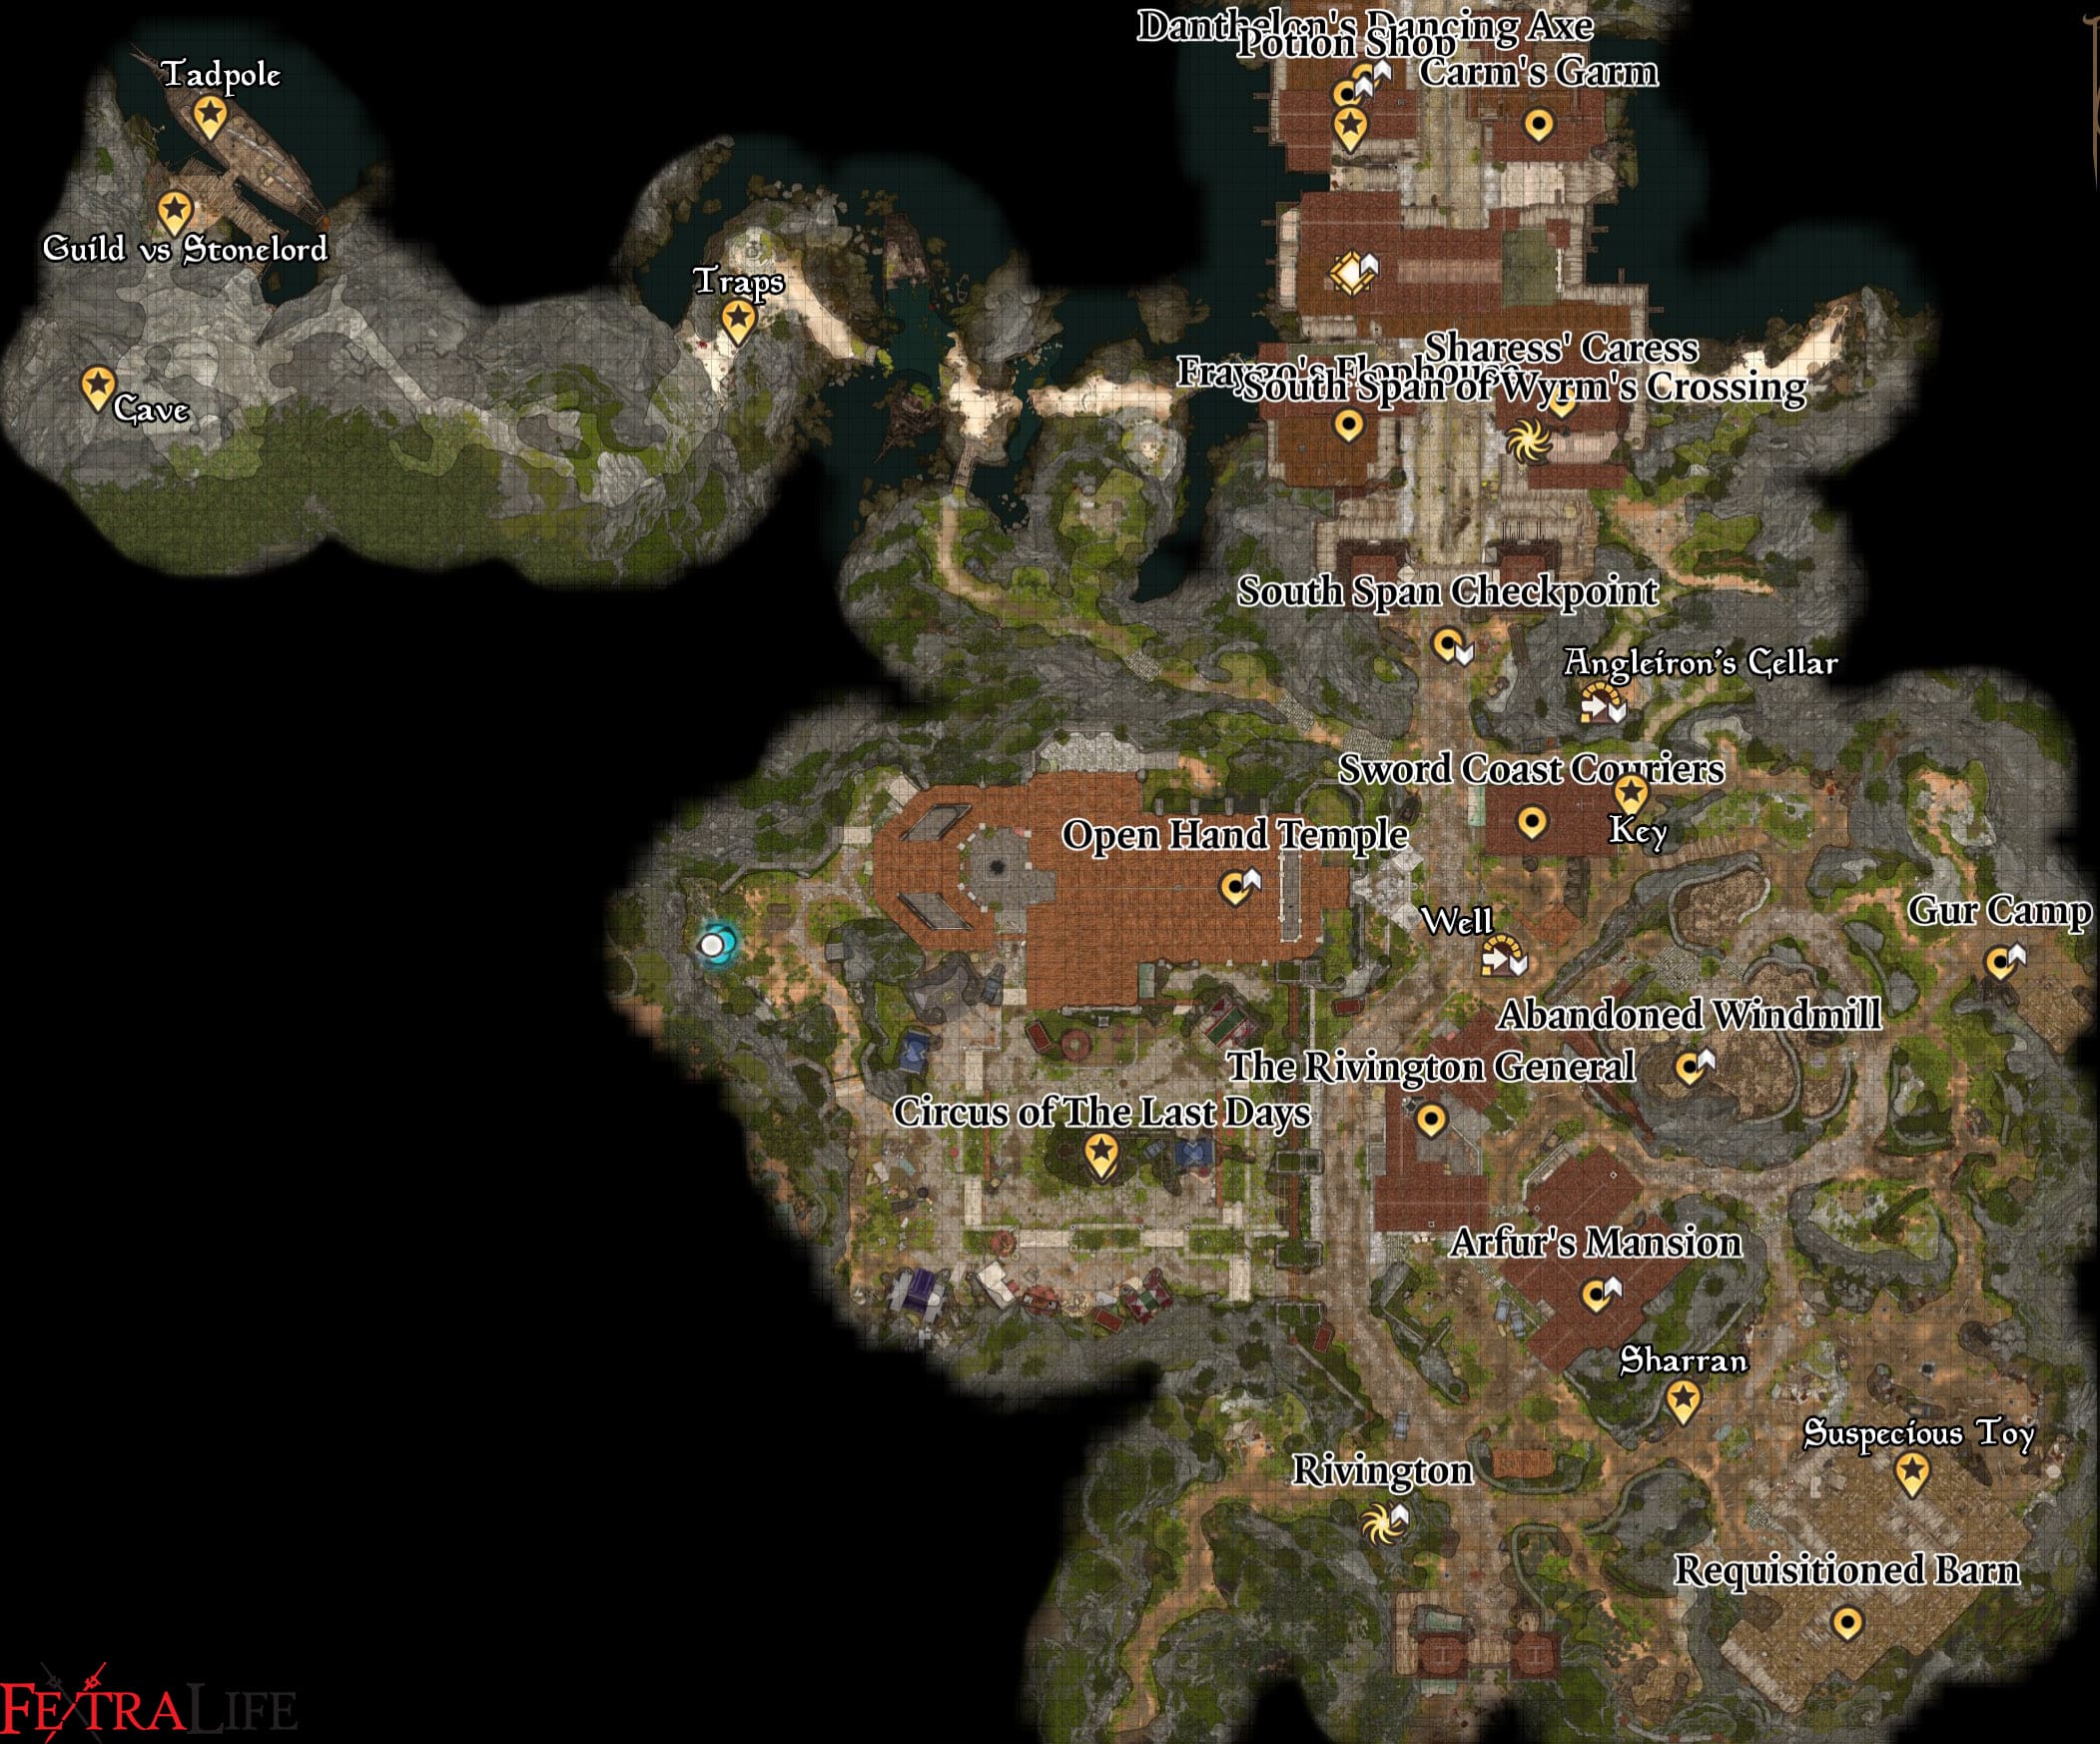
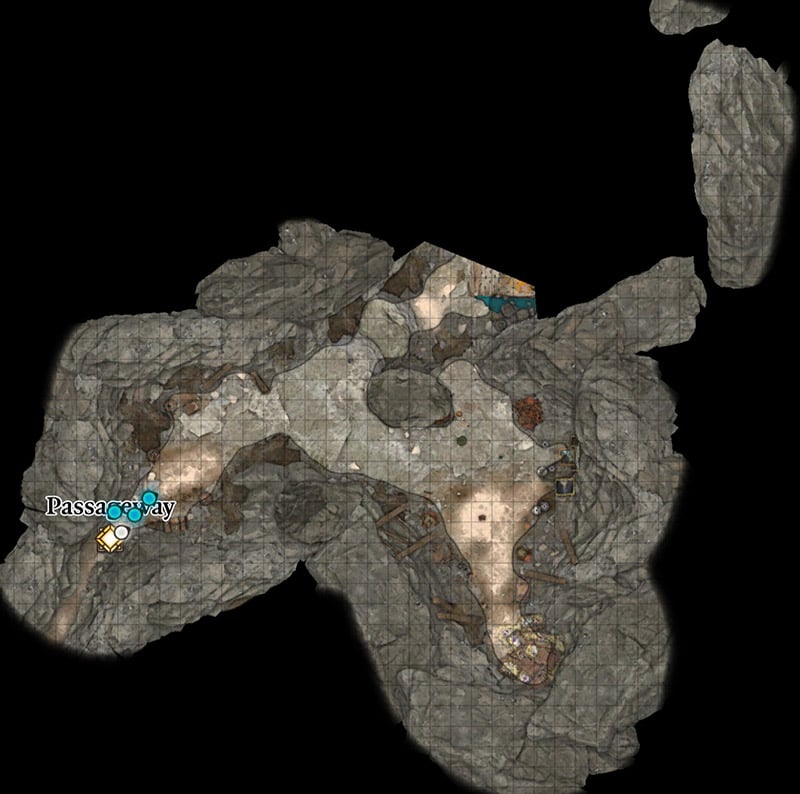
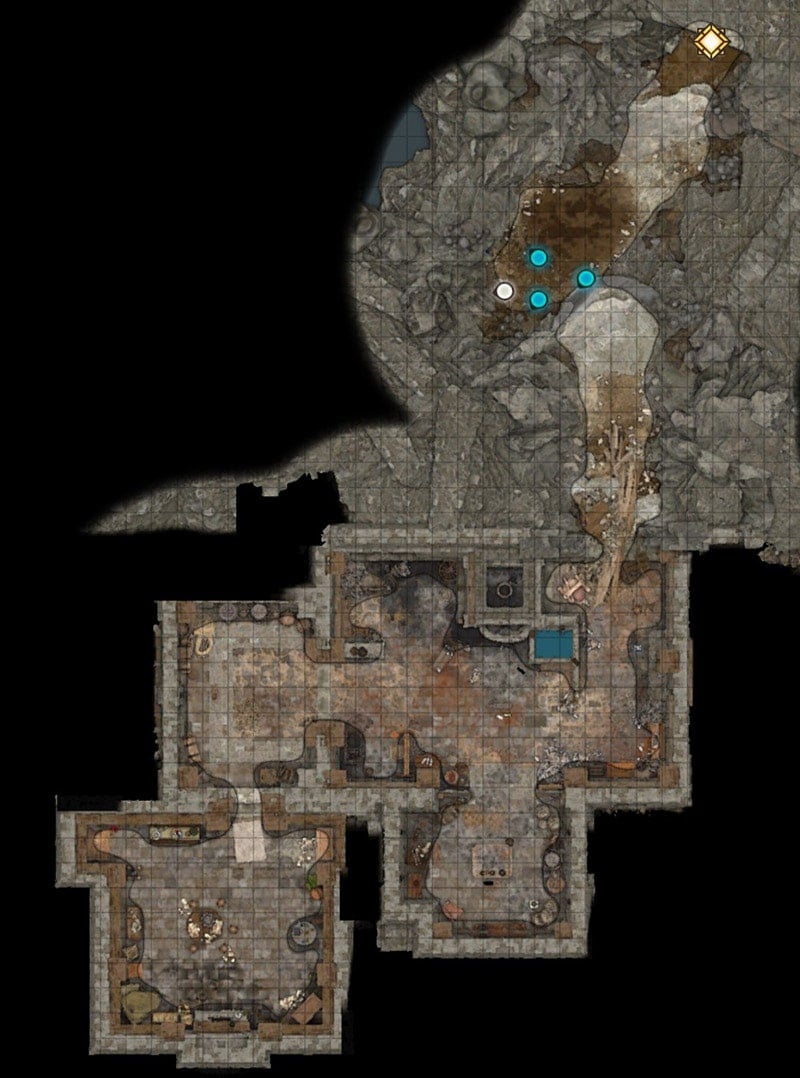
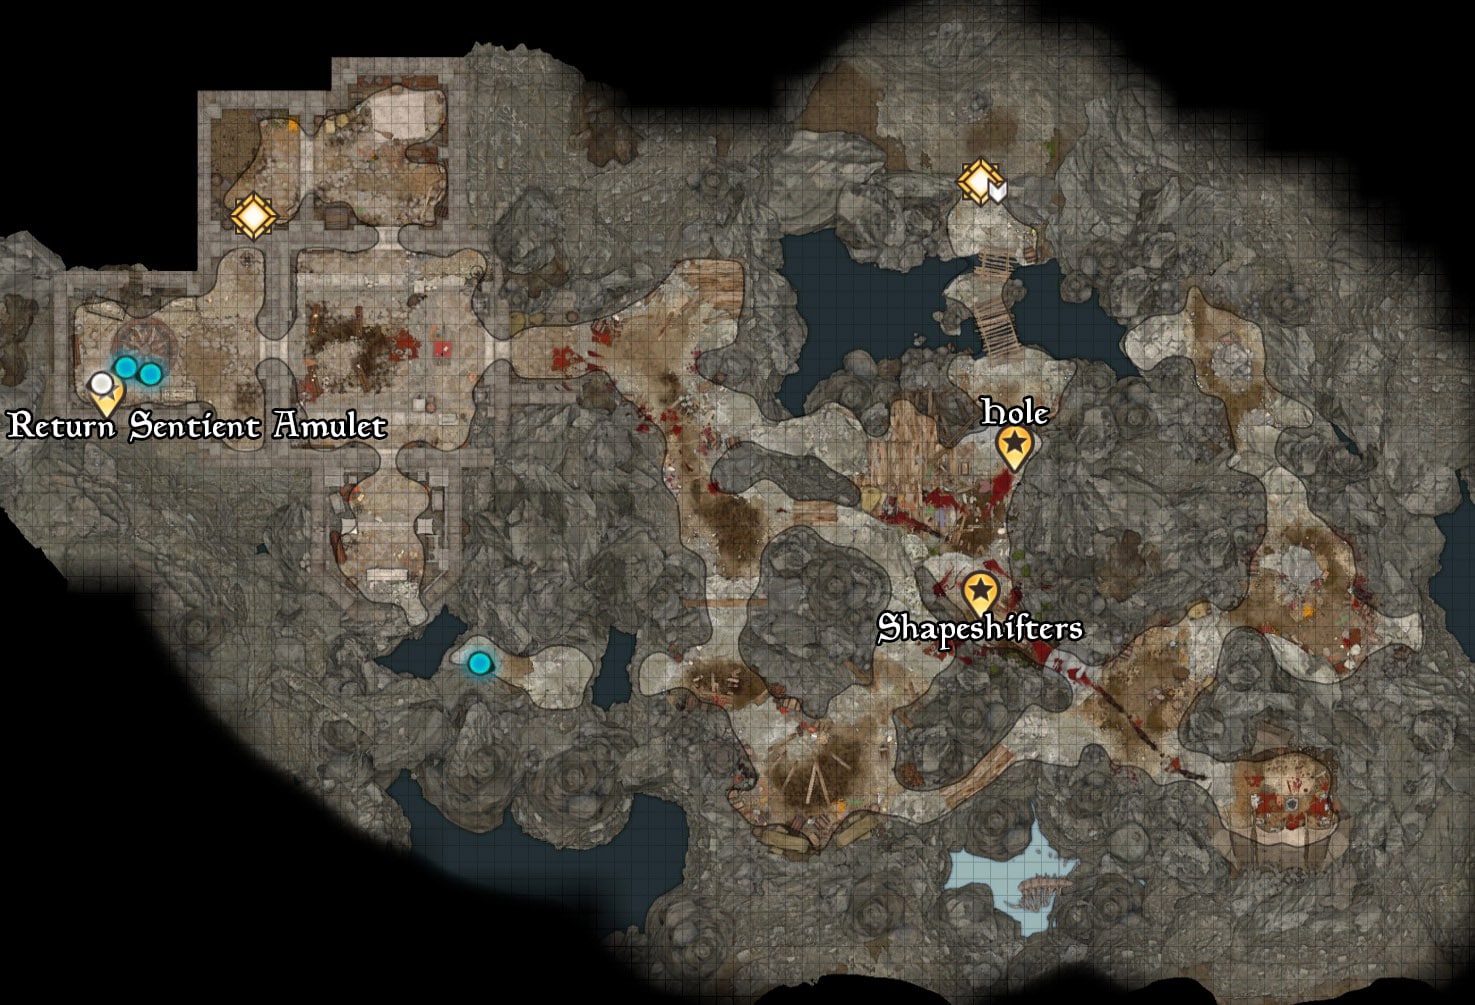
Baldur's Gate 3 Rivington Map
Baldur's Gate 3 Rivington Notable NPCs and Merchants
- Orin
- Ulma
- Valeria
- Manip Nestor
- Arfur Gregorio
- Sister Yannis
- Father Donnick
- Father Bills
- Father Clements
- Gyldro Angleiron the Smith
- Sister Rose the Penitent
- Ferg Drogher
- Lilly Beanbottom
Items in Baldur's Gate 3 Rivington
- Mind Flayer Brain
- Windmill Key
- Supreme Elixir of Arcane Cultivation
- Key with a flower motif
- Stillmaker
- Necklace of Elemental Augmentation
- Corpsegrinder
- Mind Flayer Parasite Specimen
Baldur's Gate 3 Rivington Quests
- Find Dribbles the Clown
- Find the Missing Letters
- Avenge the Ironhands
- Solve the Open Hand Temple Murders
- Investigate the Suspicious Toys
- Investigate Cazador's Palace
Baldur's Gate 3 Rivington Walkthrough
Upon reaching Rivington at (X:-13 Y:-114), you'll witness an ongoing argument between Ben Golewits and other NPCs at (X:9 Y:-98). You can step in using the following dialogue options:
- Calm down and tell me what's going on.
- You certainly know how to make people feel welcome.
- Does no one we meet ever get along?
- The army of the absolute is mere days away and you're bickering over property ownership?
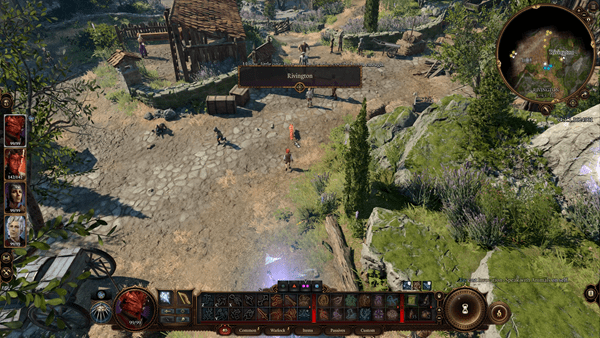
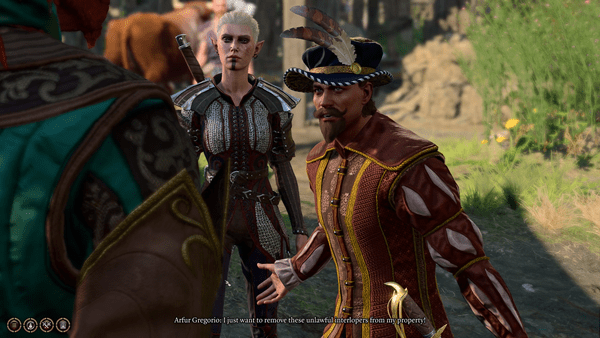
Opt for the first choice, and Arfur Gregorio will explain his desire to remove trespassers from his property. You can reply with:
- This is a pretty big house - are you sure you don't have a single spare room?
- It's always heartening to see a true philanthropist out in the wild.
- Squatters, is it? Maybe I'd be willing to lend a helping hand.
- [Detect Thoughts] Probe his thoughts.
- Leave.
Select the first option, and Ben Golewits will agree. However, Arfur's disagreement escalates into racial slurs. Karlach becomes angry, and Arfur threatens them to leave or face consequences. Respond with:
- In that case, perhaps I can help you out.
- [Intimidation] Let them stay or I'll make you leave and never come back.
- Well, good luck with that.
Choose the second option, and if your charisma is sufficient, you'll intimidate Arfur into allowing them to stay. Zenovia Dawg will then express skepticism, revealing her connection to a criminal group called the Guild. You can reply with:
- All right, I get it - how much do you want?
- Or what?
- Over my dead body.
Opt for the second choice, and Zenovia will reiterate her threat. Respond with:
- [Intimidation] I fought and killed an avatar of Myrkul recently. I think I can handle you.
- All right - how much do you want?
- [Melee Attack] Stand down.
- [Intimidation] I could give you that gold - but then I'd just take it back after I killed you.
- Let's find out shall we?
Choose the first option, and with enough charisma, you'll startle Zenovia. She abandons her intention to rob you and departs. Proceed to enter Arfur's mansion and speak to Ben. Thank him for standing up for them, and reply with:
- You're welcome.
- And you'd better be grateful for it.
- How did you end up here?
- Leave.
Select the first option, and Ben will express his gratitude as you become the first to support them. You can then start looting Arfur's mansion. In one room, discover a hatch that leads to the basement. There, you'll find a chest with a letter that initiates the quest "Investigate the Suspicious Toys."
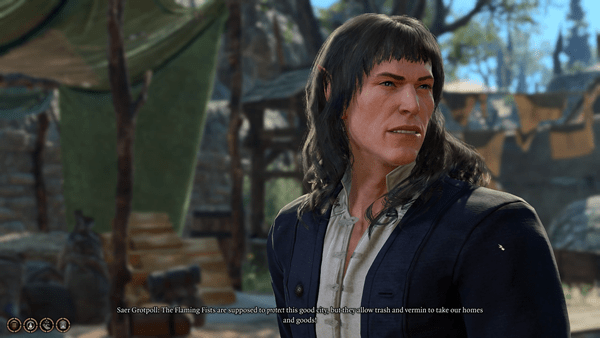
Exit the mansion, head a little North East, and observe Baldurians and Saer Grotpoll arguing with a guard named Fist Lochan. Saer addresses you as another visitor taking space. Respond with:
- [Baldurian] Baldur's Gate is the most diverse city in all of Faerun. We should take them in with pride.
- Refugees aren't strays. They are people, and they need help.
- [Baldurian] I'll have you know I was born and bred in Baldur's Gate.
- [Baldurian] Baldurian? Your accent's Rivingtonian - that hardly counts.
- I should be leaving.
Choose the fourth option, and Saer will be offended.
Proceed south until you find "X:60 Y:-107." Speak with NPC Manip Nestor, and the quest "Investigating the Toys" will advance. Nestor will ask if you'd like to donate. Reply with:
- Donations for what?
- It looks like you have plenty already.
- I'll take a donation, please.
- I'll make a donation - what do you need?
- I'm actually here to trade.
Opt for the first option, and Nestor will sarcastically mention it's for the refugees. Reply with:
- [Persuasion] I need to get into the barn right now. Something dangerous might be among the donations.
- Donate some gold. (500)
- I want to donate some supplies.
- [Persuasion] I'd like to take the donation into the barn myself.
- Maybe people would donate more if you weren't so rude.
Choose the first option, and Nestor will allow your entrance. As you enter the Requisitioned barn behind Nestor, look to the left for a crate of toys. This discovery updates the "Investigate the Suspicious Toys" quest in your journal. Nestor expresses gratitude for identifying the issue and urges you to find the person who tampered with the toys. Now, your task is to locate Arfur and confront him.
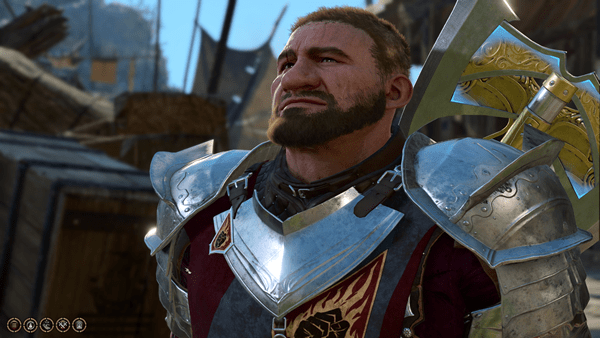
Before doing so, step outside the barn and make your way to X:-46 Y:-103 in Rivington. This triggers a conversation between Ferg Drogher and Shadowheart. Ferg reveals that he lost a bet on Shadowheart never returning to the city. You have options to intervene:
- Ask him to get to the point.
- Inquire if you're right that she's from Shadowheart's cloister.
- Remain silent.
Choose the second option, leading Ferg to discuss rumors about Shadowheart's faith and loyalty. He's visibly repulsed by her presence. Your intervention choices continue:
- Encourage Shadowheart to lie about her background.
- Suggest using psychic communication to have her apologize temporarily.
- Assert that she abandoned her deity.
- Let Shadowheart handle the situation herself.
Opt for the first choice, prompting Shadowheart to share her insight on her parents' survival and ask Ferg for their whereabouts. Ferg resists and threatens to report her reappearance. This development advances the "Daughter of Darkness" quest.
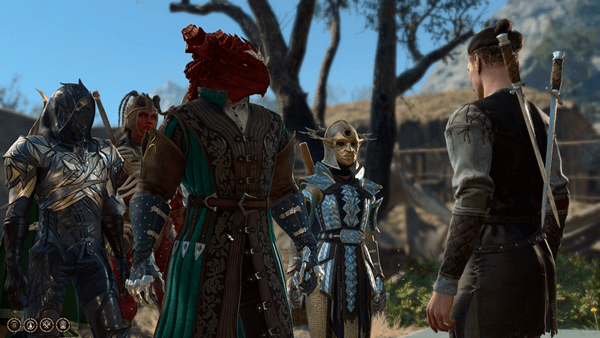
At X:102 Y:-111, you'll encounter Rowan, a guard, who greets you and inquires if this is your first visit to Baldur's Gate. You can respond in the following ways:
- [Baldurian] No, I'm from Baldur's Gate, born and bred. It's great to be back.
- [Baldurian] Do I look like a tourist? I live here.
- My past is private.
- Do you get extra pay for being so cheerful?
Opt for the first choice, and Rowan recounts the city's history, once known for its welcoming nature but now strained due to recent events. Respond with:
- It's not surprising. Tensions seem high.
- I didn't come here seeking assistance. I can manage on my own.
- I know ways to encourage sharing.
- Is there a way to alleviate people's burden?
- It sounds like your problem, not mine.
Select the first choice, and Rowan explains the refugee situation's challenges. Respond with:
- People in this city have become self-centered. They need a reminder of true hardship.
- If refugees possess more than they require, it's only fair they contribute.
- Educating them could be beneficial, given their lack of understanding.
- Your duty is to maintain peace, not escalate conflicts.
- Your uniform should suffice to pacify them.
Choose the fourth option, and Rowan conveys his concern that if no action is taken, more casualties will accumulate. He believes refugees have taken advantage of the city for too long. He'll ask if you'd join him in eliminating the refugees. Respond with:
- They're innocent people. You can't simply kill them!
- Both sides could benefit from a lesson: Let's address the issue comprehensively.
- You're monstrous. I'll report you to your superiors.
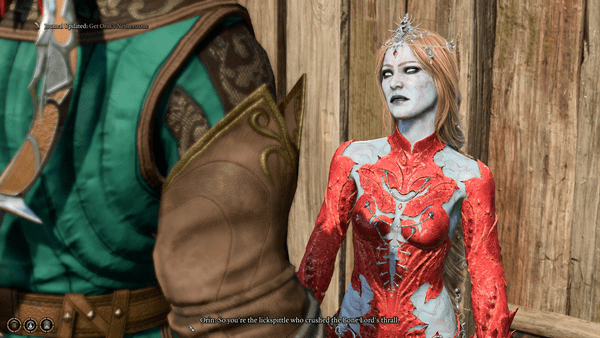
Select the third option, and Rowan threatens violence in gruesome terms. Suddenly, he transforms into Orin, who relays a message for Gortash, stating that Orin is watching. Then she abruptly vanishes. This update advances the main quest "Get Orin's Netherstone."
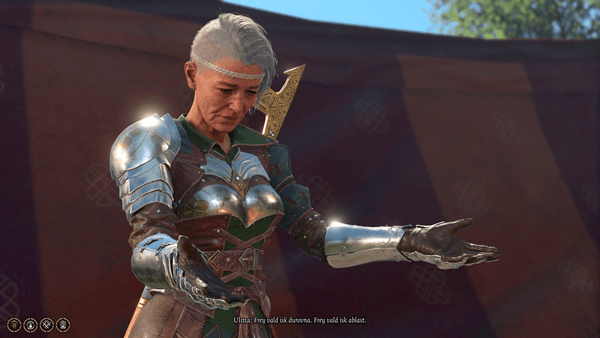
Continuing north to Gur Camp (X:93 Y:-18), you witness an ongoing mini ceremony. These individuals are a tribe of Monster Hunters, similar to the ones encountered in Hag's Swamp. Ulma halts the ceremony to approach you. She discloses her search for Astarion and initiates a conversation:
- What's your interest in Astarion?
- If you're looking to burn him on the pyre, I'm in favor.
- We're not interested in your affairs.
Choose the first option, and Ulma explains that Astarion took their children during his last visit. However, she notes that circumstances have changed: Astarion severed ties with his master and the binding spell. Astarion adds his perspective, and you can reply:
- Yes, Astarion is free now.
- It was luck more than skill.
- Why do you care about this matter?
Opt for the second choice, and Ulma acknowledges their misfortune. Despite their efforts to rescue the children from Cazador Szarr's well-guarded palace, they've been unsuccessful. Ulma speculates that if one of his offspring approached, he might believe he could control Astarion, thus allowing his entry. Astarion disputes this, knowing Cazador's merciless nature. He's convinced the children are deceased. You can interject with:
- We'll do our best to save them.
- You might be right, but it's worth trying.
- How can you be so certain, Astarion?
Select the third option, prompting Astarion to explain his history of offering victims to his master over the past two centuries, resulting in their consumption on the same night. Ulma persists, urging you to rescue them or seek vengeance. Respond with:
- If Astarion won't assist, I will.
- Astarion owes them revenge at the very least.
- There's nothing more to discuss if we can't help.
Choose the second option, leading Astarion to agree. This update progresses the quest "A Pale Elf." and "Investigate Casador's Palace".
Embark from the Gur Camp and make your way towards a Windmill located at coordinates X:47 Y:-29. Upon reaching the windmill, take the necessary steps to unlock the door, and as you step inside, approach the Mind Flayer lying on the ground. Engage with it through various responses:
- Express skepticism about its fortune.
- [Great Old One] Establish a mental connection with this fledgling aberration - awaken it.
- Launch an attack on the creature before it regains consciousness.
- [Stealth] Quietly retreat.
Opt for the first choice, and you'll find that the Emperor's voice resonates in your mind, asserting that the situation is indeed fortunate. The Emperor clarifies that the Mind Flayer has recently undergone a transformation, rendering it weakened and ripe for potential harvesting. The Emperor tasks you with killing the creature and absorbing its power. In response, you can reply:
- [Great Old One] Establish a mental connection with this fledgling aberration - awaken it.
- Attack the creature before it wakes up.
- [Stealth] Slip away unnoticed.
Choose the second option, which results in the Mind Flayer abruptly awakening in a startled state. This sudden awakening triggers a fierce battle between you and the Mind Flayer. Following a victorious outcome in the battle, search the creature's body for valuable items, including the Mind Flayer Brain and a Windmill Key. With these newfound acquisitions, you're now able to depart from the Windmill, continuing your journey ahead.
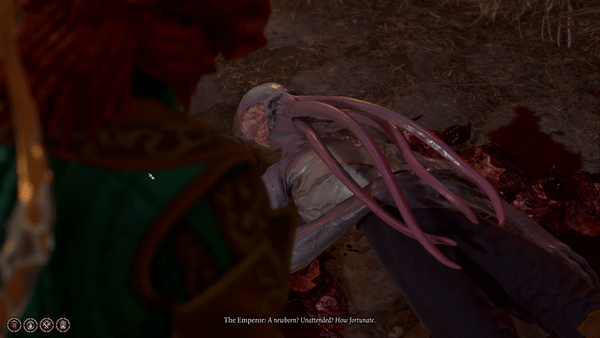
Head over to the Open Hand Temple situated in Rivington at the coordinates X:-22 Y:-3. Engage in conversation with Novice Bramble, a member of the temple, which will initiate an update for a quest named "Help the Cursed Monk." She shares that the Crying One, an enigmatic figure associated with the temple, is grieving today due to the murder of Father Lorgan. In response, you can choose from the following options:
- Inquire about the details of the incident.
- Seek clarification about the identity of Father Logan.
- Express a somewhat dismissive attitude towards the matter.
Opt for the first choice, and Novice Bramble, overwhelmed by sorrow, refrains from sharing more. As you navigate towards the right side of the temple, you'll encounter two individuals engaged in a heated argument. Brother Bill asserts that allowing more outsiders into the temple will result in more deaths among Baldurians, while Brother Clements advocates for maintaining faith regardless of the origins of the people. You can interject with:
- Mentioning that you heard about Father Lorgan's murder.
- Offering condolences for the loss of their priest.
- Choosing to move away from the situation.
Select the first option to engage with the conversation. Brother Clements appreciates your concern, while Brother Bill reveals his belief that Father Lorgan's murder was committed by one of the individuals he was sheltering. In response to this revelation, you can offer your perspective:
- Suggesting that Father Lorgan's more selective choices might have saved him.
- Reflecting on how Brother Bill's god might view Father Lorgan's actions.
- Choosing to disengage from the discussion.
Brother Clements expresses gratitude for your presence and implores Brother Bill to be more compassionate.
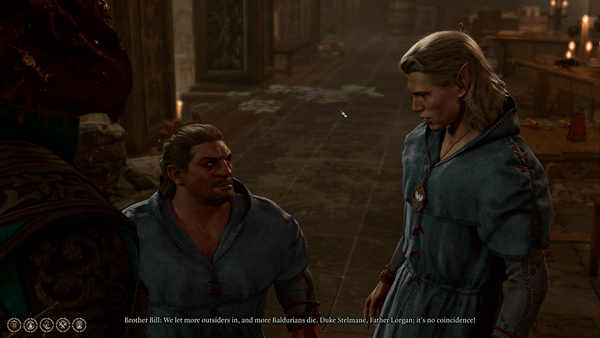
After welcoming you to explore the temple further, proceed to the central area where you'll encounter Sister Yannis and Valeria, a small flying elephant. A scene unfolds where they argue about a criminal case that Sister Yannis is handling, with Valeria suggesting that the accused former criminal is the murderer. Valeria leaves, allowing you to interact with Sister Yannis:
- Acknowledge the intensity of their disagreement.
- Accept Sister Yannis' apology.
- Disregard the apology and express skepticism.
- Downplay the significance of swearing in a temple.
- Utilize your Warlock background to relate to Valeria's nature.
Select the fifth option, and Sister Yannis will express gratitude for your understanding, noting the exceptional circumstances surrounding the situation. She explains that both Father Lorgan and a refugee named Brilgor were victims of the incidents. Investigator Valeria posits that Brilgor, despite being killed, might have been responsible for murdering Father Lorgan before taking his own life. Responding to Yannis' information, you can offer your perspective:
- Offering to conduct a thorough investigation to ascertain Brilgor's innocence.
- Inquiring about the political implications of Brilgor's situation.
- Suggesting that the temple's focus should be on ensuring safety.
- Choosing to leave the conversation.
Opt for the second choice, and Yannis elaborates on Brilgor's status as a refugee and the lack of support they receive. With Gortash's influence, she fears that if the murder was committed by a refugee, the Flaming Fist might cease refugee aid. Respond to her concerns with:
- Committing to help by investigating to prove Brilgor's innocence.
- Recognizing the ongoing need to assist Baldur's Gate residents.
- Expressing your view that the temple should concentrate on spiritual matters.
- Choosing to depart from the conversation.
Choose the first option to update the quest "Solve the Open Hand Temple Murders." Yannis allows you to explore the temple premises but cautions that new evidence is crucial to changing Investigator Valeria's perspective. In response, you can inquire further:
- Requesting information about Investigator Valeria's whereabouts.
- Seeking guidance on what kind of evidence to search for.
- Inquiring about the location of Shirra Clarwen.
- Indicating your intention to leave.
Choose the first option, and Yannis directs you to Sharess Caress, where Investigator Valeria can often be found. If you opt for the third choice, she reveals that Shirra Clarwen has passed away and is buried in a crypt beneath the temple. This revelation updates the quest "Help the Cursed Monk." Finally, if you choose the second option, Yannis advises you to start by searching for the murder weapon, as Valeria was unable to locate it.
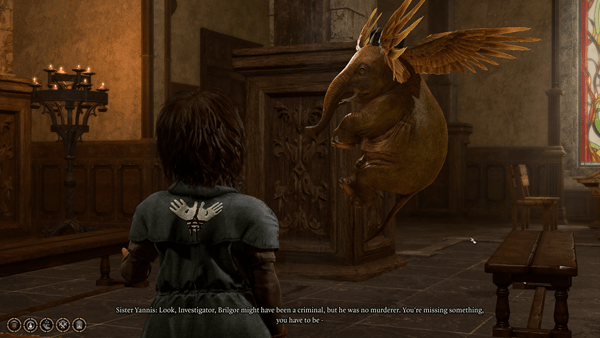
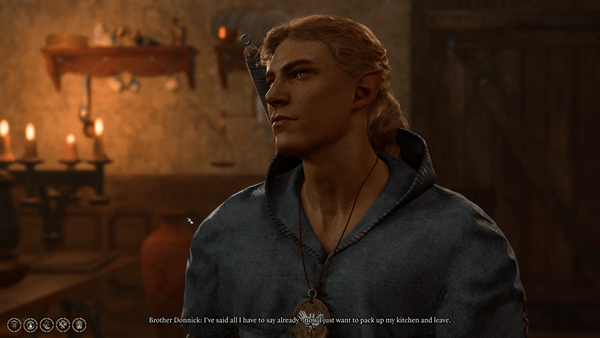
Proceed to a room located on the right side of the temple, where you'll come across Brother Donnick. Engage him in conversation and inquire about the murder using one of the following dialogue options:
- Express your investigation into Lorgan's murder and seek his insights.
- Ask if he has already interacted with the investigator.
- Question the reason behind his kitchen preparations.
- Offer a suggestion to clean up the noticeable blood trail.
- Choose to leave the conversation.
Opt for the second choice, prompting Brother Donnick to share his dissatisfaction with the investigators' efforts. He discloses the grim news of Father Lorgan's murder and expresses disappointment that a refugee is being accused. Respond with:
- Seek his opinion on whether Brilgor could be the murderer.
- Ask if he can think of anyone who might have wanted to harm Lorgan.
- Inquire about the location of the attack.
- Choose to end the conversation.
Select the first option, and Brother Donnick firmly dismisses the idea that Brilgor is responsible for the murder. Then, choose the second option, and Brother Donnick suggests that although some individuals disapproved of how Father Lorgan was assisting refugees, he doesn't believe any of them could commit such an act.
Conclude the interaction and proceed to another room, where you'll encounter Sister Rose the Penitent. Engage in dialogue using one of the following options:
- Inform her about your investigation into Lorgan's death and request her cooperation.
- Playfully ask her opinion on whether you look diseased.
- Curiously inquire about the concept of "delayed illithid ceremorphosis."
- Address her as a Dragonborn and mention "scale chafe."
Opt for the first choice, and she will inquire about the information you seek. Reply with the following questions:
- Seek her insights on who might have killed Father Lorgan.
- Ask about the details surrounding Lorgan's demise.
- Inquire about the severity of Lorgan's wounds.
- Express your observation that she doesn't appear deeply saddened by his death.
Choose the first option, and Sister Rose aligns with Valeria's view that a refugee might be responsible for Father Lorgan's murder. She reveals that Lorgan was gruesomely murdered, with his head severed from his body. This update pertains to the quest "Solve the Open Hand Temple Murder," indicating that paralytic poison was also detected on the wounds.
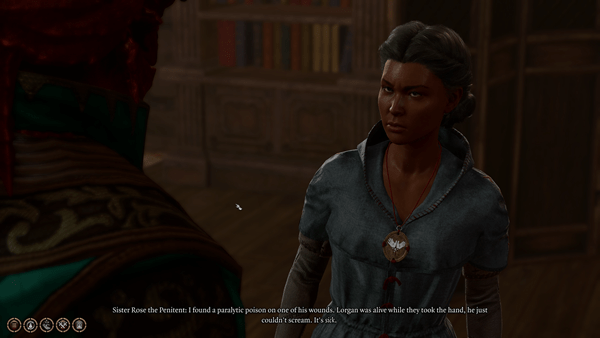
Subsequently, if you possess the "speak with the dead" spell, you can use it to communicate with Father Lorgan's lifeless body. The following dialogue options are available:
- Inquire about the deceased's identity.
- Seek information about his murderer.
- Ask what he was doing before his demise.
- Inquire about the details of his death.
- Ask where the attack occurred.
- Choose to conclude the conversation.
Select the first option, and Lorgan introduces himself. Choose the second option, and you'll discover that a dwarf dressed in red was responsible for his murder. Then, opt for the third choice, and Lorgan reveals that he was concealing Brilgor from the Flaming Fist during the attack. Proceed to the fifth option, and he discloses that the attack took place in the tunnels below the cellar. Note that this is the extent of your ability to ask questions through the spell. The answers obtained will lead to an update in the quest journal.
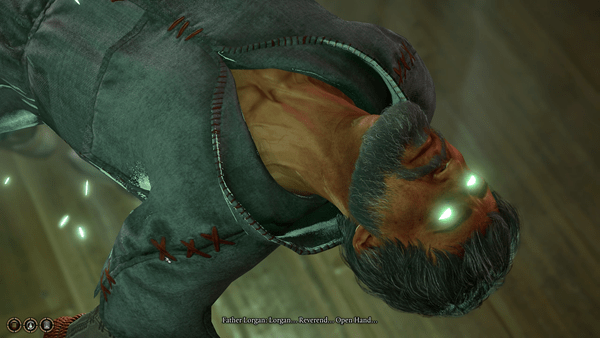
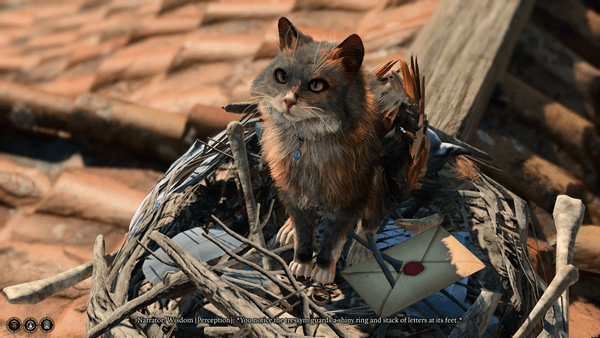
Afterward, ascend the ladder leading to the temple roof, where you'll encounter Tressym the cat guarding a shiny ring and a stack of letters. Engage in conversation using one of the following options:
- Inquire about the cat's presence in the area.
- Remark on the appealing appearance of the ring and inquire about its fate.
- Playfully suggest the cat's involvement in the disappearance of post house pigeons.
- Choose to leave the conversation.
Select the third option, and the cat acknowledges its connection to the missing pigeons. Proceed with the following questions:
- Advise the cat against consuming the letters, emphasizing their significance.
- Playfully inquire about the cat's favorite type of bird.
- Offer a parting wish of luck in its hunting endeavors.
Select the first option, and the cat wonders if you're ready to depart. Respond with:
- Attempt to dissuade the cat using an intimidating tone.
- Persuade the cat to halt its pigeon hunting through diplomacy.
- Employ deception by suggesting an alternative location for avian prey.
- Choose to wish the cat well with its feast.
Choose the third option, and if your Charisma is substantial, the cat will believe you and allow you to loot the letters nestled within its nest.
Upon completing these tasks, descend from the rooftop and proceed directly to the temple's basement. Begin searching the area for items of value. Once your search is complete, navigate to a specific corner of the basement where caskets are situated. Interact with the remains of Shirra Clarwen, taking possession of them. Following this interaction, the undead corpse will communicate that Shirra's spirit has already departed. As you engage, you'll notice a peculiar sensation tingling in your muscles and your mouth twitching, indicative of the laughing madness' influence spreading. Gradually, you'll sense a peculiar presence within your mind, causing your wisdom to diminish. Your available responses include:
- [Wisdom] Employ your mental acuity to safeguard your vulnerable thoughts.
- [Constitution] Steel yourself and redirect the sensations to an alternative focus.
- [Illithid] [Wisdom] Call upon the parasitic entity to absorb the impact.
- Accept the inevitable. Allow your wisdom to deplete.
- Refrain from involvement. Disavow any connection to this occurrence.
Choose the second option, and if your constitution proves formidable, your wisdom remains intact despite the encroaching influence of Shar's madness. However, over time, you'll once again sense your wisdom diminishing. In response, consider the following actions:
- [Wisdom] Gather your senses, dispel mental clutter, and endure the madness without relinquishing your wisdom.
- [Constitution] Stand resolute. Transform this curse into a boon, safeguarding your wisdom from surrender.
- [Illithid] [Wisdom] Rally the tadpole, permitting it to absorb the brunt of the damage.
- Allow your mind to ease. Permit the madness to siphon your wisdom.
Select the second option once more, demonstrating your resilience against the curse's effects. The manifestation of the cursed monk will materialize, clarifying that his mind was not his own. He will bid farewell, signifying his eventual tranquility. Consequently, the quest "Help the Cursed Monk" reaches its conclusion. Additionally, as a reward for your efforts, you'll acquire the Tasha's Hideous Laughter spell.
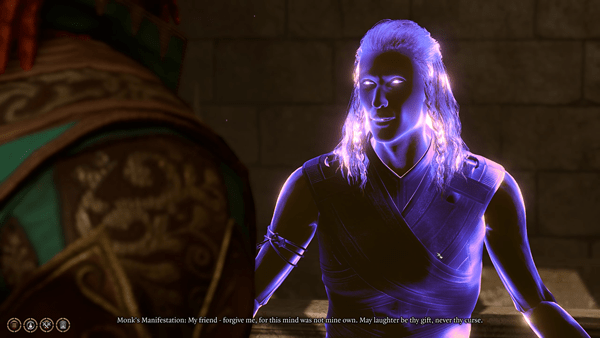
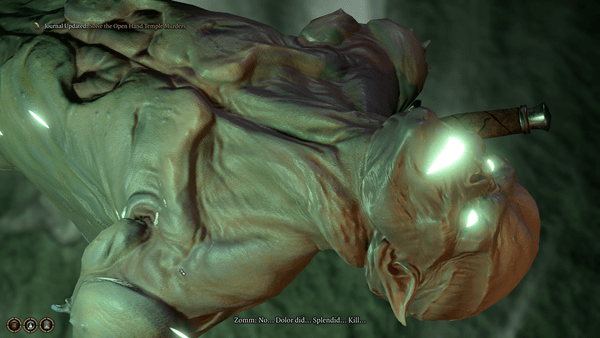
Following these events, return to the basement hall and proceed towards the left, where you'll discover a button that you can press. Activating this button will reveal a concealed passageway along a wall in the basement, resulting in an update to the Temple Murder quest. Upon entering the secret passage, you'll find yourself within a cave-like area populated by adversaries situated at coordinates X:-48 and Y:-1042. Engage in combat to overcome these foes, subsequently enabling you to employ the Speak with Dead spell to converse with one of the Zomm enemies. Opt for the following inquiries:
- Who are you?
- Did you murder Father Lorgan?
- What was your purpose here?
- Who is your employer?
- How many more of your kind exist?
- Depart.
Select the second option, prompting Zomm to deny any involvement and disclose that an individual named Dolor was responsible for the act. Proceed by inquiring about Dolor's identity, prompting Zomm to describe Dolor as a Blood-Red dwarf. At this juncture, the conversation with the deceased concludes, leading to an update in the Murder quest. Subsequently, you'll have the opportunity to search the corpse's belongings and retrieve a key adorned with a flower motif.
Venture outside the cave at X:66 Y:-1004, then head to X:-94 Y:109 to uncover a chest on a shattered ship, from which you can retrieve the Necklace of Elemental Augmentation. Proceed southwestward until reaching X:-140 Y:71, where two mortally wounded Stonelord Thugs await. Engage in conversation with one of them, under the mistaken belief that your presence signals the end of their journey. Your responses can include:
- Who are you?
- What led to your current state?
- Accusing innocent passers-by – an intriguing survival tactic.
- With pleasure.
Opt for the second choice, and the thug will acknowledge their unfortunate choice of conflict. He'll seek assistance for his injuries, prompting potential responses:
- Attempt to heal him.
- What task would you have me perform?
- You're beyond salvation. My apologies.
- Provoke his wound, assessing his pain.
Choosing the first option, the thug will prevent your aid, deeming it too late. He'll brandish a blade, requesting a swift end to his agony. Your responses here can be:
- I'll accompany you till the end, but I won't hasten your departure.
- I'll expedite the process – a painless passage.
- Inflict a grievous wound, inciting suffering and screams.
- No. I won't bear your blood on my hands.
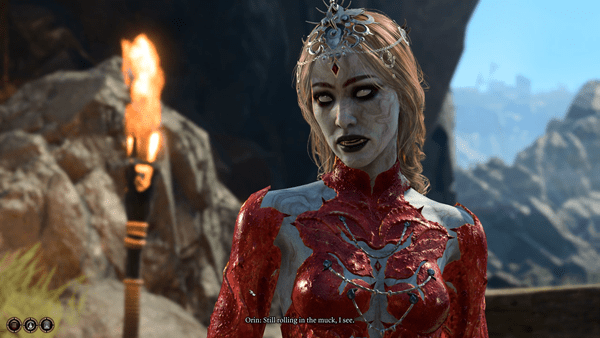
Opt for the second response, and you'll witness your character promptly severing the thug's neck. However, surprisingly, the thug transforms into Orin. Orin reveals that Gortash anticipates your arrival and warns against succumbing to his deceit. A sense of being toyed with pervades as she vanishes once again.
Following this, journey deeper along the coast until reaching X:-199 Y:96. There, an altercation unfolds between Cairos and Farlin, representatives of the Stone Lord and the Guild. Farlin solicits your aid and promises reward. Your potential replies:
- The prospect of rewards appeals – I'm in.
- The Stone Lord seems a better choice.
- I'd rather abstain from this.
- I might just eliminate you both and claim the spoils.
- Can't we find common ground? Must conflict be the only recourse?
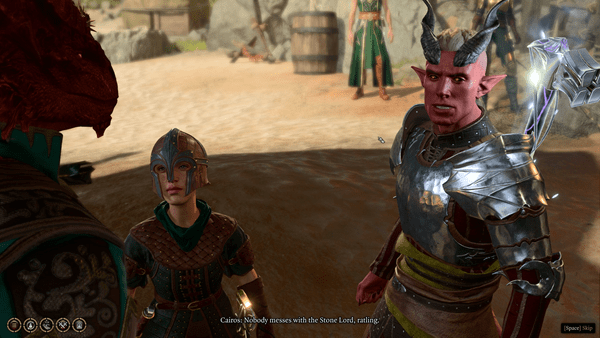
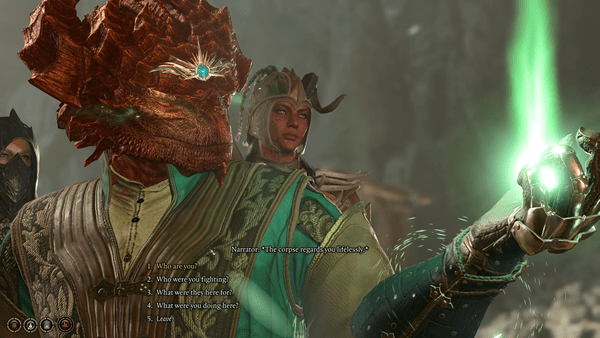
Opt for the first choice, prompting Cairos to mock your allegiance. Battle ensues, and afterward, you can converse with the fallen. Speak with Farlin if he falls:
- Who are you?
- Who were your adversaries?
- Their purpose for being here?
- Your reason for being here?
Select the third choice, and Farlin reveals they sought their share for Nine-Fingers. Inquire about the Stone Lord's identity, and Farlin portrays the Stone Lord as a perilous menace to all.
There are a few other things you can do while in Rivington. If you speak to Lilly Beanbottom, you can buy a copy of the Baldur's Mouth Gazette for 2 Gold with the headline focusing on Duke Stelmane's murder.
BG3 Sword Coast Couriers
In the north part of the town, opposite to the Open Hand Temple, is the Sword Coast Couriers. During Act 1, if you found Scratch and Gomwick in the north part of the Forest, you can bring up Gomwick's demise to the person in charge. Speak to the man behind the counter, Danzo Arkwright, and you'll have the following dialogue choices:
- I'm sorry to tell you - I found the body of one of your couriers. He carried this letter.
- Wait - delivery not guaranteed?
- I'm not sending anything. You can drop the sales routine.
- It's rare to meet someone so cheerful these days. Why the good mood.
- Leave.
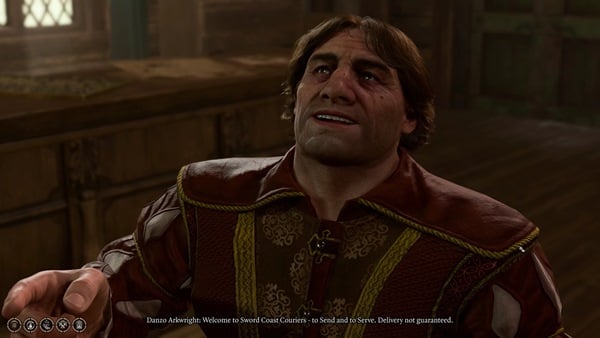
If you pick the first option, you'll give him the Personal Note and let him know about Gomwick. He'll then explain that with Gomwick gone, he's been attempting to send letters by pigeons, but these pigeons have been getting attacked as well. This will start the Find the Missing Letters Quest. If you found and confronted the Tressym on top of the Temple of the Open Hand, you'll be rewarded immediately after the conversation ends. Your character will also roll an automatic Insight Check, and if they succeed, you'll notice that Danzo is worried about something else besides the pigeon problem. You'll then be given the following responses:
- You must be particularly keen to retrieve the Zhentarian letters about the Iron Flask.
- Level with me. What's really going on here?
- Any idea where the birds went missing?
- I could find the pigeons for you. My fees are very reasonable.
- I'd be happy to take a look.
- Good luck with that, I've got bigger problems to solve.
Pick the second option, and he explains that he's missing a letter of his own and that he'd rather not have word of it go around. You'll be given an additional dialogue choice allowing you to attempt to Persuade him to pay you in exchange for helping him. The check required is a DC 18 Persuasion Check. If you succeed, he'll pay you some gold upfront and ask that you don't open it if you find it.
In order to progress this dialogue, you have to pick the first option where you own up to opening up his letter. He'll offer you some money to keep quiet about the contents of the letter, to which you'll have the following responses:
- [DECEPTION] I've got another buyer lined up. I'd make it a very generous fee.
- [INTIMIDATION] Give me everything the Zhentarim paid you, or this letter is the least of your worries.
- [PERSUASION] It'd be a shame if anyone told the Zhentarim you lost this. A real shame...
- I graciously accept.
- No, thanks, I'm keeping the letter.
If you pick the first option, you'll have to pass a DC 18 Deception Check. He'll then give you the money and the next time you speak to him, he'll tell you to bugger off. On the desk Danzo is standing behind is one white poster that you will not get in trouble for reading - Gortash Coronation Poster. If you read it, you'll learn that Gortash is being named an Archduke and that the ceremony will take place at Wyrm's Rock. Get Gortash's Netherstone and Our Fiery Friend will be updated with this information.
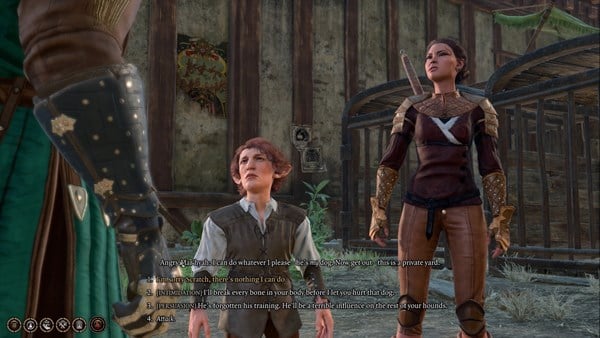
Out the Double Doors to the right of the building are the courier's dog trainers and their several dogs in cages. Scratch was one of their courier dogs and you can mention him when speaking to the dogs' caretakers. Speak to Oyster Boy Dringo and you'll get the following set of dialogue choices:
- Do you work here?
- That woman seems like a harsh taskmaster.
- I think I found one of your dogs - Scratch.
If you pick the second option, he'll bring up that his dad told him she'd toughen him up. Your next set of choices will look like this:
- She seems like a bully.
- Your dad sounds like a smart man.
- You don't look very tough.
Pick the first option, and he tries to justify her behaviour. At this point the Angry Mar'hyah will interrupt the conversation saying that you are trespassing. You can bring up Scratch to her, to which she asks if you can call for him as both caretakers would be very happy to see him. When you whistle for Scratch, he shows up weary of the lady. She proclaims that Scratch is a property of Sword Coast Couriers and demands him back. Your list of responses will be:
- You shouldn't raise your hand to him like that.
- I though Scratch belonged to Gomwick?
- Is there any reward for returning him?
- He lives with me - you can't just take him.
- Sorry Scratch, she's right. You don't belong to me.
If you pick the fourth option, the Angry Mar'hyah threatens you again to which you can reply with:
- I'm sorry Scratch, there's nothing I can do.
- [INTIMIDATION] I'll break every bone in your body before I let you hurt that dog.
- [PERSUASION] He's forgotten his training. He'll be a terrible influence on the rest of your hounds.
If you pick the third option, you'll have to succeed on a DC 18 Persuasion Check. If you choose the second option, you'll have to make a DC 18 Intimidation Check. Succeed on the Intimidation Check and Dringo pipes up saying that she abuses all the dogs here. You'll have another set of choices to choose from:
- I'm sorry Dringo - I only care about Scratch.
- [DECEPTION] I hear Lord Gortash abhors animal abuse. Perhaps I should report you to him.
- [INTIMIDATION] I'll give you to the count of ten to leave these kennels. One, two...
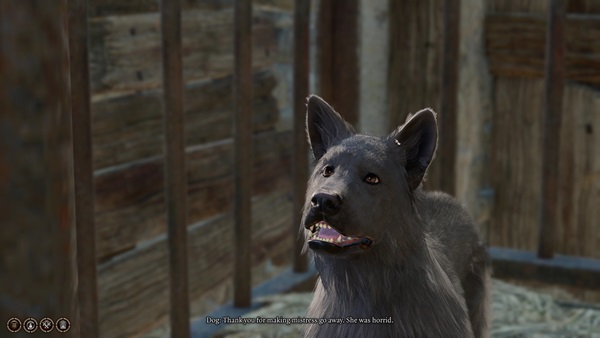
Pick the second option and you'll have to succeed on a DC 20 Deception Check. If you succeed, she'll march off, leaving the dogs' care to Dringo. If you cast Speak with Animals, you can speak with the dogs here to learn that they are relieved that the Angry Mar'hyah has left. Back at camp, you can also speak to Scratch who says that he is happy at Camp and believes Dringo will take care of the other courier dogs. Keeping Scratch at camp gives you the approval of both Wyll and Gale.
BG3 The Rivington General
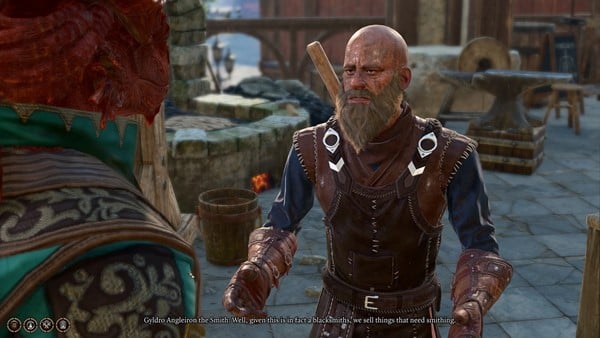
South of the Sword Coast Couriers and northwest of Artur's Mansion, you'll find a blacksmith, The Rivington General. If you head up the stairs and speak to Gyldro Angleiron the Smith, he's irritable and points you towards the store downstairs if you want to buy anything. You'll find the door to the store behind the blacksmith. Head downstairs to find the store's clerk, Exxvikyap. If you're a Dragonborn, you'll have some special dialogue choices with her. Your first set will be:
- Are you the one that sells the smith's weapons?
- [DRAGONBORN] Have a little dignity, fledgling. You're giving me a headache.
- Show me your wares.
- [DRAGONBORN] A rather menial job you've landed, fledgling. What path has brough you to such service as this?
- Leave.
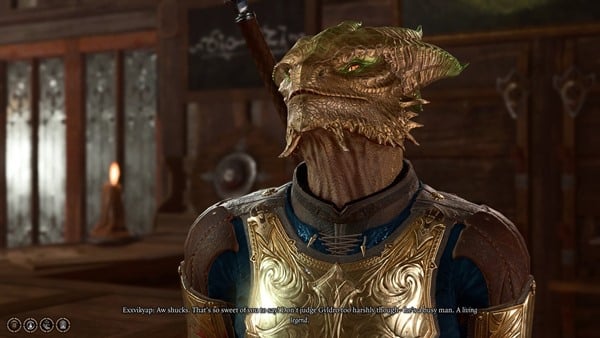
If you pick the second option, you'll then have the next set of choices to choose from:
- You're certainly a lot friendlier than your boss.
- Really? Customer service is your idea of the best job ever?
- Well it's your lucky day. I've come to look at your wares.
- Back away slowly.
After you pick one of the three options, you'll be able to view her wares. Exit the blacksmith an in the western part of Rivington, south of the Open Hand Temple, is the Circus of the Last Days. For a walkthrough of this area, please visit the Circus of the Last Days page.
Notes & Tips
- A mind-flayer brain that gives illithid power is in the Abandoned Windmill in Rivington.
- Search Arfur's Mansion basement to acquire quest (Investigate the Suspicious Toys)
- You can return the SENTIENT AMULET in exchange for a free Hideous Laughter spell.
- Another tadpole can be found on the ship. (X-215, Y132).
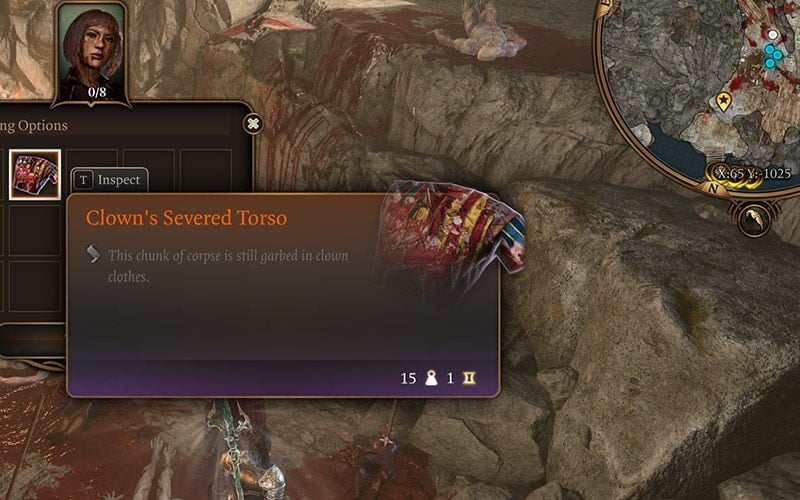
- Clown Dribbles' severed torso can be found on a dead victim near Shapeshifter assassins in the cave under Open Hand Temple. (X65, Y-1025)
 Anonymous
Orrin has a set of NPC's she can turn into. The first two you encounter/phase into on the map are the one's she turns into. Near the donations warehouse, Fist Rowan, Blacksmith, Reporter lady near the bridge, the Dryad in the circus, stabbed guild member prior to the area where the two gangs are fighting. Dunno if there are more. One way to bypass the illusion is to throw rocks at her. Literally. Heavy Stone - does no damage, doesn't aggro anyone, and breaks the illusion without speaking with her to give anything away. RP wise. You can tell it's her by the legendary resistance. Additionally her Disguises have their own inventory apart from Orrin herself. None of her disguises have the netherstone for story reasons. If you can make her temp hostile, you can get her HP to 0, but it will not kill her. Instead when you get far enough away, she deaggros and the scene plays out like you saw through the illusion by giving into murder hobo urges.

 Anonymous
Near where Cairos and Farlin were fighting, at -233, 84, is a passageway that has Bonespike boots.

 Anonymous
The Rivington General blacksmith is one of the NPCs that Orin might be masquerading as, after she vanishes the real blacksmith runs out of his house and accuses you of knocking him unconscious.


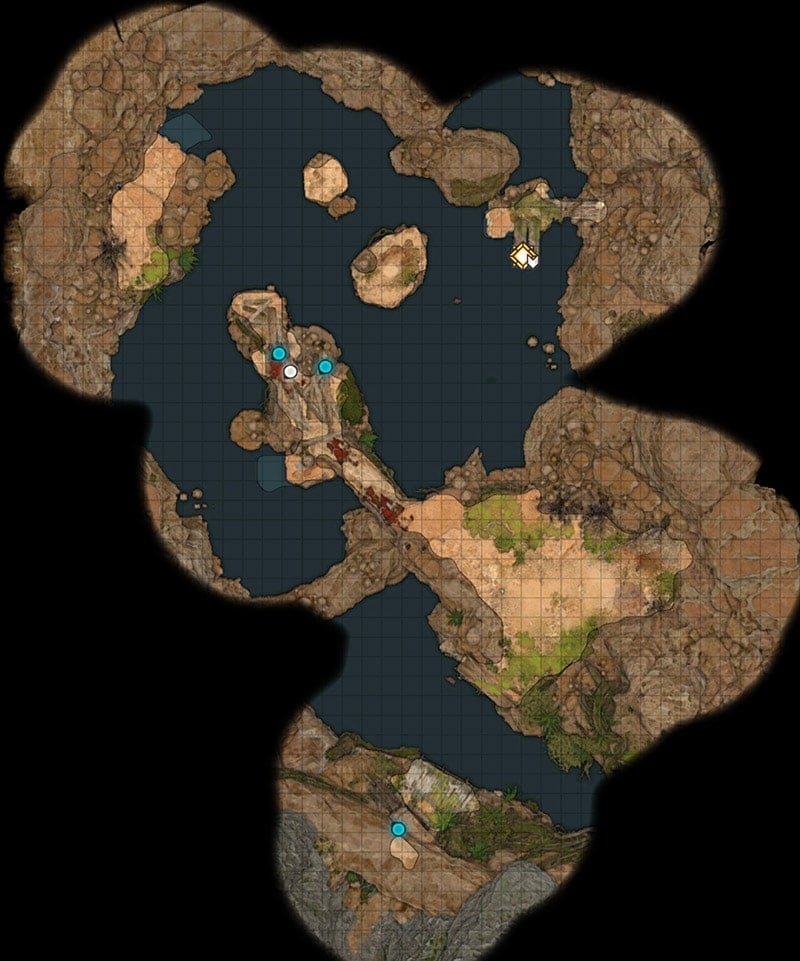
Just made it to this area and it kinda crashed the graphics. Like textures aren't loading correctly. Started an older save and same deal. Game fully updated as well. Anyone else?
2
+10
-1