Nautiloid |
|
|---|---|
 |
|
| ACT | 1 |
| Location | Avernus |
| Suggest Level | 1 |
Nautiloid is a Location in Baldur's Gate 3. On this page, you can find information about the map, quests, enemies, notable items, and other useful tips about Nautiloid.
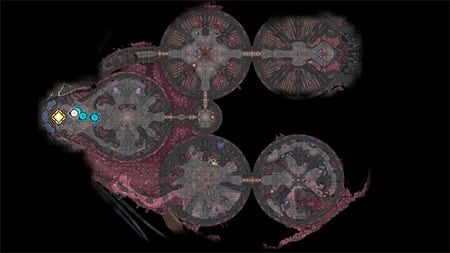
Nautiloid Map
Nautiloid Sub-Areas in Baldur's Gate 3
- There are no Sub-Locations in Nautiloid.
Baldur's Gate 3 Nautiloid Notable NPCs
Items in BG3 Nautiloid
Baldur's Gate 3 Nautiloid Quests
Baldur's Gate 3 Nautiloid Walkthrough
Find a way off the Nautiloid
This quest will also serve as the "Tutorial" section of the game. Upon starting the quest, you'll begin with escaping your pod amidst the commotion. Check the other Mind Flayer Pod (X:48 Y:-434) and you'll realize that there might be other survivors.
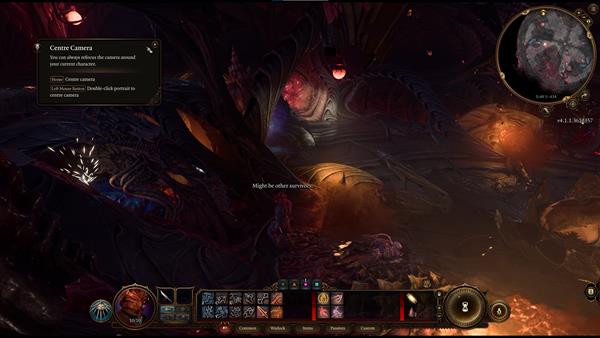
As you explore further, you'll see an unstable Nursery in the middle(X:51 Y:-422). Once you get close enough, the Narrator explains that this is where the parasite that's writhing behind your eye came from.
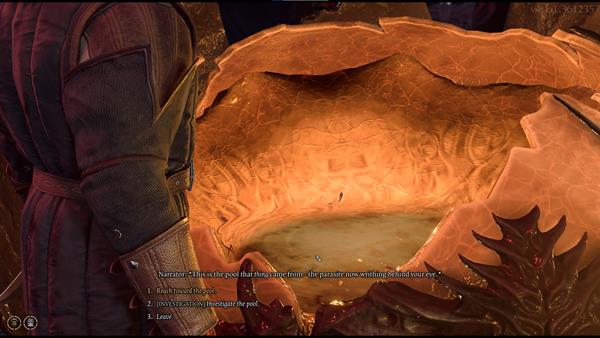
You will have three options:
- Reach toward the pool.
- [INVESTIGATION] Investigate the pool.
- Leave.
If you choose the second option, a prompt will pop up explaining how Skill Checks work. In certain dialogue situations, you will need to roll a die and meet or exceed the target number (which is the Difficulty Class (DC) number you'll see on the screen) required in order to successfully initiate the dialogue option you've chosen.
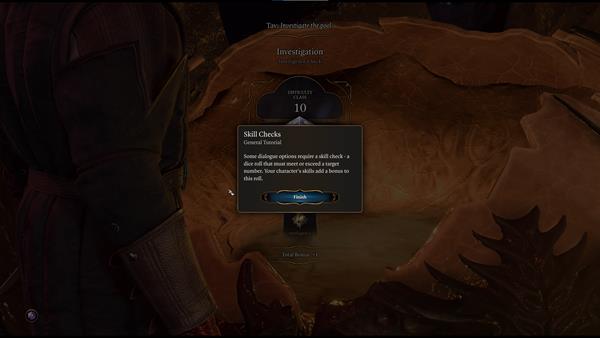
Some characters will already have skills that can give them an advantage in certain dice rolls. For this instance, this character has a +1 Intelligence bonus, so whatever number it gets, it will add a +1 to the number. The DC for this is 10 and if you fail the skill check, you will have two options:
- Reach toward the pool.
- Leave.
If you choose the first option after failing the skill check, the Nursery will explode. On the second level, there are several cartilaginous chests (X:47 Y:-436) that contain some Potions and other misc items. When you navigate this region, you can use the jump Action to cross gaps and fires to loot bodies on the other side. If you get damaged by the fire, you can interact with the Restoration to recover your health.
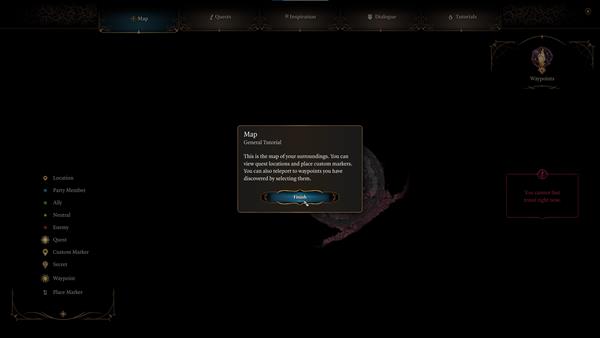
Now move on to the next room by interacting with the Sphincter (X:28 Y:-424). Once you proceed to the next area, the game will explain about the Map and show the different markers on the left side of the screen.
In this next area, you will find more potions and scrolls on dead Imps. Now get on top of the platform in the middle (X:0 Y:-427) where you'll see one of the Neural Apparatus it will then lift you to reach the higher ground. You'll then notice a victim you can interact with named Myrnath (X:0 Y:-430). The first few dialogue options won't affect anything regardless of what you choose.
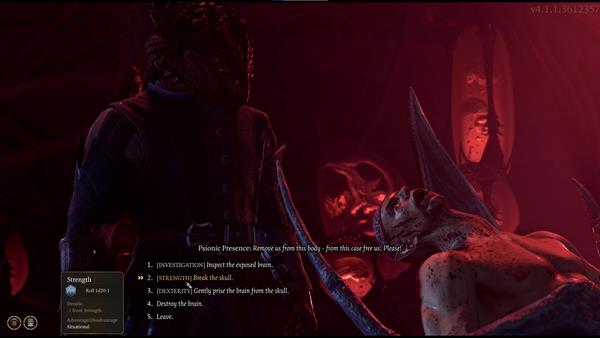
If you have an Intelligence (Arcana) Bonus, the narrator will say that you've realized you're currently talking to an Intellect Devourer, a minion of the Mind Flayers that abducted you. Once the Intellect Devourer begs for your help, you will then have to choose among 4 options:
- [INVESTIGATION] Inspect the exposed brain.
- [STRENGTH] Break the skull.
- [DEXTERITY] Gently prise the brain from the skull.
- Destroy the brain.
- Leave.
If you choose the first option and you succeeded in the skill check with DC 10, your character will notice a swelling of the brain causing pressure where it strains against the shell of the skull. You will have another 5 options to choose from:
- [STRENGTH] Break the skull.
- [DEXTERITY] Gently prise the brain from the skull.
- [MEDICINE] Attempt a cerebral extraction, staying mindful of the swelling.
- Destroy the brain.
- Leave.
Depending on your character, some dialogue options will turn out better than others. In this case, this character has a 2d20 Advantage when choosing the third dialogue option, which is attempting a cerebral extraction You would need to pass a skill check with DC 10 for this.
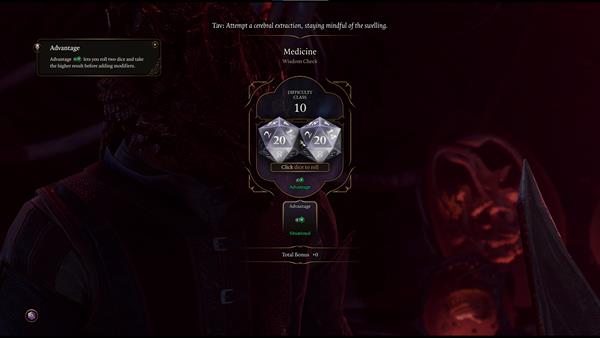
An Advantage lets you roll two dice and take the higher result before adding modifiers. Once you've successfully met or succeeded the target number, you can choose to let it accompany you and aid you in your adventures by sparing the brain. This newborn Intellect Devourer could provide valuable information.
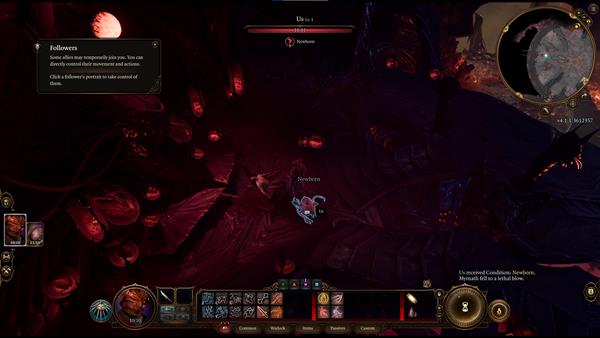
If you choose to spare the brain, it will tell you that you must go to the helm. There are multiple dialogue options during this conversation but in the end, it all leads you to where the brain wants you to go. If you choose to help the brain, you will have gained a follower. Some allies may temporarily join you and you can also directly control their movement and actions by clicking on their character portrait on the left side of the screen.
Reach the Helm
As you continue forward, you'll encounter Lae'zel (X:-39 Y:-430), a female Githyanki Fighter who can become one of your potential Companions. Join her to fight the imps you'll encounter ahead (X:-45 Y:-402).
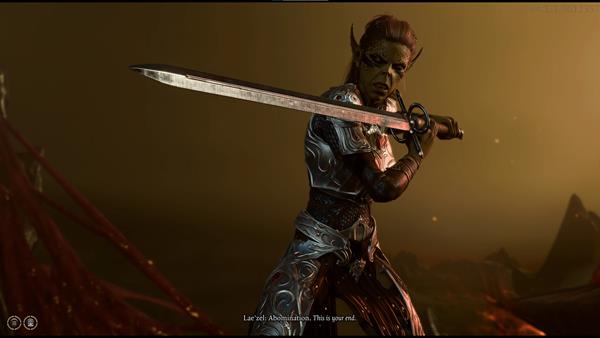
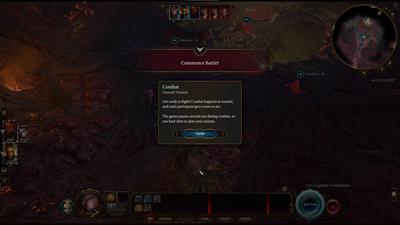
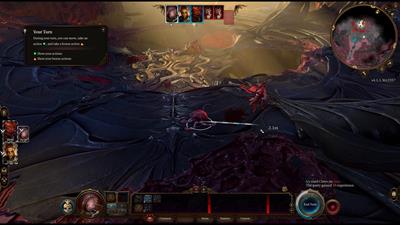
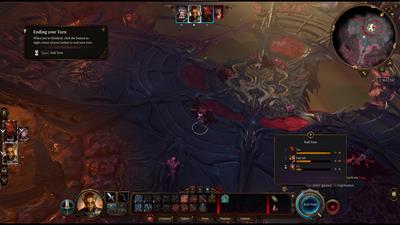
Before you engage in combat, a prompt will pop up on the screen explaining how combat works in Baldur's Gate 3. This game features a turn-based combat system, meaning you have to plan carefully at each encounter. Every participant in combat will get a turn and the game also pauses around you during combat, meaning you will have time to think about your next move. See our Combat page to learn more about the Combat mechanics in Baldur's Gate 3. During your turn, you are allowed to move, take an action, and take a bonus action. The green icon you'll see below represents your Actions, the orange triangle icon represents your Bonus Actions. After you finish your turn, click the button labeled "End Turn" located on the right corner of your Hotbar to end your turn.
For this fight, it is recommended that you use the Intellect Devourer as your tank and lure the Imps out one by one when taking them out. Be careful not to get surrounded as Imps can move fast and have ranged attacks, you may also not have the chance to heal once you get surrounded. If you are using a Class that can use Find Familiar, use it to gain an advantage in combat. Unlike in BG1 and BG2, the death of your familiar won't cause a permanent decrease in Health.
(Note the Nautiloid of the Final released version of BG3 is a bit different from the EA version. The outer decks are removed. Once you finished fighting Imps with Lae'zel, you will directly enter the chamber with Shadowheart's pod.)
After defeating the Imps, loot the items from their corpses and heal yourself using the Restoration if needed. Then move forward to the deck. The Dragons' attack and the fights between imps and thralls have lefts tons of bodies on deck, you can loot golds, potions, scrolls, and all sorts of items on them. Climb the Arterial Mesh (X:-43 Y:-367) you will immediately see as you proceed to get to the next area(X:-31 Y:-356).
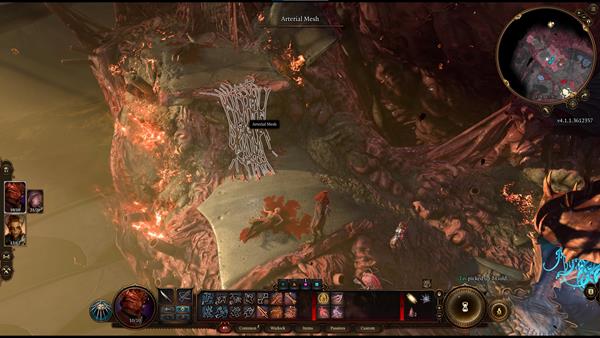
Upon entering the room, you'll find a control panel in the middle (X:-11 Y:-354). The various slates in the rooms that are above the buttons have their text hidden behind a DC 15 Arcana skill check. The three slates in the first room you go to read, in order from left to right: "Unleash - Aggression - Annihilate". The 'Unleash' button plays a short scene but ultimately does nothing. The middle button will cause the thralls to attack you, while the rightmost button will instantly kill them. On the left side of the room, you'll see another Mind Flayer Pod with someone inside the chamber (X:-3 Y:-347). You will also notice a control panel beside it.
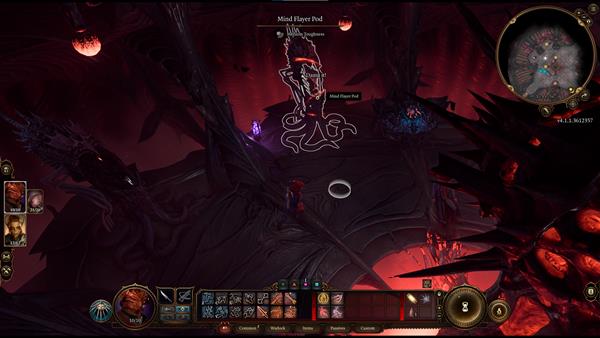
As you approach the pod, Shadowheart, a Shar priest and a potential Companion, tells you to get her out of there, Lae'zel insists that we leave her as we don't have much time.
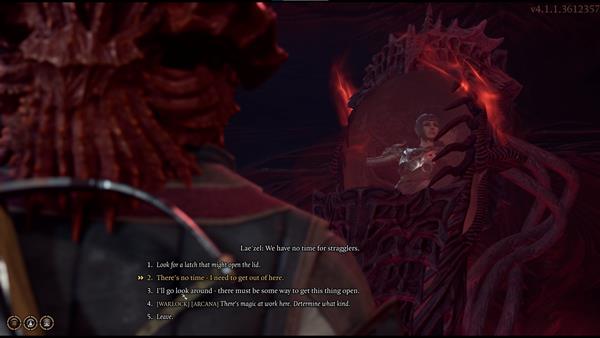
From here, you will have 5 dialogue options:
- Look for a latch that might open the lid.
- There's no time - I need to get out of here.
- I'll go look around - there must be some way to get this thing open.
- [WARLOCK] [ARCANA] There's magic at work here. Determine what kind.
- Leave.
Depending on your character, choosing the fourth option will require you to pass a skill check with DC 7, successfully passing the skill check will allow you to control the console and release her later on. Now interact with the console on your right. You will then have 4 options:
- Look for a switch or release.
- Hit it.
- [WARLOCK] Inscribe the device with the glyphs you sensed from the pod's warding runes.
- Leave.
Again, this will depend on your unique character, for this instance, choosing the third option and successfully passing the skill check will prompt another action you can choose. From here, you will have another three options:
- Place your hand on the console.
- [ARCANA] Take a closer look at the powered-up console.
- Leave.
If you choose the second option, you will need to pass another skill check with DC 10. After successfully passing the skill check, you will notice that the control panel looks more like a beating heart than a machine, from here you can touch the control panel. And from here, you have two options:
- [ILLITHID] [WISDOM] Will the pod to open.
- Leave.
Choosing the first option will require you to pass another skill check with DC 2. Successfully passing the skill check will release Shadowheart from the pod. Interact with Shadowheart and speak to her, you can choose to make her your companion if you let her accompany you to the helm.
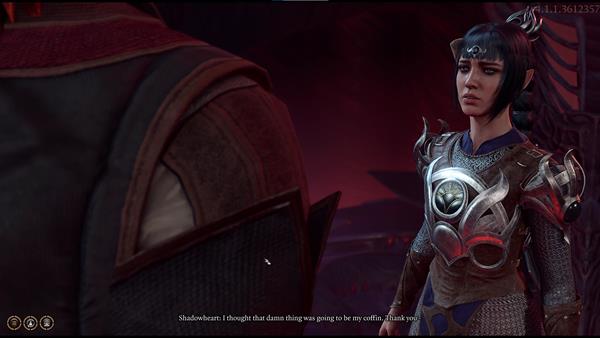
Now proceed to the next area, you can find a Gold Key on a corpse (X:28 Y:-354) just as you enter, you can use this to open an elaborate chest. In the middle of the room, you'll see another woman trapped inside a Mind Flayer Pond (X:46 Y:-354). North of the room, you'll see another corpse on the ground (X:61 Y:-353), she will have a Bronze Necklace and an Eldritch Rune that you can loot. Once you interact with the control panel, the woman inside the pod will start to transform, but cannot attack you as it will stay inside the pod.
- NOTE: If you couldn't pass the skill checks where you initially investigate the console, you can use the Eldritch Rune that you loot from a corpse in the east room from where Shadowheart is. Simply place the rune into the socket of the console and select Place your hand on the Console. The next dialogue choice is a Wisdom Skill Check that will allow you to open the pod if you pass DC 2.
Connect the nerves of the transponder
Now make your way to the helm (X:-20 Y:-389). Once you reach the area, you will witness the mind flayers and devils fighting. You will then immediately engage in combat after the short cutscene. You can focus on defeating the imps while ignoring Commander Zhalk, as he'll focus on fighting the Mind Flayer. Once you reach the other side of the helm, more imps will appear. This battle will be a race against time as you will need to reach the Transponder before the Nautiloid crashes. You will see on the right side of the screen how many turns you have left before the Nautiloid crashes. Do note that you can also kill Commander Zhalk and loot the Everburn Blade from him (2d6 + 1d4 fire). However, once you kill him, the Mind Flayer will turn hostile and some Cambions will appear in the area and start to attack.
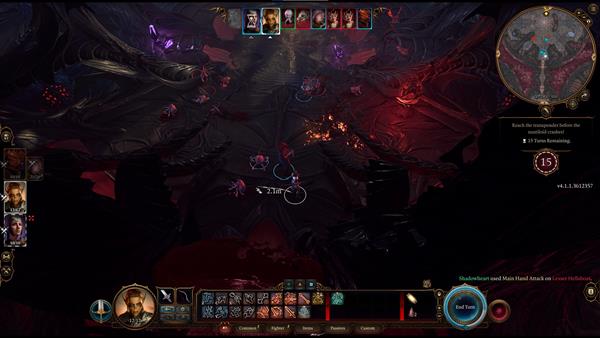
After clearing them out and connecting the transponder, the Nautiloid will leave Avernus. This marks the end of the prologue, and the next quest Find a Cure will start shortly after.
BG3 Nautiloid Notes & Tips
- Other Notes & Trivia for the Nautiloid go here.

