Astral Plane |
|
|---|---|
| [IMG] | |
| ACT | Act 2 Act 3 |
| Location | Crèche Y'llek |
| Suggest Level | 5-6 |
Astral Plane is a Location in Baldur's Gate 3. On this page, you can find related information about the map, quests, enemies, notable items and other useful tips about Astral Plane.
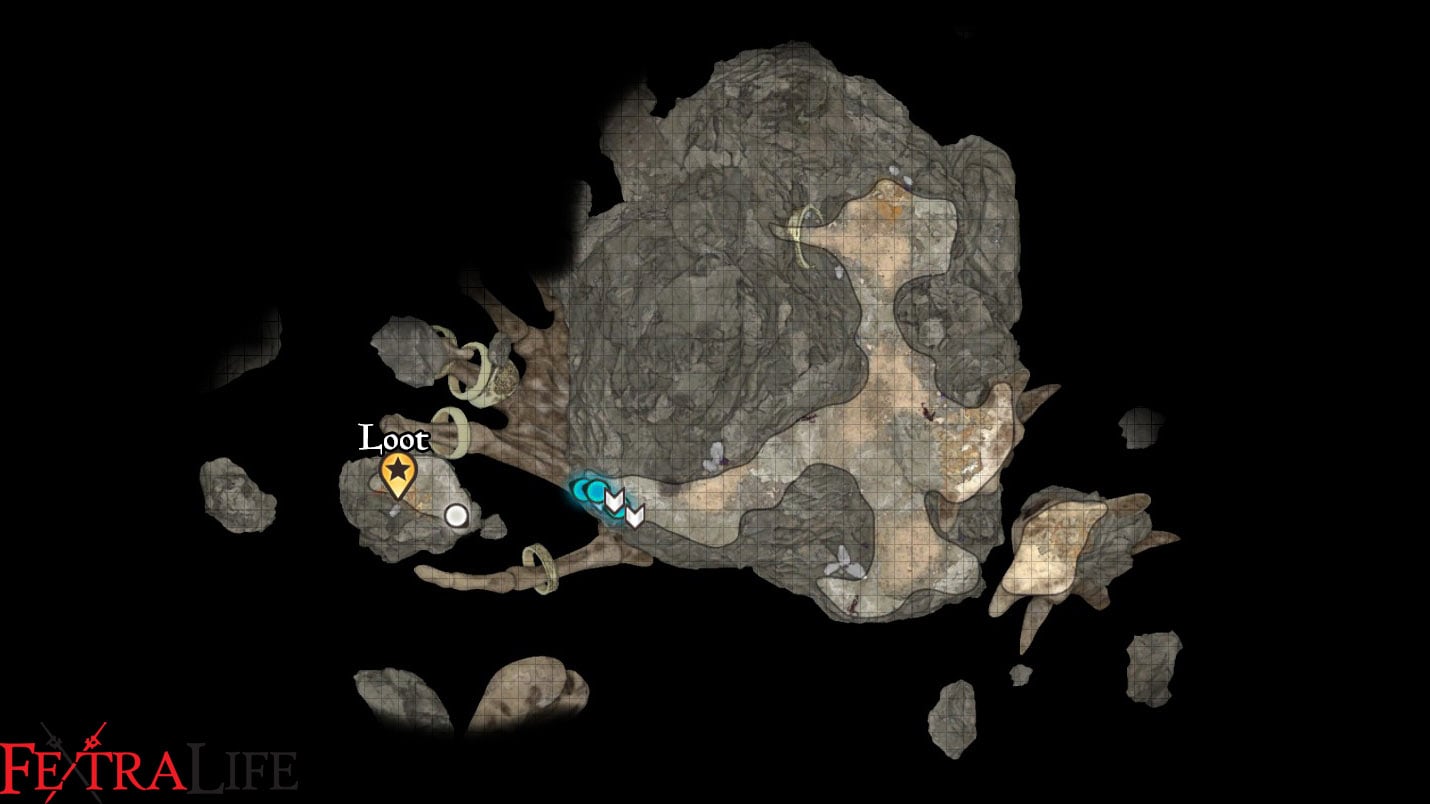
Baldur's Gate 3 Astral Plane Map
Astral Plane Sub-Areas in Baldur's Gate 3
- There are no Sub-Locations in the Astral Plane
Baldur's Gate 3 Astral Plane Notable NPCs and Merchants
- Orpheus
- The Emperor
Items in Baldur's Gate 3 Astral Plane
Baldur's Gate 3 Astral Plane Quests
Baldur's Gate 3 Astral Plane Walkthrough
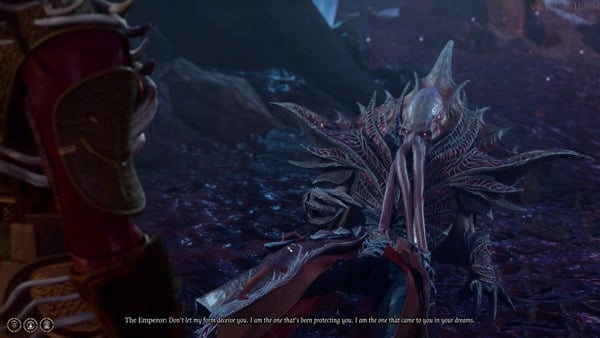
You will enter the Astral Plane once more during the beginning of Act 3. The Dream Visitor will come under attack while you are resting at the campsite in Wyrm's Landing, They'll open a portal to the Astral Plane during a combat encounter with some Githyanki, in which you have 3 turns to reach the portal. When you enter the Astral Plane, you'll find some more Githyanki warriors destroying the orb surrounding the skull and once again hear pleas from your Dream Visitor asking for help. Ahead on a platform below you, you'll find eight friendly Intellect Devourers fighting two Githyanki warriors. Hop down and defeat the warriors, then continue forward into the large skull. When you enter, you'll view a cutscene of a Mind Flayer fighting against several Githyanki. The Illithid will reveal that they were in fact your Dream Visitor and ask for help in defeating the Githyanki warriors. You'll have the following options when responding to it's request:
- What do you need me to do?
- Leave the githyanki alone!
- Prove to me that your are who you say.
- This is the battle you were fighting?
- I don't believe you. You're a mind flayer.
- Die, monster!

If you pick the fourth option, he will tell you that the warriors aim to free their master bound by chains and that you cannot let that happen. Agree, and you'll enter combat against four Githyanki warriors. After you defeat all four warriors the Mind Flayer, The Emperor, will thank you and explain that they are the reason you have not yet turned into a Mind Flayer yourself. You'll then have the following dialogue options:
- I ask again - who are you? And I'm going to need a name this time.
- Thank you for saving me.
- I always suspected you were a mind flayer.
- Why did you deceive me all this time?
- I prefer the other version of you.
- Tell me everything.
If you pick the first option, you'll learn more about who The Emperor was before being turned into a Mind Flayer. Your next set of choices will look like this:
- Lord Gortash was one of the Chosen in the colony...
- Did you have to eat criminals' brains?
- So are you going to tell me what this battle was about?
- How did you end up in here?
- That githyanki in the sphere - who is it?

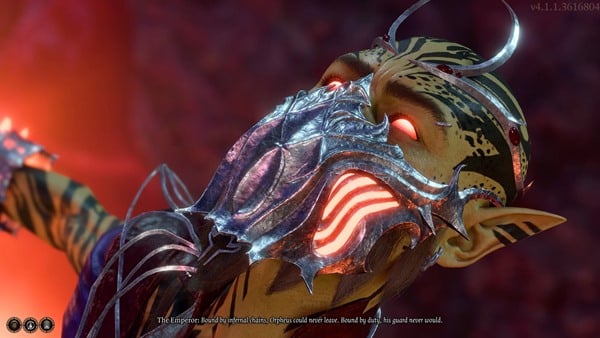
The first option is a free option, and lets you learn a little bit more about Gortash. Pick the fifth option, and he tells you a little bit about Orpheus, the bound githyanki prince, and how his powers are crucial to keeping your freedom from the Absolute. You will then have several options to ask about Orpheus and what you could do with him, as well as what The Emperor is doing in the Artefact. If you ask about freeing Orpheus, The Emperor states it's a bad idea and that the Githyanki prince will see you as a Mind Flayer as much as The Emperor is. You'll be able to give the following responses:
- We're alike in other ways too.
- The more I talk to you, the less you seem like a mind flayer.
- I'm nothing like you.
- I'm no illithid, and will never be.
If you pick the second option, The Emperor will talk about the benefits of being a Mind Flayer and encourage you to become one as well. You'll be able to respond in the following ways:
- I would like that.
- Why do you say that?
- I don't like what you're implying...
- I'm trying to avoid becoming a mind flayer - I thought you agreed to protect me.
Pick the second option again and he offers to evolve the tadpole in your head to the next stage, enhancing your Illithid Powers in exchange for a slight change in appearance. You can freely ask him why he can't stop ceremorphosis, after which you'll have to agree or disagree to his offer. If you disagree, he understands and hopes you can defeat your foes without the need of enhanced Illithid abilities, but gives you the Astral-Touched Tadpole just in case you change your mind. This conversation will be noted in the Embrace Your Potential Personal Quest, and ends Help Your Protector.
After the conversation ends, you can explore the Astral Plane freely and go back to loot the bodies of the defeated Githyanki warriors. Some Items of note include the Boots of Uninhibited Kushigo on Prelate Lir'i'c and a rare Scroll of Disintegrate on a Dead Githyanki northeast of the exit portal. West of the Dead Githyanki is a Divine Bone Shard, which, if it's the first of it's kind you pick up, will unlock the recipe for the Vitriol of Divine Miasma.
When you're done in the Astral Plane, use the portal to return to your campsite at Wyrm's Lookout. The Personal Quest Free Orpheus will begin when you leave.
BG3 Astral Plane Notes & Tips
- You can spare Dream Visitor and use your tadpole to explain your reasons to Laezel, she will eventually accept.
- If you choose to Kill Dream Visitor, he/she revives and gets upset at you. Nothing can be done for now.

