Crèche Y'llek |
|
|---|---|
| ACT | Act 2 |
| Location | Rosymorn Monastery |
| Suggest Level | 5-6 |
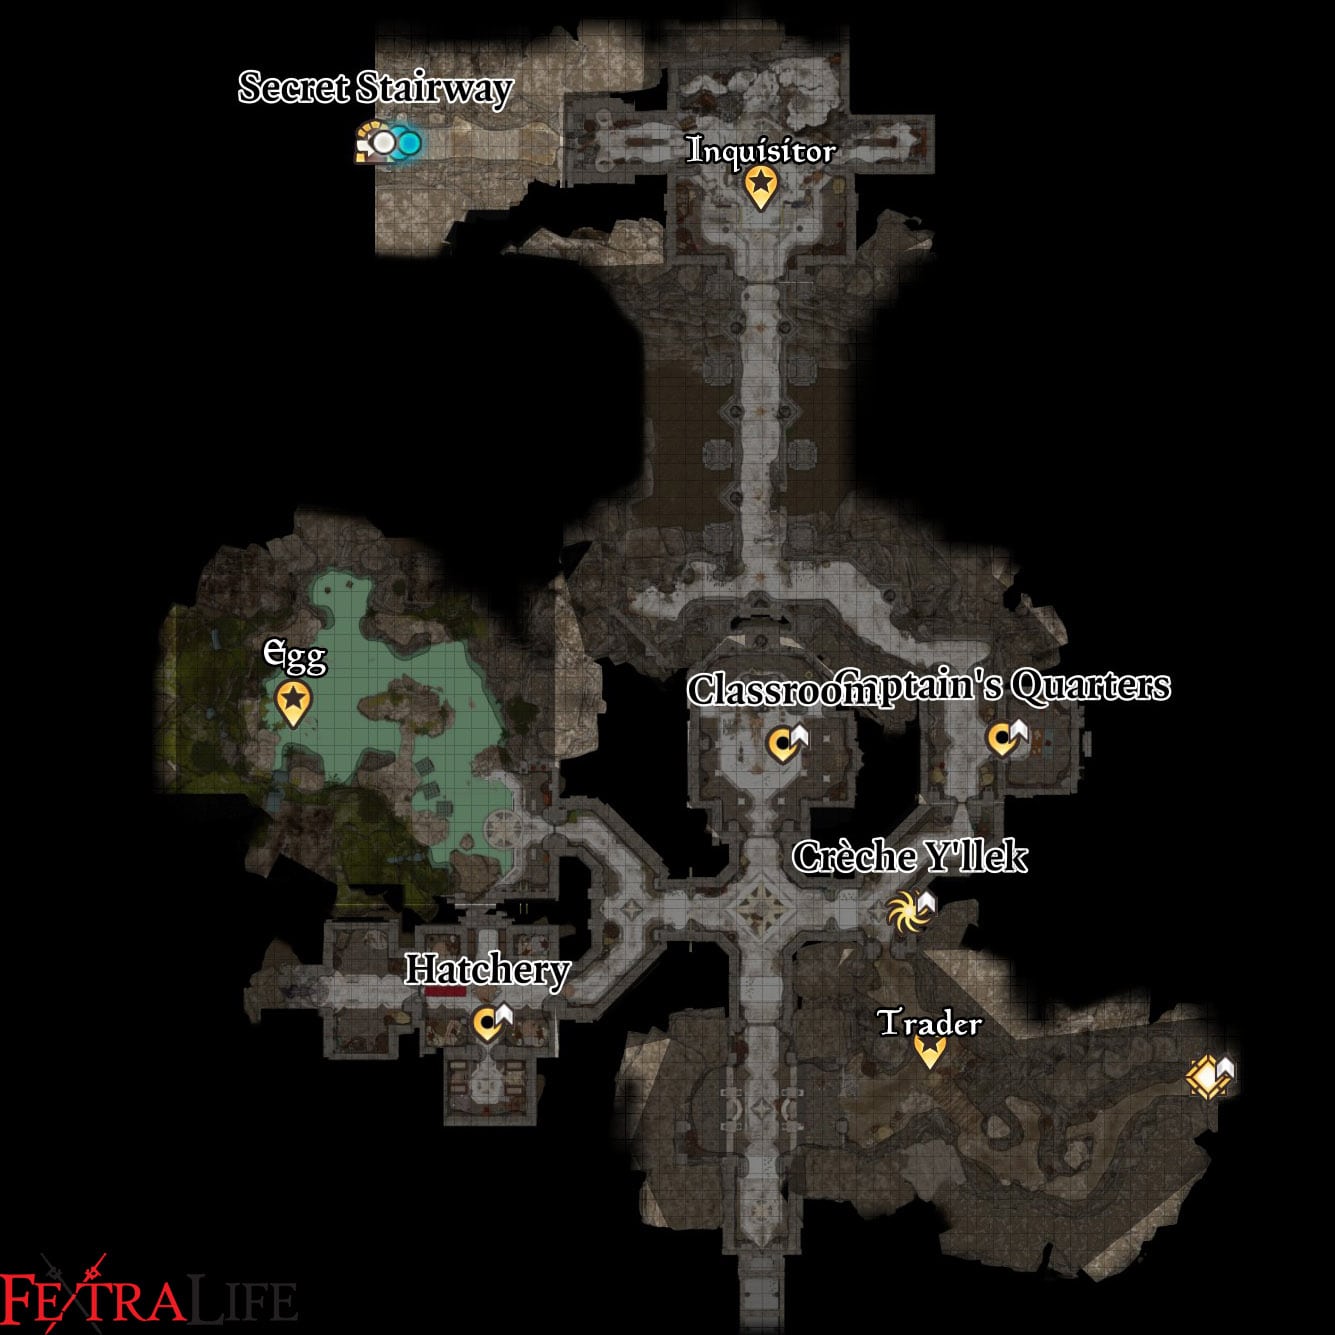
Crèche Y'llek is a location in Baldur's Gate 3. Crèche Y'llek located direct under Rosymorn Monastery. On this page, you can find related information about the map, quests, enemies, notable items and other useful tips about Crèche Y'llek.
Crèche Y'llek Map
Notes & Tips
- Interacting with the Small Portrait of Vlaakith with Lae'zel and passing the History check to inspect the symbol more closely reveals that it is the symbol of Orpheus, a prince who rode a comet.
- Choosing the correct dialogue choices with Youth Varryl will reveal that he is the one who drew the symbol.
- You can let your main character use the Zaith'isk in the Githyanki infirmary and pass 3 checks to gain Awakened status. (All of your Illithid Powers cost Bonus Action instead of Standard Action. Failed in checks cost your Constitution and Int score permanently.)
- The Githyanki egg is closely watched by Githyanki soldiers, but either the player or Lae'zel can convince Varsh Ko'kuu they are the best keeper or that the egg is not worthy.
- If you convince Varsh to give you the egg, he will give you Varsh Ko'kuu's Boots which grant resistance to Acid Damage.
- There are 3 Mind Flayer Parasite Specimens in the infirmary.
- Kill Ghustil Stornugoss will drop Aberration Hunters' Amulet.
- Kill Gish Umr'a'ac (Infirmary) will drop Ring of Elemental Infusion (add elemental damage to weapons after usea cantrip spell).
- Kill A'jak'nir Jeera (Quartermaster) will drop an additional Amulet of Branding.
- Kill Raider G'r'ath (near the Quartermaster) will drop Crossbow of Arcane Force.
- Kill Gish Far'aag (Guarding the entrance) will drop Ring of Arcane Synergy (increase weapon damage after use a cantrip)
- At the Inquisitor's Chamber you can find Gloves of Belligerent Skies (inflict Reverberation for 2 turns after deals Thunder/Lighting/Radiant damage) at an Elegant Chess on the South-West corner of the room.
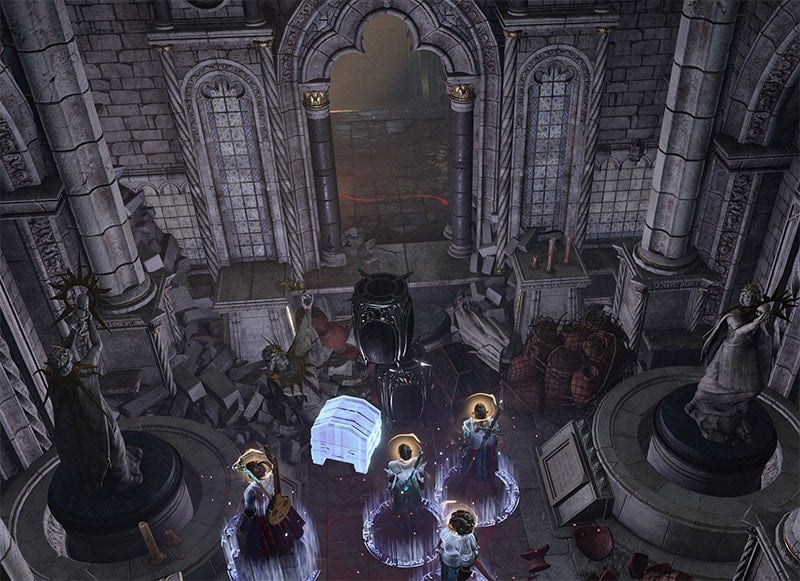
- After you have defeated the inquisitor and returned from the Astral Plane, (otherwise, Laezel may turn hostile), go to the statues on the left. Turn one of them facing west and the other facing east (sunset and sunrise) to reveal the entrance to Secret Chamber.

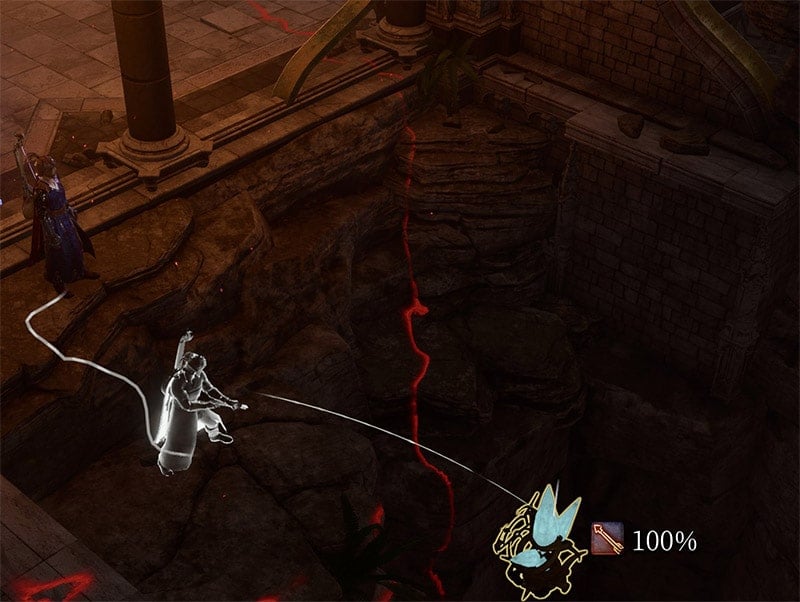
- Be careful of the dawn breakers in the corridor, and attack the energy sources to disable the light barriers.

- When you reach the secret chamber, place the Dawnmaster's Crest in the panel to claim the Blood of Lathander. Without the Dawnmaster's Crest, you will be locked within light barriers and the weapon located atop Rosymorn Monastery will activate. You will have to disable it and escape the monastery in 4 turns to avoid being killed.
Quests:
Sub-Areas:
- Astral Plane
- Secret Chamber
Notable NPCs:
Merchants:
 Anonymous
the map is wrong/incomplete, the place labeled hatchery is actually the infirmary; the hatchery is north of it.

 Anonymous
After they got hostile I knocked everyone out and stole all their gear and money and then vandalized the painting on my way out.
Killing everyone - mid, unoriginal.
Leaving them alive with 1 hp, naked, covered in grease, with all of their possessions stolen, everyone paired up to wake up with their crotches in each other's faces - hilarious, a tale to be told for generations to come, unfathomable levels of mental damage inflicted on the victims.
 Anonymous
The "ring" of arcane synergy is actually the Diadem of Arcane Synergy

 Anonymous
 Anonymous
If you can't pass the skill check attack the statue. I only discovered this because my game bugged out, refusing to let me pass any check and I accidentally had Karlach smack the damn thing.

 Anonymous
Where are the Mind Specimens? I couldn't find it in the Hatchery

 Anonymous
You can't turn both statues, one has a rusty mechanism that has an apparently impossible to pass athletics check. Don't see any other way to complete this

 Anonymous
If there are any consequences if I decide you kill everyone in Crèche?


This article could use an improvement, as others are talking about below. Some of the information is missing, and the hatchling section on the map is in the wrong spot.
1
+10
-1