The Risen Road |
|
|---|---|
| [IMG] | |
| ACT | 1 |
| Suggest Level | 3-4 |
The Risen Road is a location in Baldur's Gate 3 (BG3). On this page, you can find the information about the map, quests, enemies, notable items and other useful tips about The Risen Road.
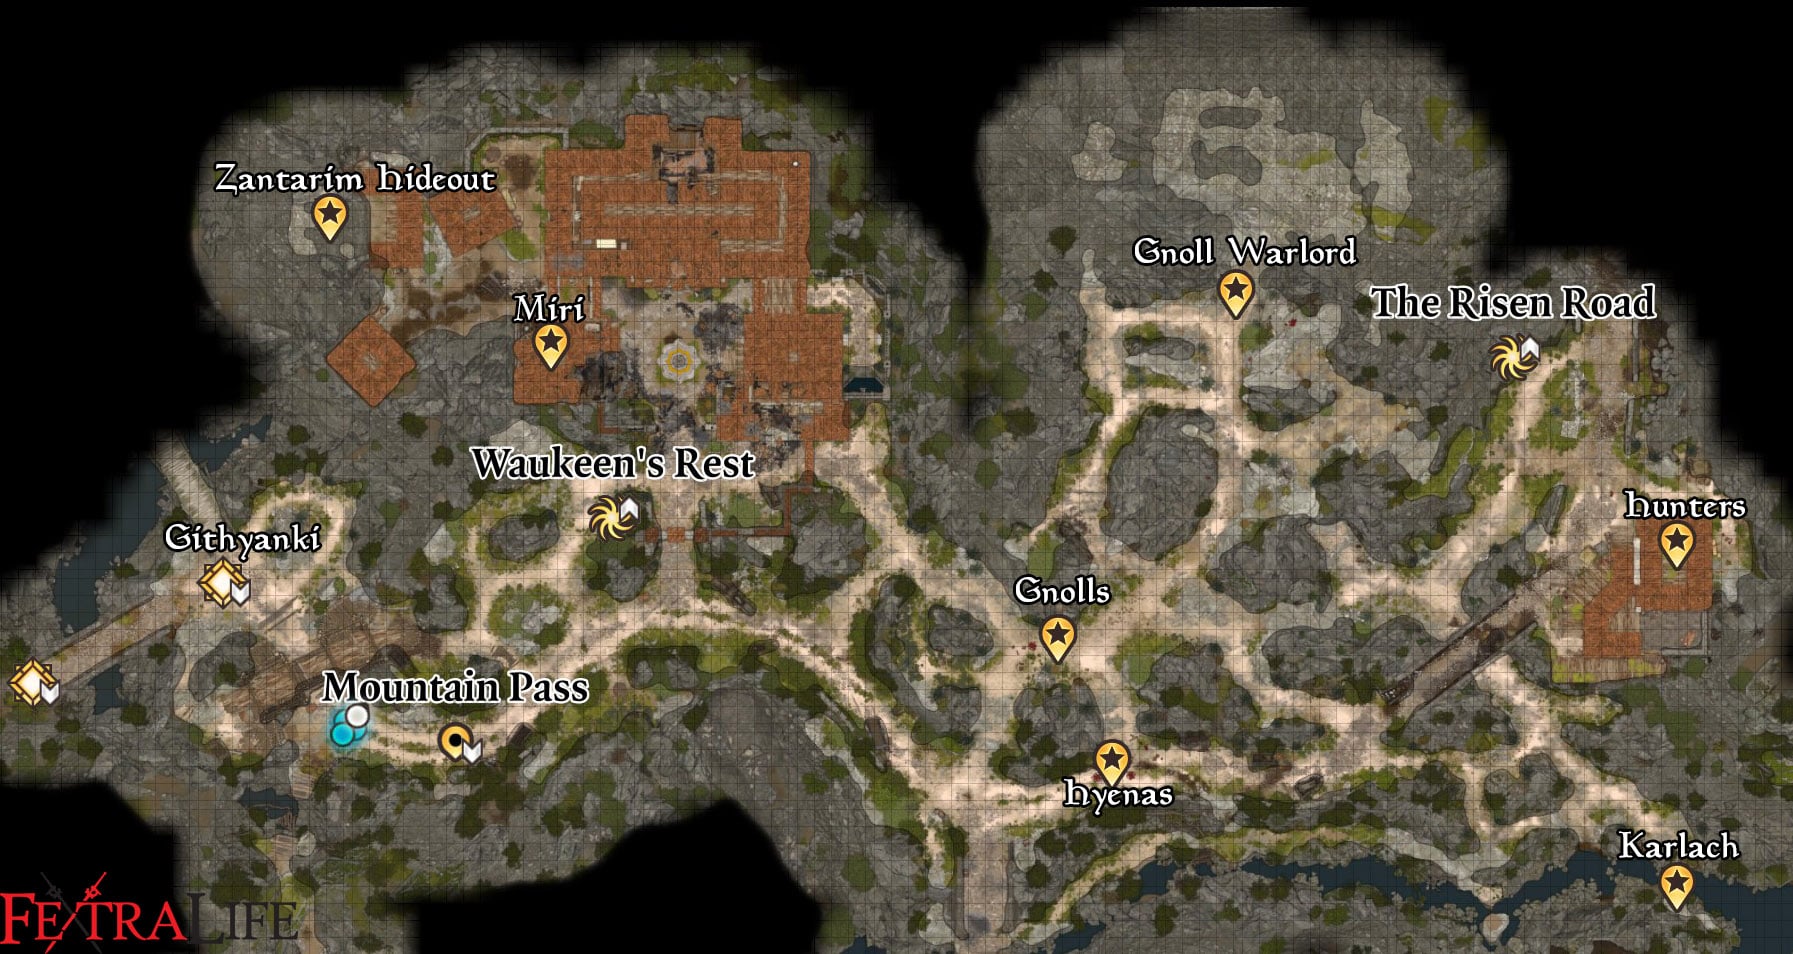
Baldur's Gate 3 Map
The Risen Road Sub-Areas in Baldur's Gate 3
Baldur's Gate 3 The Risen Road Notable NPCs and Merchants
Items in Baldur's Gate 3 The Risen Road
- Alchemist's Fire
- Diluted Oil of Sharpness
- Simple Toxin
- Esmeltar Red
- Hyena Ear
- Candle
- Spear
- Ruby Ring
- Salami
- Shipment Orders
- Dried Pork Sausage
- Trap Disarm Toolkit
- Collector's Key
- Arrow of Lightning
- Sword of Justice
- Dagger
- Shortbow
- Leather Armour
- Scroll of Mirror Image
- Scroll of Melf's Acid Arrow
- Black and Summer Green Dye
- Trident
- Gloves of Heroism
- Basic Poison
- Simple Toxin
- Potion of Animal Speaking
- Rotten Carrot
- Mind Flayer Parasite Specimen
- Potion of Feather Fall
- Iron Flask
- Reason's Grasp
- Engraved Key
- Mysterious Artefact
- Hamarhraft
Baldur's Gate 3 The Risen Road Quests
- Hunt the Devil
- Find the Missing Shipment
- Rescue the Grand Duke
- Rescue the Trapped Man
- Our fiery friend
- The Blade of Frontiers
- Free the Artist
- Daughter of Darkness
- The Githyanki Warrior
Baldur's Gate 3 The Risen Road Walkthrough
To reach the northern part of the map, the main path is through the Broken Bridge, accessible from the south, specifically the Blighted Village. Although the bridge is partly damaged, it's not a big issue as you can guide your team to jump across. Once you reach the edge of the Broken Bridge, you'll be approximately at coordinates (X:-8, Y:494).
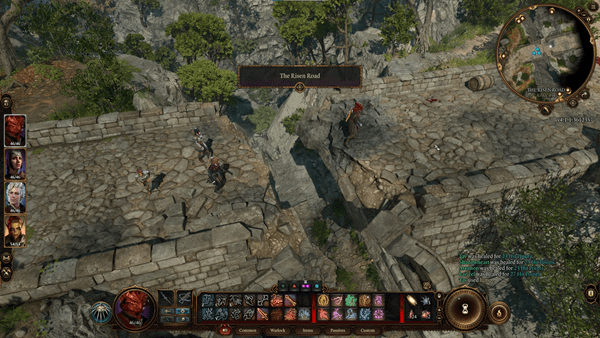
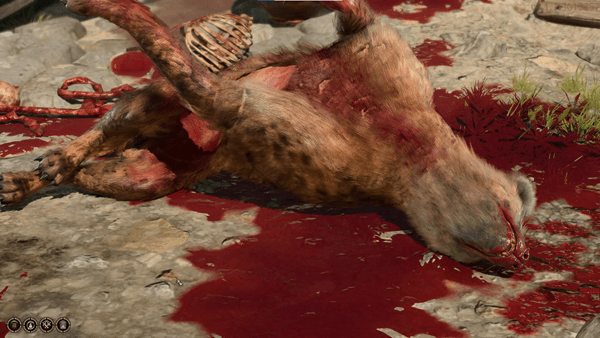
After crossing the bridge, you'll come across some Mangled Corpse on the right (X:-1, Y:516). Go to the corpse and interact with the surviving Hyena. In a cutscene, the Hyena appears to be in pain, and you can choose from several dialogue options:
- Try to comfort the Hyena.
- Step back to watch what happens.
- [Melee Attack] Strike while the beast is vulnerable.
- Leave.
If you choose to comfort the Hyena, a Newborn Gnoll will emerge from its insides, leading to a battle with some Gnolls. Once you defeat all the enemies, you can loot the battle area and collect items from the remains of the Gnolls. While looting, you'll also find a letter on the ground titled "To the Good Godly Folk of Faerun." Another letter can be found on a corpse atop the nearby mountain, labeled "An Open letter on oppression and Peacocks." Yet another letter can be found just to the right of the first one, titled "As per my last letter." Close to this last letter, an important corpse contains a Quest Item called "Shipment Orders," triggering the quest "Find the Missing Shipment" and updating your quest journal.
Starting from your current location (X:71 Y:633), head in the Southeast direction until you come across a Toll Collector's Key Item lying on the ground at (X:98 Y:523). Once you pick up the item, head North West until you reach a new waypoint. From there, go left to find a small village filled with dead bodies. Inside one of the houses, you'll meet someone named Anders. Talk to him and choose the following options:
- Who - or what - attacked you?
- What is this place?
- Rest easy. I'll only stay a short time.
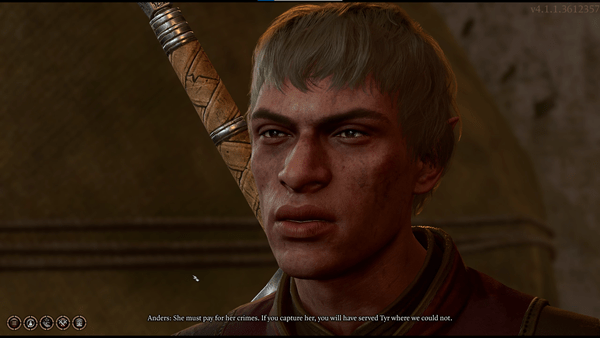
After choosing the first option, Anders will tell you about the attack, and more dialogue options will appear:
- Where is this devil?
- It isn't like a devil to use their brawn instead of their brains.
- Let me help. I can hunt down this monster.
- I wish you and yours well, but I must be on my way soon.
- Now that she softened you up, I'll finish you off.
Select the second option, and Anders will agree with you. Then, choose the first option again, and he will give you the location of the Monster. He'll also reward you with the Sword of Justice if you defeat the Monster, but you can choose to reject the mission. The dialogue options for this are:
- Very Well, I'll bring you her head.
- I'll think about it.
- I have other things to deal with.
- The only head that will roll is yours.
This will activate another quest called "Hunt the Devil." Proceed to the next room and talk to Cyrel, selecting the first three options to trade with her. Outside the room, speak to Trynn, who will mention a cellar. Choose the second option to inquire about it, and Trynn will explain that it used to be a Tollhouse and there might be gold inside. Ask her about Tollhouses, and she'll mention a locked door in the cellar that no one has been able to open yet.
Once you've spoken to all the NPCs, head Southeast down the river until you reach (X:114 Y:507). There, you'll meet Karlach, the devil you need to hunt down, as the Paladins warned you about. This will update the "Hunt the Devil" quest. Speak with Karlach and choose from the following options:
- Are you all right?
- Devil! Face Me!
- Try to Douse the flames.
- She looks dangerous - watch her carefully
- These are no natural flames - prepare to fight.
- I know you - you're the monster the blade of frontiers is hunting.
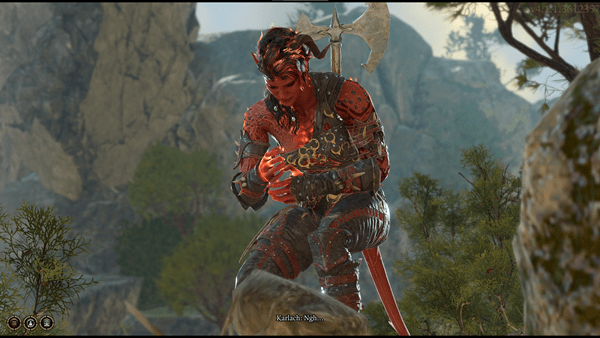
Select the first option, and she'll mention that she's okay. Karlach will recognize you and ask about the Paladins of Tyr. Choose the first option to inquire about how she controlled the flames. As Karlach talks, you'll both experience a vision. Select the first option to explain that the tadpole in your heads connects you. Karlach will briefly comment on the visions and introduce herself.
Reply with:
- I'm (name)
- Karlach. I met someone named Wyll who was hunting you. He said you were a devil.
- I'm your key to curing that tadpole - eventually.
- I'm not interested in making friends.
- Here to take your head.
Choose the second option, and she'll reason with you that Wyll was wrong about her. She wants to prove it and reveals how she excelled at slaying demons during the Blood War. Karlach also explains that a group of evil beings is posing as Paladins of Tyr, and she wants to take them down. Choose the following:
- Let's send them back to where they came from.
- So you want me to kill the people hunting you?
- Why should I do your dirty work?
- I'm here to kill you, not send you back to Zariel.
- I have my own problems. I don't need yours.
Select the second option, and Karlach will reassure you that she'll lead, but she needs your help. Astarion will sarcastically agree. Respond to Karlach with:
- Let's do it.
- Why should I do your dirty work?
- I don't think so - you'll have to go it alone.
You can ask why she wants you to do the dirty work, but eventually, just select option 1. After this interaction, three new journal entries will be available, and a new quest called "Our Old Fiery Friend" will trigger, while "The Blade of Frontiers" and "Hunt the Devil" quests will update.
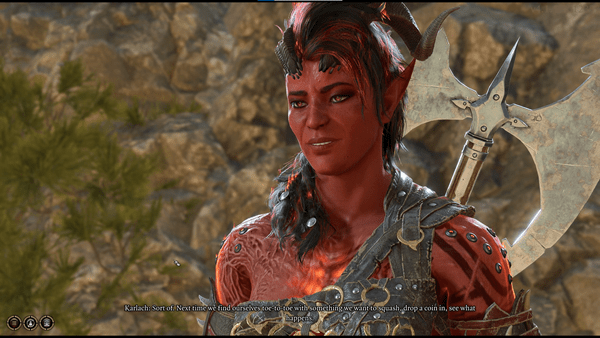
You can have another conversation with Karlach before you set out to find the Paladin impostors. Karlach will mention that she can use a Soul coin. You can choose from these dialogue options as a response:
- Do you have a coin slot in your heart or something?
- Soul Coins hold people's souls. Maybe it's not safe for you to use them.
- Let's see. Try using one now.
She'll suggest waiting until you face another enemy if you want to see what happens with a Soul coin. You can reply with these dialogue options:
- Interesting. We'll make sure you get one in the next battle.
- Use a coin now - I want to see it in action.
- I'm not sure about this. A Soul coin belongs to whoever's soul made it.
Karlach will be intrigued, and you'll gain approval from her. Now head North East until you reach the house where you spotted the paladins (X:95 Y:558). Inside, talk to Anders, who will be surprised that you brought Karlach. After some words exchanged between Anders and Karlach, you'll need to choose from these dialogue options:
- Convince me you're not who she says.
- Karlach, these people don't seem dangerous.
- Drop the act. You're servants of Zariel.
- [Insight] Check his posture, his eyes - is he honest?
- [Detect Thoughts] Probe his mind.
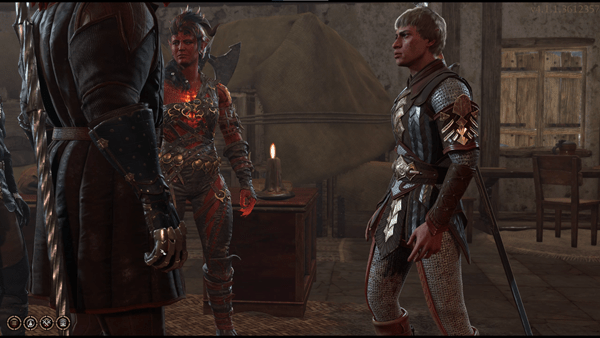
Pick the third option, and Anders will be shocked, clarifying that they serve Tyr. He'll explain that they mistook Karlach for a devil due to her flames, as they were sent to kill a devil. He'll offer to leave you in peace if you leave them in peace. Choose from these dialogue options:
- Enough pretending. I know your real purpose.
- Karlach, stand down, or I'll step in.
- Let them be.
Select the first option, and Anders will admit to the pretense. He'll threaten Karlach, and she'll become angry. This triggers a battle between your companions, Karlach, and the pretend paladins. After defeating them, converse with Karlach. She'll still be frustrated and express her determination to avoid Zariel. Respond with these options:
- Calm down, Karlach. Your flames are intense.
- Zariel won't get to you again. We'll ensure that.
- Take your anger out on this place.
Choose the second option, and Karlach's response will be unusual. This completes the "Hunt the Devil" quest, which updates in your journal. The "Our Fiery Friend" quest will also update, as Karlach joins you in searching for a cure in the "Find a Cure" quest.
Karlach starts wrecking the paladins' house. Let her vent until she calms down, then engage her in another conversation. She'll explain that she needed to blow off steam and ask for your opinion on her appearance post-wreckage. You can respond with:
- You seem like you should've melted by now. How do you handle it?
- Hot.
- You seem a bit crazy. Are you okay?
Select the first option, and she'll say she could keep it up all night. She'll also mention her infernal engine-like heart that runs in overdrive since leaving Avernus. She advises you not to get too close while she seeks a way to calm her flames. You can reply with these options:
- How did you end up with an infernal engine for a heart?
- Is there a mechanic for your heart?
- What abilities does the engine provide?
- I met someone who might help - a blacksmith familiar with the Hells.
Choose the first option, and she'll share a bit of her story before changing the topic. She mentions the paladins' talk of an infernal mechanic nearby, a tiefling who might help stabilize her. You can select these dialogue options:
- Wonder if they meant Dammon - a tiefling weaponsmith.
- There are tieflings in a nearby druid's grove. Let's check there.
- I'll keep an eye out for someone like that.
- What happens if you don't get fixed?
- Leave.
Select the first option, and your quest journal updates for the "The Hellion's Heart" companion quest, stating you can return to Dammon for Infernal iron. Once your journal updates, there is an entrance to a cellar on the right side of the door in the house.
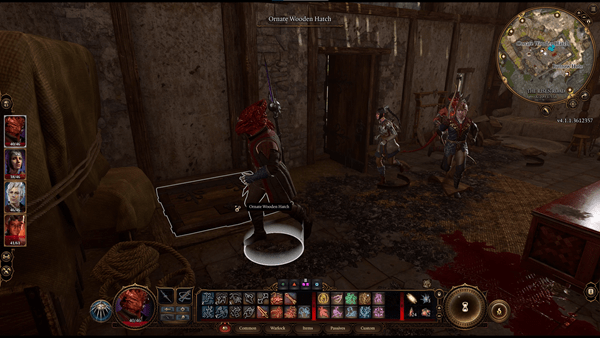
Go inside and use the Collector's key that you found earlier to unlock the vault in the cellar. Upon entering, you'll discover a plethora of items. Proceed to the left through the iron door, and you'll come across a desk containing the "Leadership of the Zhentarium" document. After reading it, turn to your left once again, and you'll encounter a room filled with gold, along with another letter titled "A Pleasurable Deal." However, you'll need to disarm the trap at the entrance before gaining access. Once you're done collecting items, exit the cellar and make your way out. Starting from the house, move towards the Northwest until you come across a caveat (X:40 Y:626) where Gnolls are attacking survivors from an earlier assault. In this area, you'll face various enemies such as Gnoll Hunter, Gnoll Flind, Gnoll Fang of Yeenoghu, Gnoll Flesh gnawer, and Hyenas. After defeating these foes, your journal will be updated with progress on the "Find the Missing Shipment" quest. Now, engage in a conversation with one of the survivors named Rugan. Rugan will inquire if any others from his crew are still alive, and you can reply with:
- No. It's a grim sight.
- All I saw was blood and guts.
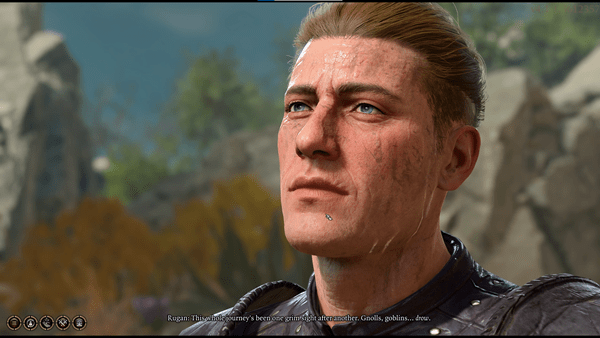
Choose the first option, and Rugan will explain that their entire expedition through the Risen Roads has been grim. He mentions that this area has become much more dangerous than before and expresses that you are one of the few friendly faces they've encountered since Elturgard. Respond with the following:
- Elturgard is quite a distance from here. Where are you headed?
- I'll remain friendly, provided you hand over all your goods.
Opt for the first choice, and Rugan will inform you that they're on their way to Baldur's Gate to deliver cargo, but they need to make a stop en route. Reply with:
- Where's that?
- Maybe I should accompany you to ensure a safe journey.
- What exactly are you transporting?
Choose the third option, and Rugan will explain that they are transporting trinkets for someone in Baldur's Gate in exchange for Tarenths. The narrator provides a brief explanation of Tarenths as currency used by the Zhentarim. With this knowledge, respond with:
- You're Zhentarim. Your people deal in more than just 'baubles.'
- Many people lost their lives for those baubles.
- [Intimidation] Whatever your cargo is, I'll consider it as payment.
- I'll leave.
Opt for the first option, and Rugan will be impressed that you recognize their affiliation. He issues a mild warning not to interfere with Zhent business and suggests that you walk away. Respond with:
- [Intimidation] No, this is where I stop asking and start cutting.
- [Persuasion] This is your employer's issue, but we can benefit. Let's sell the cargo ourselves.
- I'll leave.
If you have enough charisma, you can successfully choose the second option. Rugan will hand over the cargo to you, cautioning that it's impossible to open. He also mentions he knows someone in Baldur's Gate who will take the cargo off your hands, and warns against cheating him as he has connections everywhere. Rugan extends an invitation to his hideout and instructs his associates to expect you. Your quest journal will now update with progress on the "Find the Shipment" quest. You can now open the chest using Thieves' Tools and with enough Dexterity, it will open. Inside the chest, you can obtain Potion of Feather Fall and an Iron Flask. Opening the chest will complete the quest "Find the Missing Shipment". You can continue exploring he cave which is filled with other loots and chests.
Leaving the cave at (X:32 Y:606), head Northwest towards Waukeen's Rest at (X:-31 Y:577).
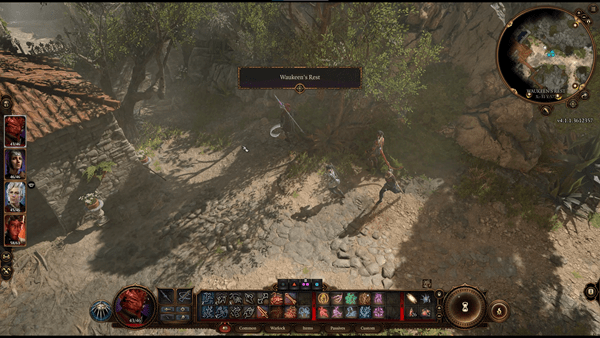
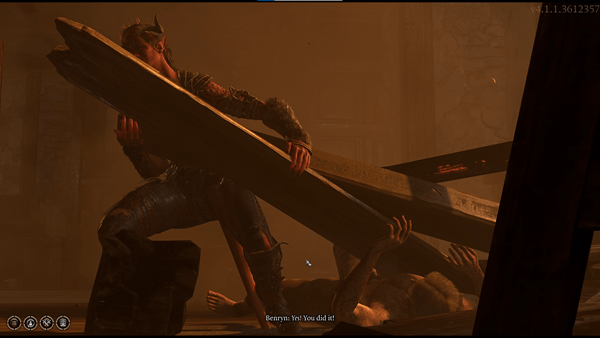
There, you'll come across Shabby Wooden Doors blocking the entrance. Open them to access the small village, which has been ravaged by battle. Navigate through the destruction to the ruined chapel in the North West corner and follow the minimap's waypoint. On the second floor, a cutscene unfolds, showing Karlach assisting a man trapped on a burning piece of wood. This triggers an update in your Quest Journal, initiating the quest "Rescue the Trapped Man." You now have the option to choose from these dialogues:
- [Berserker] [Strength] Grasp the wreckage. FLING IT ASIDE.
- [Investigation] Locate leverage to shift the beam.
- Leave.
In a room next to the trapped man, there is a locked chest with Hamarhraft.
If you possess sufficient Strength, choose the first option. You'll witness Karlach lifting the wood to free the trapped man named Benryn. Your Quest Journal will once again update with progress on the quest. Use Karlach to scavenge materials from the burning building. Afterward, engage in conversation with Benryn, who is grieving the loss of someone dear to him. You can select from these dialogue options:
- How did the two of you become separated?
- Your actions wouldn't have changed the outcome.
- Leave.
Pick the first option, and Benryn will explain the circumstances of their separation. Choose one of these dialogues as your response:
- What did you mean by mentioning a dowry?
- It's not your fault. There's no way you could have predicted this.
- Be thankful you're still alive.
- Leave.
Opt for the second option, and Benryn will clarify that the dowry was intended for his sister's wedding. Now, choose the second option, and he'll request you to leave him to mourn his loss. Your next objective is to locate the mentioned dowry in order to complete the "Rescue the Trapped Man" quest.
Starting from the cave at (X:32 Y:606), head North West until you arrive at Waukeen's Rest located at (X:-31 Y:577). Upon reaching the location, you'll notice Shabby Wooden Doors blocking the entrance. Open these doors to enter the small village, which has been heavily damaged by battle. Proceed towards the destroyed chapel in the North West corner and follow the waypoint on the minimap. On the second floor, a cutscene will play out, revealing your character entering the house, only to encounter a man with a burning flame on his hand. He appears startled, giving you the opportunity to respond with:
- Recite Rugan's pass-phrase: 'Little Serpent, Long Shadow'.
- [Dexterity] Wait - Listen!
- [Detect Thoughts] Read his mind.
- Prepare to attack.
The man, identified as Salazon, will express relief that you are not from the flaming fists. He cautions that they will soon be after you, so if you intend to trade, do so swiftly. Salazon will explain that the entrance is concealed behind a wardrobe and will hand you his keys. Adjacent to Salazon, there's a hatch you can use to enter. Proceed through the hatch to find yourself in the Zhentarim Basement. Descend the ladder and make your way to the red wardrobe, then interact with it to raise it, granting you access. As you enter, a new waypoint will become available. Continue navigating through the basement, referred to as the Zhentarim Hideout, and a cutscene will commence. Zarys, a woman you encounter, will confront you, inquiring about your intentions while simultaneously issuing a threat. Shortly after, she recognizes you as the one who aided Rugan, the Zhentarim member from the cave.
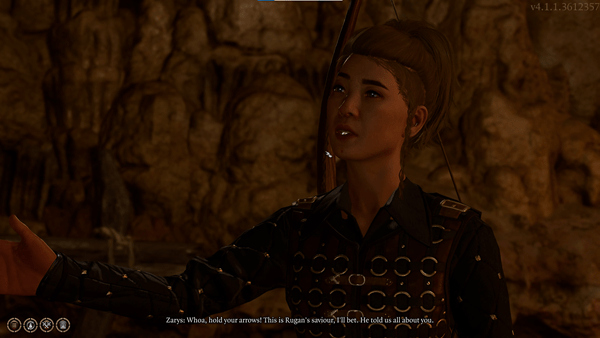
Zarys welcomes you and your companions, asserting that Rugan's friend is a friend of theirs. Progress through the iron gates to reach another section of the hideout, where you'll witness Rugan being confronted and beaten by Zarys. She will threaten you once more, to which you can respond with:
- [Persuasion] I've already demonstrated my wit exceeds Rugan's. Let's collaborate.
- [Intimidation] I'll exit this situation alive, and you can too, if you're wise.
- Can we skip straight to combat?
Opt for the first choice, and with sufficient Charisma, Zarys will agree to cooperate. She instructs you to complete the task, deliver the cargo to Baldur's Gate, and eliminate Rugan. You can reply with:
- Obey - Eliminate Rugan.
- I refuse to comply.
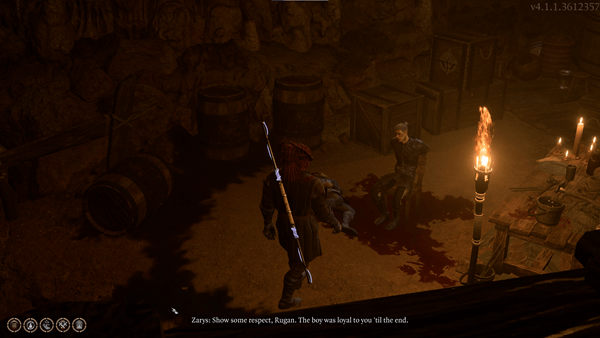
Select the first option, leading to Rugan's plea for his life, placing the blame on Olly. Zarys urges you to proceed, leading to the demise of Rugan. Following this, Zarys directs you to prepare for the journey to Baldur's Gate, where contact will be established. Ascend from the basement, and before departing, engage in a conversation with Zarys. She welcomes you to their group and suggests exploring their exotic items, while also advising you to hasten as the hideout's destruction is imminent. (Astarion will also approve) You can respond with:
- Destruction? What do you have planned?
- Leave.
Opt for the first choice, and she will allude to a duke's kidnapping, her effort to evade blame from the Flaming Fist, and her need to act swiftly. Descend the platform where you spoke to Zarys and converse with a painter named Brem. He offers to create a portrait of you using his pet artist, for a fee. You can respond with:
- A 'pet artist'?
- I do present well. I'll take one.
- No, thanks - just interested in trading.
- Leave.
Choose the first option, and Brem will explain how he acquired the painter, emphasizing the arrangement benefits both of them. He offers to sell you the painter, with a hint of reluctance to entertain threats. You can respond with:
- Very well, I'll purchase him. What's the cost?
- [Intimidation] We can bypass threats and engage directly in combat.
- [Persuasion] If his talent is as remarkable as you claim, he'll attract attention soon.
- Forget the artist - any other items for trade?
Select the third option, and with sufficient charisma, Brem will concede that the artist's recognition could be a concern. He provides you with the artist and you can engage in conversation with the artist, Oskar Fevras. Initially assuming you bought him, he inquires about the price but eventually dismisses the question and introduces himself. You can reply with:
- You're not known to me.
- And I'm [name].
- Great. When do I get my reward?
- Don't worry. 'The Oskar Fevras' didn't cost me a coin.
- What plans do you have with your newfound freedom?
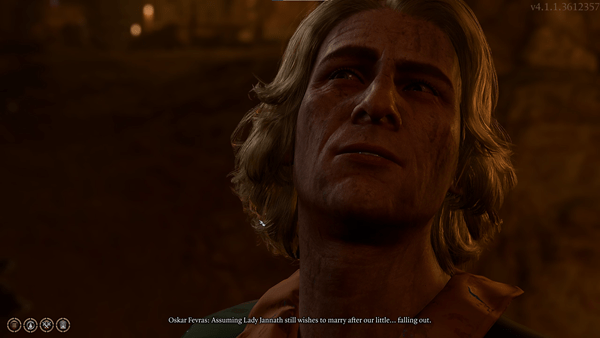
Select the first option, and Oskar expresses gratitude for the introduction. He acknowledges his debt and that of his patron, provided she still wishes to wed him. The narrator briefly recalls a recent scandal involving a Baldur's Gate patriarch and a commoner. This prompts another update in your Quest Journal. Respond with:
- Are you the runaway groom of Lady Jannath?
- What's the backstory?
- I'm not interested in your romantic affairs - just my reward.
Opt for the first option, and Oskar defends himself while briefly explaining the complications. Following the backstory, respond with:
- A truly difficult dilemma.
- What decision did you ultimately make?
- I'm only concerned about getting paid.
Choose the second option, prompting Oskar to admit he never made a choice. Although fame and wealth suited him, thoughts of his first love still linger. He shifts the conversation to more immediate matters and mentions his intention to reward you upon returning to the city. He requests some coins to ease his journey discomforts. You can reply with:
- I don't have any coins to spare.
- I can spare a bit. (200)
- I'll provide you comfort by leaving immediately.
Select the second option, and Oskar expresses gratitude while ensuring you'll be rewarded upon meeting him in Baldur's Gate. This concludes with an update in your Quest Journal, indicating your next task is to find Oskar in Baldur's Gate. (Astarion and Shadowheart will Disapprove, while Karlach approves).
Inside the Zhentarim Basement, head towards the North East at (X:293 Y:-184) to find a man named Barg. Speaking to Barg will update the quest named "Daughter of Darkness" in your Quest Journal. The updates will prompt you to have a conversation with your companion Shadowheart, as she reacted strangely when encountering wolves near Jarg previously. Shadowheart admits to her fear of wolves and requests that you avoid making her face them alone, if possible. You can respond with:
- I'll do my best to avoid wolves in the future.
- Everyone has their own fears. I won't judge yours.
- We can't show weakness now. Will this be a problem?
- Wolves, really? They're just dogs without manners.
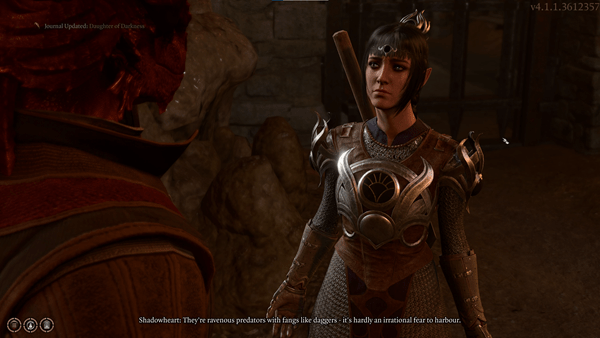
Choose the second option, and Shadowheart will appreciate your understanding and remark that you're different from others. In response, select one of the following:
- Let's talk about your worship of Shar.
- We share something special, I think. Let's discuss it.
- Let's talk about what's happened to us.
- We should travel separately for now and meet during camping.
- I'll leave.
Select the fifth option to update the "Daughter of Darkness" quest. Return to the basement's entrance and make your way back up to Waukeen's Rest. Exit the attacked village and at (X:-84 Y:577), you'll come across another Waypoint. Proceed South West along the Risen Road until you reach the Mountain Pass at (X:103 Y:553).
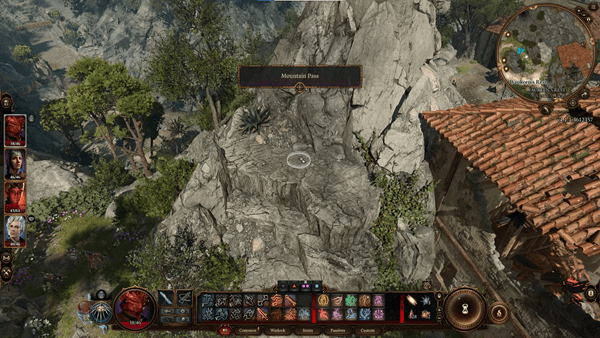
Here, speak to a woman named Ellyka, who warns you to stay hidden before anyone spots you. You can reply with:
- What's the issue?
- Who are you?
- I'd be concerned if I knew who they were.
- I didn't like that term you used. Watch your words.
- I'll leave.
Choose the first option, and Ellyka will show you enemies below, advising you to take an alternative route as she plans to do. Respond with:
- Who are you?
- Your survival instincts are good. Maybe you should join me.
- I'll leave.
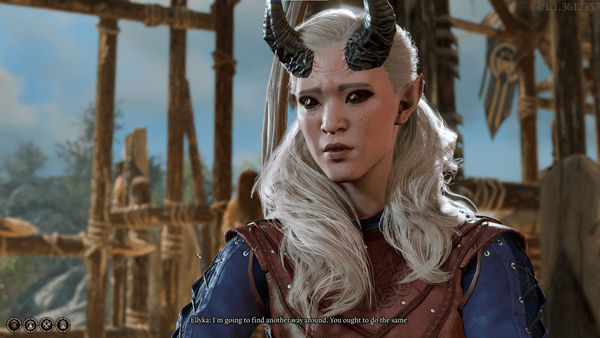
Select the second option, but Ellyka will reject it. Choose the first option, and she introduces herself as nobody. As you prepare to move your character, a cutscene unfolds. The enemies begin to draw their weapons against each other. Gauntlet Dion tries to mediate, but Sarth Baretha's faction refuses to comply. A dragon suddenly appears and destroys the bridge under Gauntlet Dion. The dragon sides with Sarth Baretha, and another dragon named Kith'rak Voss lands nearby. He warns Sarth Baretha to focus on finding the weapons and not fail the queen.
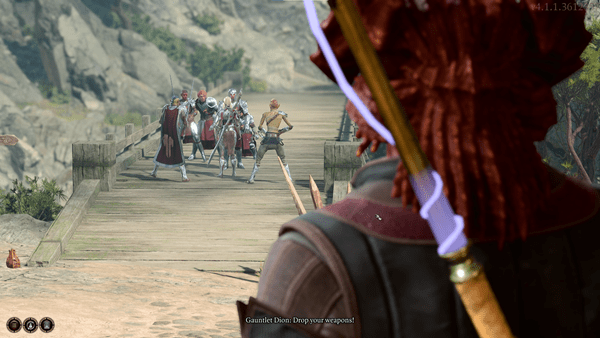
The scene shifts to your group, where Astarion warns that the Githyanki can be dangerous. This update affects the "Find the Githyanki Creche" quest in your journal. Proceed ahead and descend the ladder near the dragon's path. Do NOT approach the dragon yet. After descending the ladder, spot a small broken bridge to the south and jump over it. Head straight until you reach (X:-134 Y:485), which triggers a cutscene. A disembodied voice instructs you to obey its command and offers visions. It highlights chosen people and the quest to aid them in their search for a weapon. This will make you worthy to stand with them. An artefact appears. Astarion questions its shielding effect, and you can respond with:
- What was that voice and those visions?
- Examine the Artefact.
- Put the Artefact away.
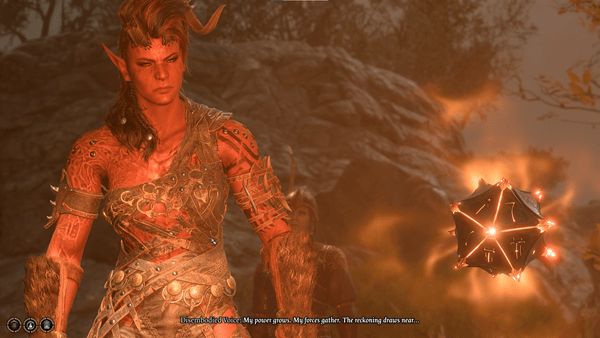
Select the second option, and the narrator notes that the artefact's power remains dormant for now. You'll receive the Mysterious Artefact. Return to the broken bridge and consider taking a Long rest. This triggers a cutscene between Karlach and Wyll. Wyll confronts Karlach, as she is from Avernus. Despite his suspicion, Wyll decides to intervene. Choose one of the following dialogues:
- You're misunderstanding, Wyll. Karlach isn't a threat.
- You two have met before, it seems.
- I brought your target, Wyll. It's your time to act.
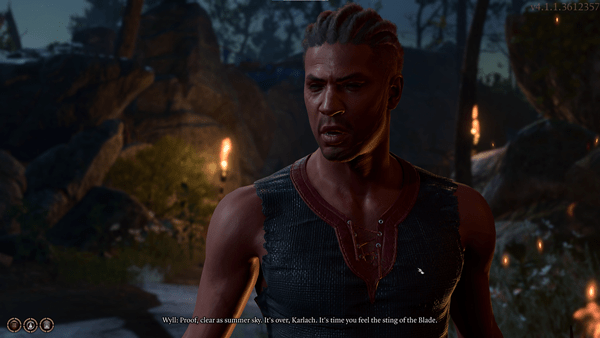
Choose the first option, leading to Karlach's mockery. However, Wyll insists that she is pure evil. A vision reveals Karlach's past, and Wyll uses it as evidence. Karlach offers explanations, and another vision emerges, depicting her escape from devils. Wyll tries to convince himself it's a trick. You can intervene with:
- Stop it, Wyll. Karlach isn't a danger.
- Be rational. She's afflicted, just like us. Allies, not enemies, are what we need.
- Karlach, I shouldn't have trusted you. It's your end.
Select the first option, and Wyll persists in his belief that devils are untrustworthy. Reply with:
- Wyll, you're stubborn. Karlach poses no devilish threat.
- You saw her thoughts, Wyll. She's no danger to the Sword Coast.
- You're right. Let's get rid of her before trouble arises.
- I don't trust you, Wyll. You wanted a fight? You'll have it.
Choose the second option (all companions will approve). Karlach attempts to reason again. A vision shows Karlach's past, and Wyll admits he was deceived. A truce is reached between Karlach and Wyll, and he acknowledges her kindness.
Once you've rested at the camp, resume your journey from where you left off at Risen Roads. Progress towards the Githyanki located at (X:-136 Y:555). As you draw near, a cutscene will unfold, showing Lae'zel conversing with the leader, Kith'rak Voss. Lae'zel faces threats from the leader and is asked for her name. You can respond with:
NOTE: Some dialogue options will depend on the Race and Class you've chosen. For this playthrough, the race chosen is Dragonborn and the class is Warlock.
- Nod to Lae'zel. Proceed.
- [DRAGONBORN] I shall speak for her, gith.
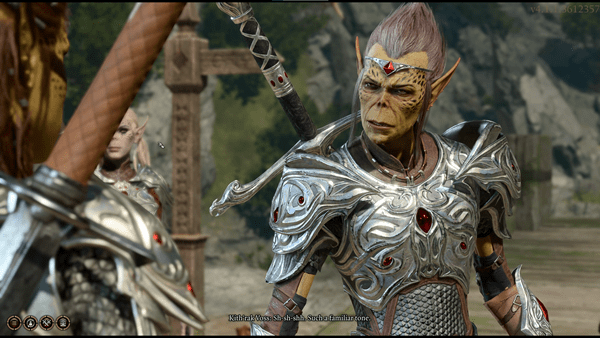
Select the second option (Lae'zel approves), and Lae'zel will introduce herself to Kith'rak Voss. The leader, Voss, introduces himself, and Lae'zel recognizes him. Voss informs that a ghaik vessel has fallen from the sky, and thieves aboard have stolen a precious weapon. He describes the weapon, causing Shadowheart's anxiety to rise as she realizes it matches the artefact she possesses. Shadowheart suppresses her unease to avoid suspicion from the Githyanki. Voss instructs Lae'zel to join the search and speak up. You can reply with these dialogues:
- Signal Lae'zel silently: 'Truth'.
- [Persuasion] Signal Lae'zel silently: Play Along.
- Present the unusual artefact. Are you seeking this, I presume?
- I have my own agenda. Prepare to face defeat, gith.
Choose the second option. With sufficient Charisma, Lae'zel will play along, earning Voss's approval. (Shadowheart and Lae'zel approve.) The Githyanki leader departs, and you engage in a conversation with Lae'zel. She expresses relief that you adeptly intervened while conversing with Kith'rak. She feared that revealing the group's possession of the artefact would have led to their demise. Your quest journal will update with two entries for "Find the Githyanki Creche" and "The Githyanki Warrior." This marks the conclusion of available quests around The Risen Road.
Notes & Tips
- The hyenas on the road can call for the gnolls. You can kill them before the gnolls spawn.
- In the Tollhouse, the are a group of self-claimed paladins of Tyr. If you cast the Speak with Dead spell on the dead refugee you will learn that they are actually servants of Zariel (Quest Hunt the Devil).
- There are quests in Waukeen's Rest, Rescue the Grand Duke, and Rescue the Trapped Man. You need to break the door and get inside the burning building to find the survivors. Unfortunately, the Grand Duke is already been taken by drow raiders. However, you can still manage to save Benryn.
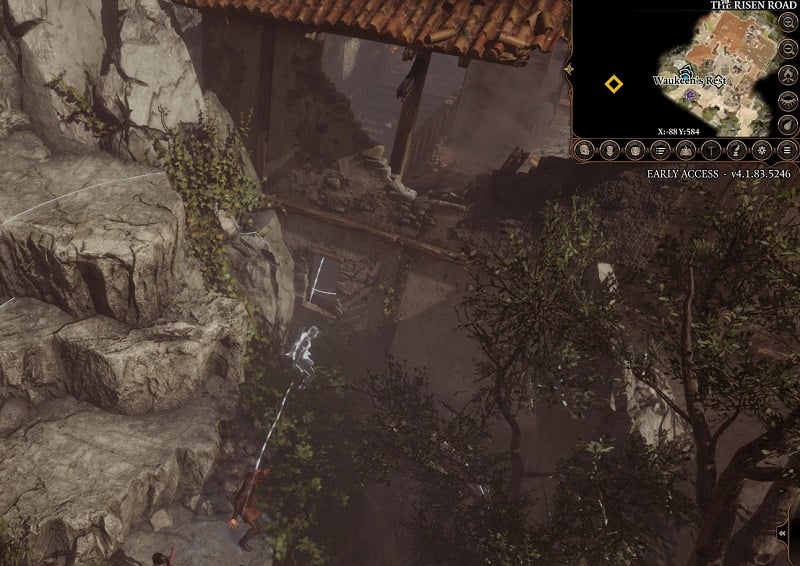
Benryn's wife Miri is in the bottom left building of the inn. You can jump inside from the window, Miri's body is at second floor.- Cast Speak with Dead spell on Miri and learn what happened. She will ask you to find her sister's dowry.
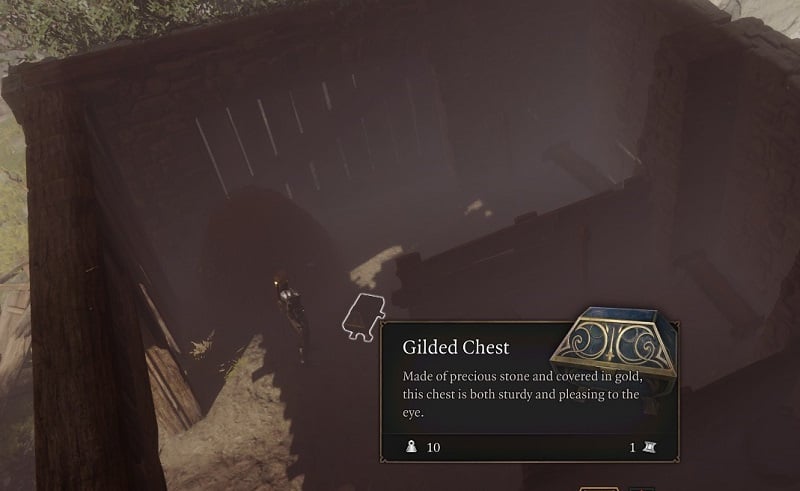
The dowry ring is hidden in the barn.- If you persuade Salazon, the guy hidden in the winery, he will let you enter his hideout (through the hatch, Quest Find the Missing Shipment. Note if the persuasion check is failed the barn will explode. Use the wardrobe within to find Zarys). If you have the Detect Thoughts spell, you can learn the correct password from his mind.
- Between the Tollhouse and Waukeen's Rest, there are 2 people trapped inside a cave, surrounded by a horde of gnolls. (Note: you can reach them from the other side of the cave, you just neet to dodge the boulder and move the barrels.)
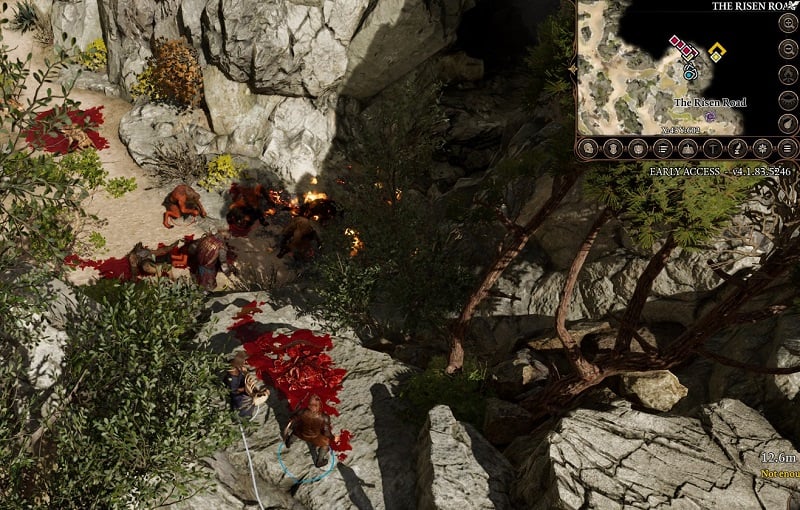
In order to defeat the gnolls. Place your characters on the nearby high grounds, you can also use the tadpole's psionic power to turn the gnoll warlord against the pack. (And force her to devour herself after the fight)- The men you saved invited you to their hideout. Give the unopened chest to Zarys in the Zhentarim Hideout to receive gold for your efforts and honesty. (If you kill these 2 people and open the chest, it will summon a Spectator)
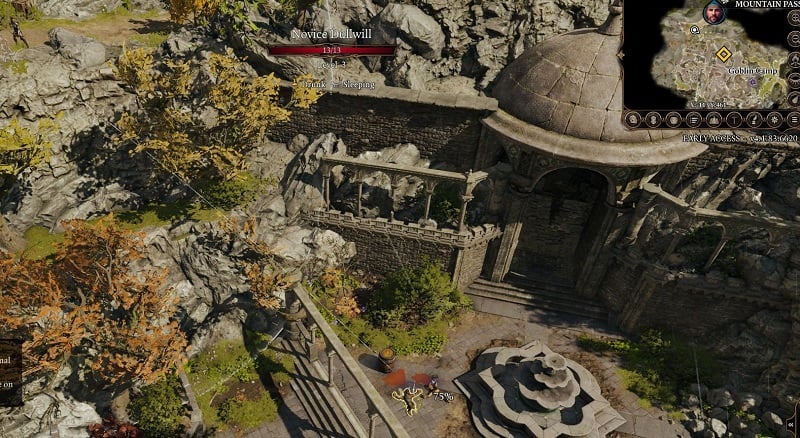
If you want to fight the goblins in their camp, there is a spot that allows you to shoot them without worrying about retaliation. You can reach there through Mountain Pass.- The Githyanki patrols may attack you even if you have Lae'zel in the team, get ready when you reach there. (Note: If you place enough explosives in that area, you can actually kill that dragon and its raider. Simply place one of your teammates on nearby high grounds, switch to him/her during the conversation, and ignite the explosives. Sadly, the dragon doesn't have any loots.) To avoid the fight, either you speak to the Githyanki, and succeed in persuasion and repel the thought detect. Or let Lae'zel do the talking, and succeed in deception.
- To the west of Githyanki patrols, near the exit of the area, shadowheart can trigger a cutscene regarding her mysterious "weapon".
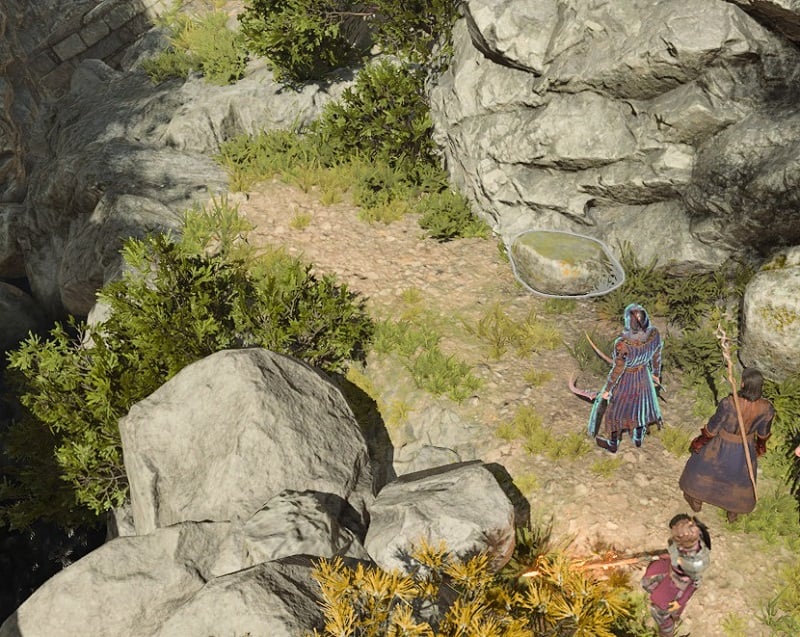
Under the bridge between village and risen roads, there is a hidden treasure under the rock.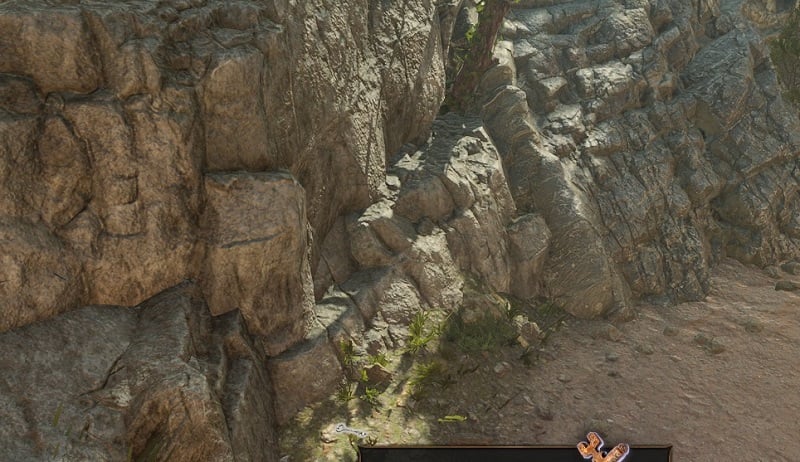
The key to Toll house basement can be found near Karlach, below the dead toll collector.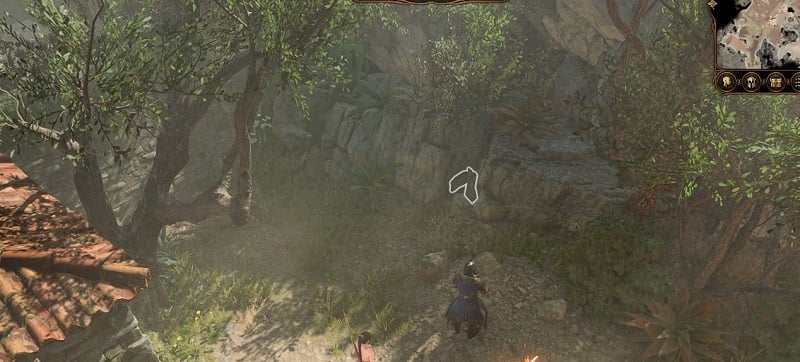
Outside Waukeen's rest, there's another hidden treasure.- Smuggler's Ring on a skeleton hidden in a bush X:57 Y:514.
 Anonymous
In regards to Benrynn and his room of fire. Whether or not you break the doors down or bypass them with Dimension Door, Arcane Gate, Misty Step - entering the room, triggers the fire in addition to breaking/opening the doors. Interestingly, if you bypass and enter the room with spells, the explosion does not take place. The explosion WILL take place, regardless of whether the door and surrounding area's are wet, frozen, so long as you have not entered the room, and attempt to do so by breaking/opening the doors. Bards have a humorously evil response they can use when attempting to help Benrynn, so long as you have NOT broken the door beside him down and he is trapped under the beam. Breaking the door beside him skips the dialogue options completely, forcing you to attack the beam. Freeing him by breaking the beam, does the same.

 Anonymous
I've found two ways to the into the secret room inside of a basement of the toll house. Behind the house there is a burrow. Use can use the potion of gas form to access it from here. Alternatively you can apparently just blast the door with a bomb.

 Anonymous
Anyone know if it's possible to get across the destroyed bridge in the far west of the map?
I'm talking about the one that the dragon destroys in the cutscene with the gith.
 Anonymous
If lae'zel is in your party, she'll leave to talk to the gith. She'll die if you take the detour described above. Keep her out of your party.

 Anonymous
FYI it is a bad idea to open the locked chest that you pick up from the Zhentarim guys. It's linked to something later, as he mentioned.

 Anonymous
"Under the bridge between village and risen roads, there is a hidden treasure under the rock." Even with Elixir of Hill Giant Strength (strength 21) I can't seem to move it; I can't even inch it. The rock that was covering the chest with the Harper Map earlier in the act-- I was able to move that one, although I had to inch that one. Can someone confirm that they can / can't move this rock here?

 Anonymous
Anyone have any thoughts about the secret room behind the "two thrones" in the basement of the Toll House?
You can see on the map that there is another room, and if you move your cursor beyond the wall you can find the outlines of various crates & items.
Unclear how to access that room, though. Any thoughts would be appreciated. (Haven't killed the fake Paladins/ Zariel servants yet. So maybe that's something to explore ..)
The area shown to the southeast of the dragon drawn on the map itself seems inaccessible. I think it may only be there as a place for the dragon to spawn to begin with, as directly north of that is where you find the scratches. I have tried using feather fall to get down there, but the character instantly dies anyway. I think even existing down there results in instant death. Does anyone know if there's a legitimate way to explore that area? If not, then they really shouldn't have it outlined on the map as passable terrain.

 Anonymous
From what I've seen the dragon and rider of the Githyanki patrol don't die, they just disappear, no matter what you do. Possibly it's tied to the cut scene where he flies away after ordering his squad to kill laezel. May change after full release, who knows.


In case anyone else came here wondering the same thing I was: Hamarhraft and Counselor Florrick's reward are the only valuable items to get from the inn at Waukeen's Rest. The rest of the loot is mostly food, booze, books, and a few flaming fist documents. Also, the inn will not burn to the ground if you take too long to loot it. The chests in the room next to Benryn don't even break, despite the flames. So you can take all the time you need to clear the place out.
1
+10
-1