Sunlit Wetlands (Putrid Bog) |
|
|---|---|
 |
|
| ACT | 1 |
| Suggest Level | 3-4 |
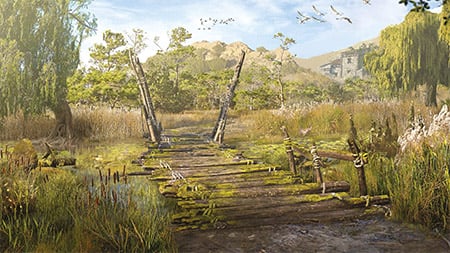
Sunlit Wetlands (Also known as Putrid Bog) is a Location in Baldur's Gate 3 (BG3). On this page, you can find the information about the map, quests, enemies, notable items and other useful tips about Sunlit Wetlands.
Baldur's Gate 3 Sunlit Wetlands (Putrid Bog) Map
Sunlit Wetlands Sub-Areas in Baldur's Gate 3
- Decrepit Sanctuary
- Gnarled Teahouse
- Overgrown Tunnel
Baldur's Gate 3 Sunlit Wetlands Notable NPCsand Merchants
Items in Baldur's Gate 3 Sunlit Wetlands
- Auntie Ethel's Hair
- Bitter Divorce
- Letter to Kagha
- Staff of Crones
- The Ever-Seeing Eye
- The Sparkle Hands
- Whispering Mask
Baldur's Gate 3 Sunlit Wetlands Quests
Baldur's Gate 3 Sunlit Wetlands Walkthrough
You can find the Sunlit Wetlands south of the entrance to the Blighted Village at (X:50, Y:314) in the Forest. When you get there, you'll notice two men arguing with an elderly lady. When you approach them, you'll enter a cutscene with Auntie Ethel, Johl, and Demir. The two men are brothers of a pregnant widow called Mayrina and accuse Auntie Ethel of having kidnapped her. You can intervene and ask what's going on or ask the brothers to lower their weapons. Afterwards, you'll get the following prompts:
- I won't let you hurt Auntie Ethel.
- I'm not getting involved.
- Ethel, what did you do to their sister?
If you choose the third option, Auntie Ethel's ruse will drop and she'll disappear. You can ask the two men what's going on, but even if you offer to help them, which Lae'zel and Shadowheart disapprove of, Johl won't trust you enough to allow you to help. This interaction with Auntie Ethel and the two men will start the Save Mayrina Quest.
Head south down the dirt path and turn left into the water. As soon as you get into the water, you will roll an automatic Perception Check. If you succeed, you'll find a Spike Trap nearby. There will be a lot of these sort of traps in the area, so step carefully. Continue southeast, and before you can get to the next island, you'll feel like you're being watched. You will have 3 option to choose from in this cutscene:
- [INVESTIGATION] Look for anything out of the ordinary.
- [ARCANA] Draw on your pact to empower your sight. (Warlock-specific)
- Ignore the feeling.
If you pass any of your checks, the Sunlit Wetlands will reveal it's true nature. The pleasant and sunny marsh turns into a dark and stinking swamp - the Putrid Bog. Nearby, to the east, is a campsite previously occupied by a few unfortunate travelers where you can find a few scrolls. From the campsite, follow the nearby wooden walkway south, and at the end, hop from rock to rock until you get to the Decrepit Sanctuary. Up ahead, you'll find a large island with some hostile Wood Woad and Ancient Mud Mephit. Defeat and loot them. One of the Wood Woads may drop the Wood Woad Shield.
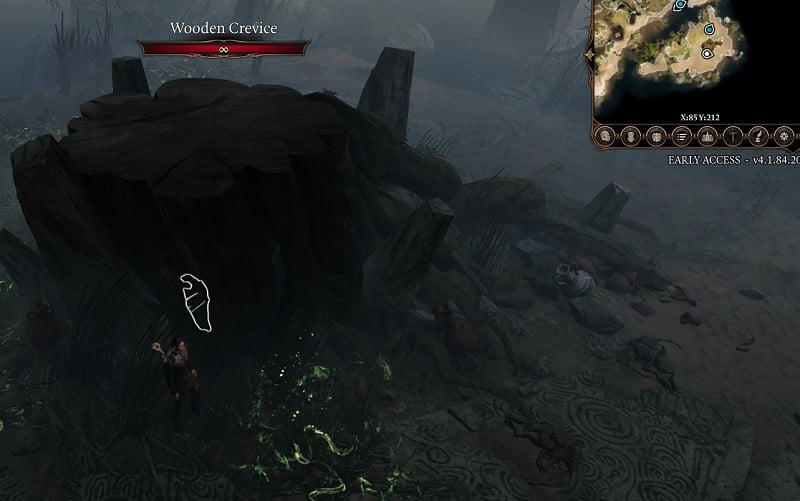
Next to the large tree base in the middle of this island, you'll find a Wooden Chest with The Sparkle Hands and a Scroll of Tasha's Hideous Laughter in it. To the left of the chest, walk through the Twisting Vines and approach the chopped down tree. Your character will automatically roll a Perception Check. If you succeed, you'll find a Wooden Crevice that contains the Letter to Kagha, used in the Save the Refugees Quest.
Head back north, near where you entered the Sunlit Wetlands from, and this time head west. Now that you've seen what the place for what it truly is, you'll find some Redcaps wandering around the Putrid Bog instead of sheep. You can speak to them and show that you recognize them pretending to be sheep. They'll threaten you to leave, which you can agree to to leave peacefully. Instead of leaving, however, continue northwest through the bog to find an Addled Frog at (X:-21, Y:301). You can cast Speak with Animals to learn more about Auntie Ethel from it.
Head south from the frog to reach the Riverside Teahouse Waypoint. Look directly southwest of the waypoint and you'll find Gandrel. Speak to him and Astarion will butt in if he's in your party, clearly hostile towards this new NPC. Your first set of dialogue choices will look like this:
- Say nothing.
- Pardon, but who - or what - is a Gur?
- I knew you were a jackass, but a racist? I'm shocked.
- Ignore the elf. He talks too much.
If you choose the second option, you'll be able to ask him what he's hunting for. He reveals that he's in fact looking for a vampire spawn, specifically Astarion. The third set of choices are:
- And when you find this 'Astarion'? You'll kill him?
- Only a spawn? Pity. Not like it's a real vampire.
- Time for us to go! Good luck with your quest.
- Well, here he is. This is Astarion.
You can pick the first choice freely to learn that he plans on taking Astarion to Baldur's Gate. If you pick the second option, your main options will then be to ask Astarion his opinion or simply leave. If you choose to leave, Astarion will pipe up once again wanting to take care of the vampire issue. Your next choices will be:
- I said we'll be careful. Now let's go.
- Do whatever you want.
- Fine. This is Astarion, the vampire spawn you're hunting.
If you pick the second option, you'll initiate a fight against Gandrel, as well as gain approval from Astarion and disapproval from Karlach. He'll drop Gandrel's Aspiration when defeated.
Continue west from the waypoint to reach the Gnarled Teahouse. As soon as you enter, you'll trigger a cutscene with Auntie Ethel and Mayrina. If you sold Auntie Ethel out during your conversation with Johl and Demir earlier in the Sunlit Wetlands, she will acknowledge it and demand that you apologize. You can refuse to apologise, feign ignorance, or attack her. If you outright refuse to apologize, your second set of choices will look like this:
- That's Mayrina? Where are her brothers?
- The lady doesn't seem to be enjoying her dinner.
- Do you treat all your guests so poorly?
- You said you had something for the parasite?
If you pick the first option Mayrina will pipe up at the mention of her brothers. You can then follow up the question and ask Auntie Ethel once again where her brothers are after she dodges the question. She'll answer that they're at a farm north of Baldur's Gate, then change the topic to the Illithid parasite. Ask her if she can remove the parasite and you'll have the following dialogue options:
- I know a devil that's offered to remove it.
- Depends on the price.
- Yes. Get this damn parasite out of me.
- I'll take my chances on my own.
- [WARLOCK] Such things are rarely done for free. What's the real bargain here?
- Leave.
If you choose the second or fifth options, she'll tell you that she wants your eye in exchange for removing your parasite. You can freely ask questions about the procedure, after which you'll have to choose whether or not to accept the deal. If you refuse, she'll tell you that you're always welcome to come back to take the deal. If you agree, she'll reveal her true form and ask which eye you want taken. You will have the option to attack her at this point, the final way out of the deal. Continue with the deal and you'll gain disapproval from your companions.
Whether you agreed to the deal or not, Auntie Ethel dismisses Mayrina and teleports her out of the room. If you approach the fireplace, your party will roll automatic Investigation Checks. Anyone who succeeds will notice that the fireplace isn't real and that you can walk through it. Walk into the Fireplace and down the Wooden Steps to reach the Overgrown Tunnel. When you make it through, Auntie Ethel will appear before you in her true form and demand that you leave. If you choose any of the dialogue option besides the one saying that you'll leave, she'll reveal that she's planning to eat Mayrina tonight and disappear.
You can roam around the area and interact with the various items and skulls here to learn the fates of Auntie Ethel's previous victims. If you head further in to the southeast, you'll trigger a cutscene when you approach the face-looking door. You can ask it what happened the last time it opened and it will show you flashbacks of it's previous experiences. If you insist on going through the door, your character will roll an automatic Arcana Check. Pass, and you'll notice that the door is transparent. You will then have the following dialogue options:
- I can see through you. I can just walk right in.
- [INTIMIDATION] Open up, or I'll burn you to ashes.
- [PERSUASION] If I kill the hag, you'll be free.
- Leave.
The door will show you another vision begging you not to go through is you choose the first option. Before you head through, you can find a Whispering Mask on the floor to the right of the door. If you failed your checks earlier, you can equip this mask to gain passage through the door. Do note that while wearing this mask, you will be controlled by Auntie Ethel. You can cast Protection from Evil and Good before, or shortly after equipping the mask to prevent the hag from taking control off whoever is wearing the mask.
You can also speak to Lorin found to the left of the door. If you ask him if he's alright, your character will roll an Arcana Check, which if they pass, will make them realise that the elf is under an illusion. The dialogue choices you have when speaking to him does not seem to matter much as he continues to think you are a threat to him, but during the last set of choices, if you choose to take a deep breath - and ROAR, you will gain approval from Astarion and Shadowheart.
Head through the door, moving your camera behind it and clicking into the void for your character to move past the door. As you head deeper into this area, you'll find and be forced into combat against several Hag's Pawns and get a tutorial on Non-Lethal Attacks. Knock out all the pawns in the area and you'll be able to loot their bodies. Don't loot their Whispering Masks, however, as this kills them. Alternatively, if you're wearing the Whispering Mask when you encounter the four pawns, they won't be hostile towards you and will let you pass peacefully.
Continue forward, and you'll eventually make it to a waterfall. Jump into the waterfall to get to a cavern filled with noxious fumes and traps. To get through relatively safely, Jump over to the edge of vine bridge in front of you, then jump down the the lower platform that's lit up with a torch. Walk down to the next vine bridge, scaling down the eastern edge. Disarming the vent ahead will stop remove the Noxious Fumes, however, you will have to pass a DC 30 Sleight of Hand Check to disarm the trap. Continue west to reach the Ancient Abode.
Once you enter, your party will roll automatic Perception Checks. Anyone who succeeds will know that there is an ambush waiting. Approach the cage in the middle of the room, and you'll start the fight against Auntie Ethel. She sets Mayrina's cage on fire, so you'll have to be quick. You do not have to kill Auntie Ethel to finish the fight - take her to low health and she'll surrender, offering you power. You can demand both Mayrina and Auntie Ethel's Hair through a DC 15 Intimidation Check, after which Auntie Ethel frees Mayrina and disappears. Alternatively, you can simply kill Auntie Ethel even after she surrenders.
Though you've saved Mayrina, she becomes furious that you've broken the deal between her and Auntie Ethel to bring her husband back and storms off. Head to the northwestern part of the room and through the door to reach the Acrid Workshop. There are two chests in this room, one containing multiple Scrolls, the other multiple Rings. You can also find several custom potions on a shelf in the right of the room. Make sure to pick up The Ever-Seeing Eye, Bitter Divorce, and the Staff of Crones from the table. If you read the description for Bitter Divorce, you'll see that it has something to do with Connor, Mayrina's husband. You can then leave the Gnarled Teahouse by stepping into the glowing teleporter at the other side of the room.
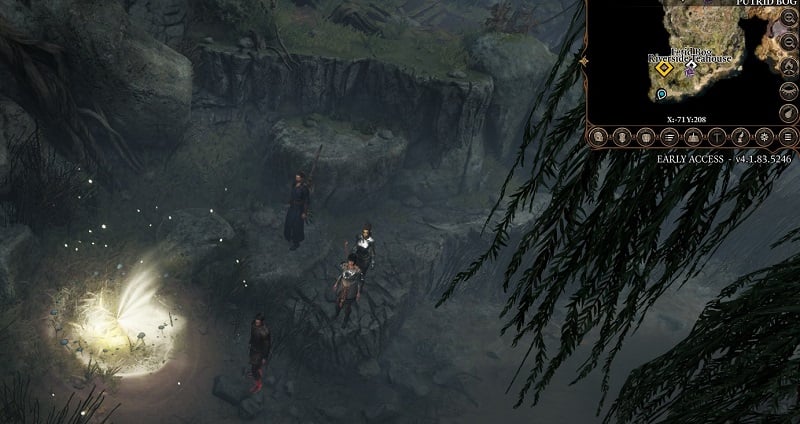
You'll end up back outside in the southwestern part of Putrid Bog at (X:-72, Y:210). You'll find Mayrina here crying by her husband's coffin. Speak to her to get the following choices:
- I found a wand - I think I can resurrect your husband.
- Are you alright?
- You could just leave him here.
- Whining won't get you there any faster.
- Stand with her in silence.
- Leave her to mourn.
You can try to comfort her through options two and five, but unless you tell her about the wand through the first option, Save Mayrina will not end. If you use the wand on Connor, he will get resurrected as a Zombie. You can then choose to keep the wand or give the wand to Mayrina. Either way, the quest will end here.
North of Mayrina is a ladder leading back up to the Gnarled Teahouse. With Auntie Ethel now gone, you're free to poke around her house and take her stuff. You'll find several potions scattered about the teahouse. You can head back through the fireplace, where you'll find that Lorin is free of whatever magic was plaguing him and can be spoken to to learn more about the Illithid tadpole. Besides him, if you killed Auntie Ethel, you can help the petrified dwarf. Efrin can be given some Basilisk Oil to free him of his petrification. With Auntie Ethel dead, the curse that he had is no longer in effect. If you let Auntie Ethel escape and attempt to de-petrify the dwarf, he dies to his affliction anyway.
In addition, you can return to the Addled Frog to tell them of Auntie Ethel's defeat. As thanks, they'll guide you to (X:4, Y:292), where your party can roll automatic Perception Checks. If anyone passes, they will find a Pouch with two Scrolls of Cromatic Orb and some Gold.
Baldur's Gate 3 Sunlit Wetlands Notes & Tips
- You can talk to the sheep in this area, succeed in the Animal Handling check will reveal that they are not real sheep, but some Redcaps disguised with illusions. The entire area will also show it's real nature -- rotten and decaying.
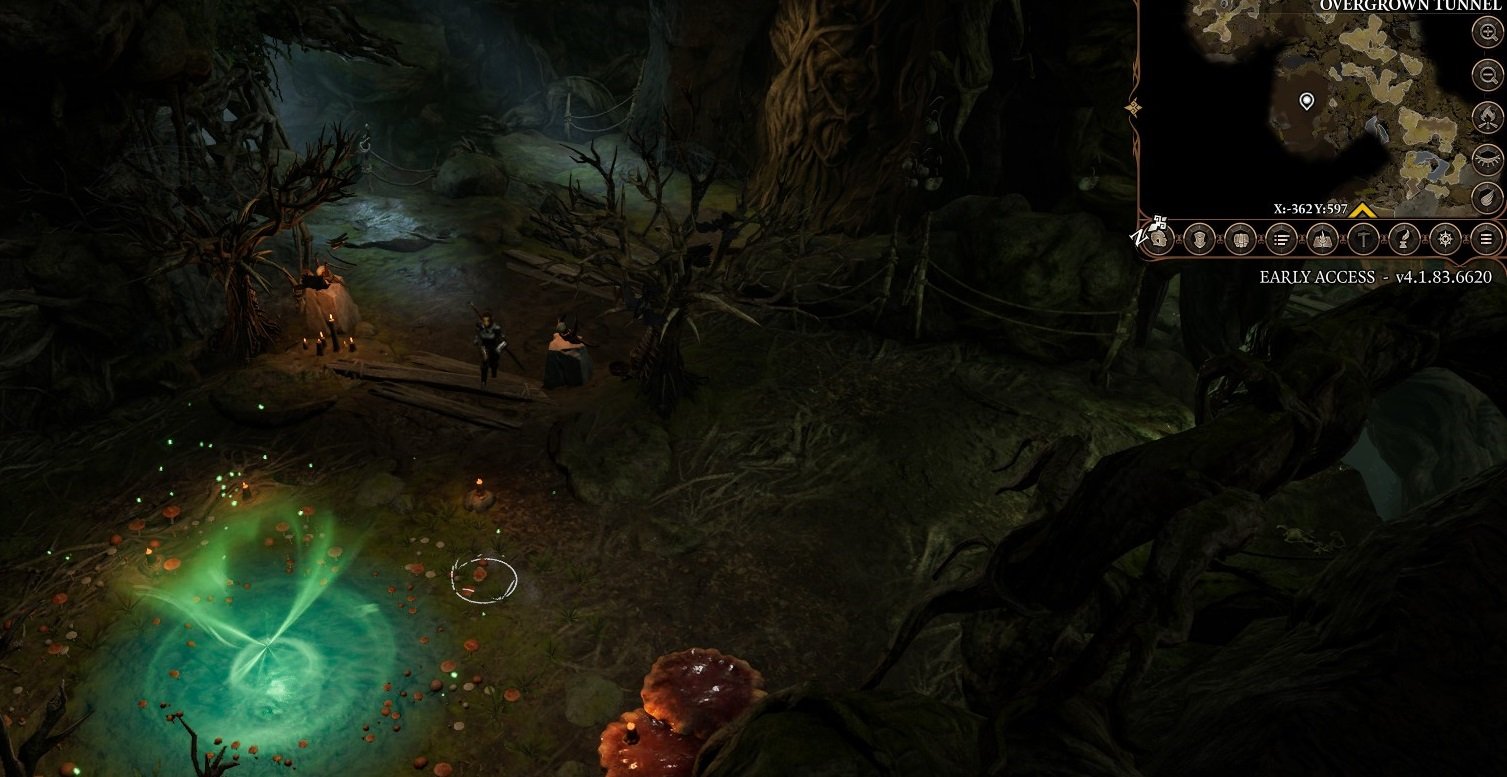
Inside the Overgrown Tunnel, there's a portal that can teleport you to the Underdark.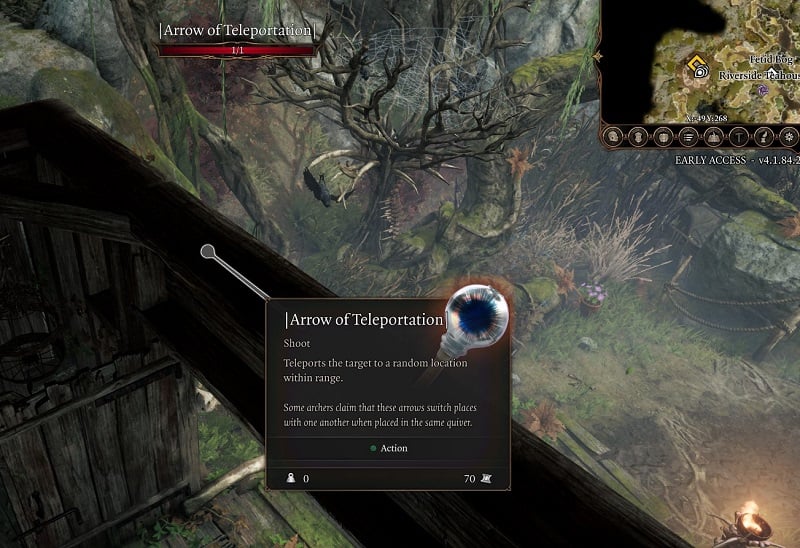
Above the door, there's Arrow of Teleportation.
 Anonymous
Monks Can pass a DC 12 Insight Check to see through the Swamp illusion

 Anonymous
Oath of Ancients Paladins can roll a DC 12 Charisma check to dispel the illusion of the swamp.

 Anonymous
Actually in the Acrid Workshop there are no scrolls. Just one chest with rings and one with some potions
Also here are all the effects of the custom potions that I found online.
A Mother's Loathing (Good): Grants the Bite attack (2d4 piercing) until the next long rest.
Broken Promises: (Bad): Permanently grants +2 Strength but takes 1 Strength away after every lost rest.
Faltering Will (Bad): Applies disadvantage on Wisdom saving throws until the next long rest.
Heart of Stone (Good): Grants immunity to Poison until the next long rest.
Insanity's Kiss: (Bad): Makes drinker hostile to all nearby units for 4-5 turns.
Lost Time (Bad): Reduces AC by 2, disabled reactions for 50 turns.
Lover's Avarice (Bad): Permanently reduces Wisdom by 1.
Missing Pets (Bad): Applies disadvantage on attack rolls and ability checks for 3 turns.
Wilted Dreams (Bad): Deals 3d6 damage to the drinker during their next long rest
 Anonymous
Is it possible to save Johl and Demir? I haven't come across a solution myself. Their dialogue remains the same if you launch an assault on Ethel initially, and on killing them yourself is not ideal. I mean, they just wanna find and help Mayrina. The only way I can think to save them is outright KOing them, but that still counts as a KILL as far as the game is concerned.

 Anonymous

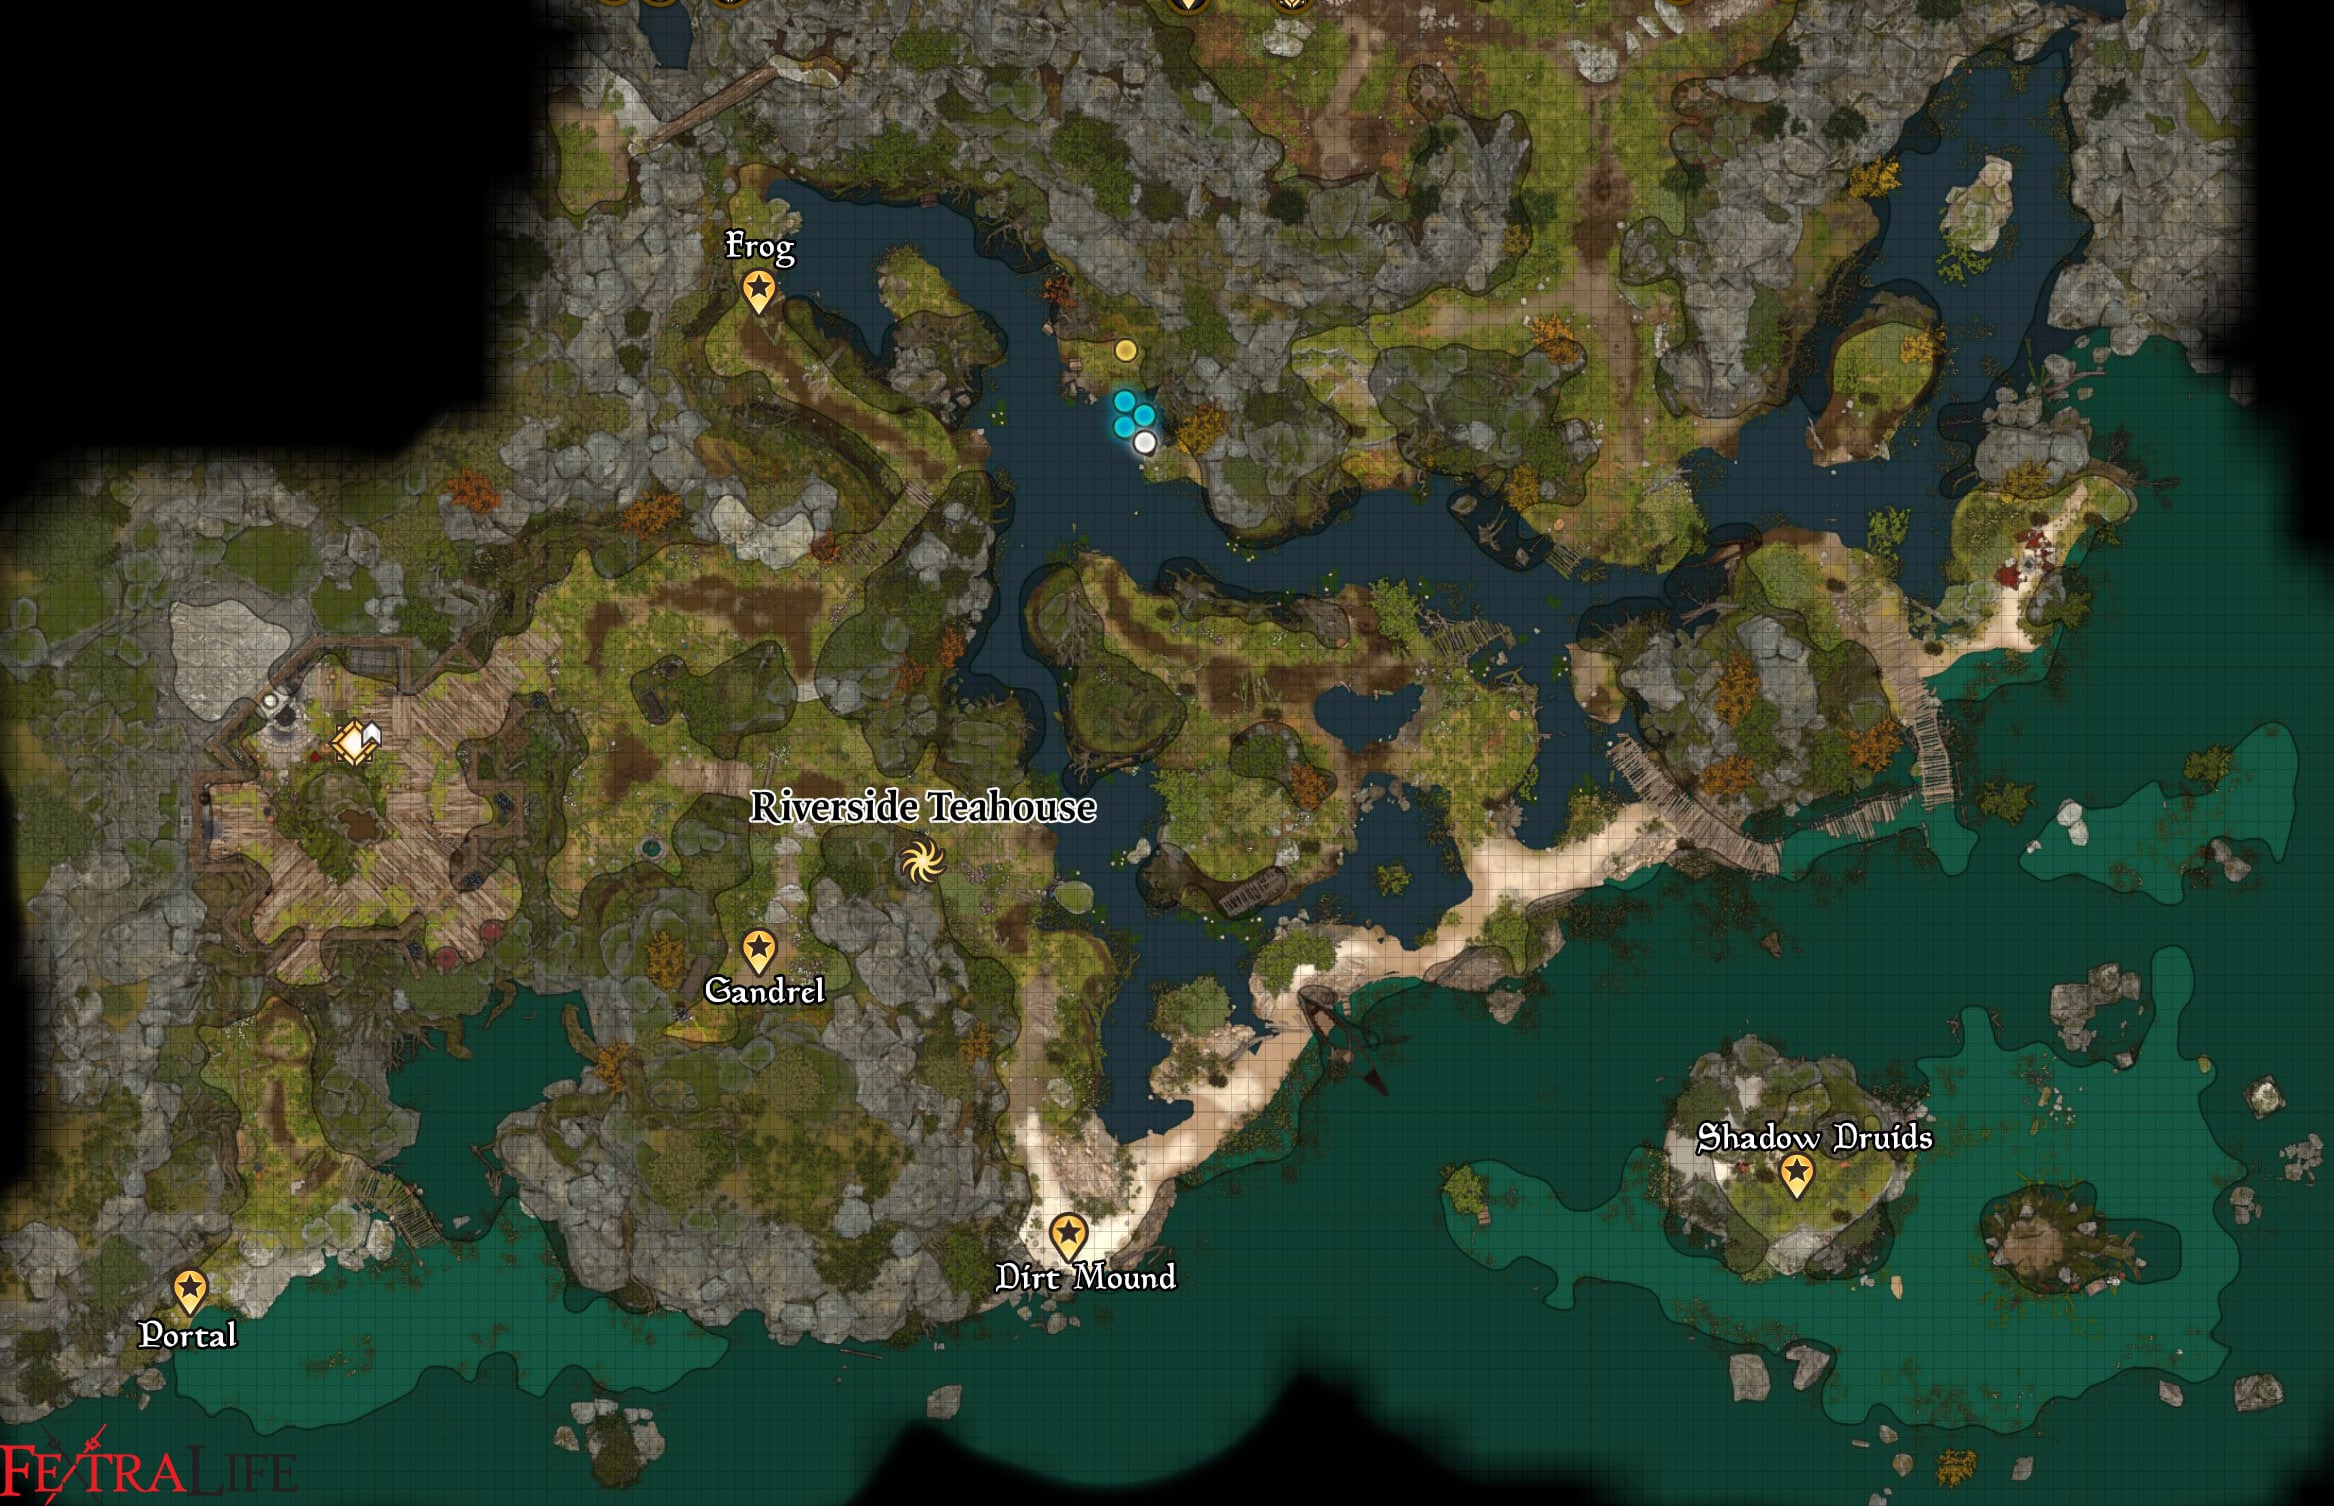
there is a perception check at x 10 y 294 that I have never passed, reloads have exeeded countless at this point. Can some one just tell me what the heck is tucked away in this corner on the map? (it is hard to get the check to trigger you have to slam right against the wall of rocks)
0
+10
-1