Shattered Sanctum |
|
|---|---|
 |
|
| ACT | 1 |
| Location | Shattered Sanctum |
| Suggest Level | 3-4 |
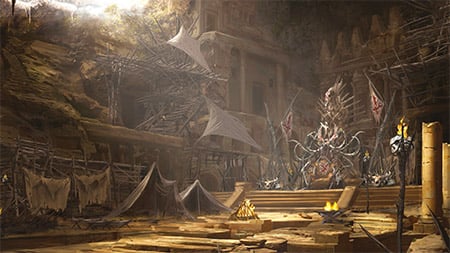
Shattered Sanctum is a Location in Baldur's Gate 3 (BG3). You can gain entry to Shattered Sanctum after successfully infiltrating the Goblin Camp. On this page, you can find information about the map, quests, enemies, notable items, and other useful tips about Shattered Sanctum.
Shattered Sanctum Map
[MAP]
Shattered Sanctum Sub-Areas in Baldur's Gate 3
- Bloodied Shrine
- Worg Pens
- Defiled Temple
Baldur's Gate 3 Shattered Sanctum Notable NPCs and Merchants
- Gribbo
- Volo
- Liam
- Abdirak
- Minthara
- Roah Moonglow
- Halsin
- True Soul Gut (Priestess Gut)
- Spider Pen (Animal Speech)
Items in Baldur's Gate 3 Shattered Sanctum
Baldur's Gate 3 Shattered Sanctum Quests
Baldur's Gate 3 Shattered Sanctum Walkthrough
At the beginning of Shattered Sanctum, you will first speak to Liam after freeing him from his torturer. (See Goblin Camp on how to successfully infiltrate Shattered Sanctum peacefully). Your next interaction is to speak with Gribbo, the one in charge of Volo, the Bard that was seen performing upon entering the Goblin Camp. You will have a conversation with Gribbo here to attempt to set Volo free by any means. You will get 5 options here:
- I've taken a shine to this one. How much do you want for him?
- [ILLITHID] Wisdom: Set him free.
- [DECEPTION] He looks weak. Sick, even. He won't last long in there.
- [INTIMIDATION] I'm done talking. Open the cage or you'll be sorry.
- [DETECT THOUGHTS] Read her thoughts.
- Leave.
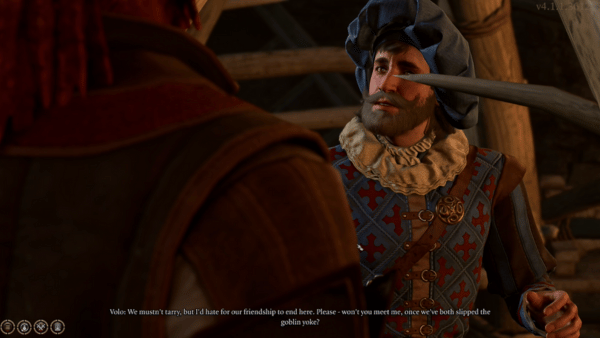
If you attempt the Deception check, you will have to pass a DC of 10 or higher. Once you have convinced her, she'll hand you the cage key and you can now speak to Volo freely. Volo will then ask to unlock his cage so he can escape. You find out that he is inside the camp to jumpstart his career, but found it to be a failure. You can now look around the room and find the letter addressed to 'Dearest Elminister' on the table. Make sure to lock the door before you attempt to free Volo here. You'll engage in another conversation with Volo and you can invite him to camp as he suggests the use of an invisibility potion to escape the Goblins. You can either agree to accept Volo or not with the options:
- I'm not looking for extra company right now. You go your way, I go mine.
- Go to my camp. We'll talk there, once we're both safe.
- Leave.
After freeing Volo, continue to explore the Shattered Sanctum and you will find Bloodied Shrine at (X:330 Y:-20) You will find Abdirak waiting outside a door, and with a Religion proficiency, additional information reveals that this man is a follower of Loviatar, goddess of pain. He reveals that he will be teaching the goblins how to inflict pain with a purpose.
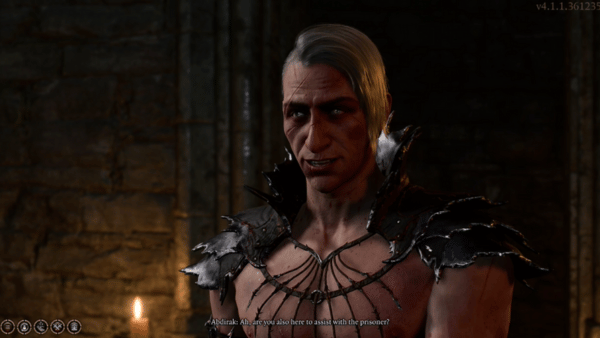
This same man recognizes the pain that your character is feeling and offers to alleviate the pain through the teachings of Loviatar. He claims that his work will grant peace and serenity. Lae'zel chimes in and states her interest to see what his 'skilled hand' can do. No DC checks here but your answer will have a bearing on the approval of Astarion and Shadowheart. You can decide for yourself what you want to do:
- All right, why not?
- Touch me and you'll lose your hand.
- Leave.
Abdirak will ask you to stand by the door as he performs the 'ritual'. You will get options here and attempting the Performance check (Charisma) will require you to pass a DC of 5.
- [CONSTITUTION] Try to hold back your cries.
- [PERFORMANCE] Yelp loudly and dramatically beg for mercy.
- [INTIMIDATION] Come on. A child can hit harder than that.
- Stop. That's enough.
Shortly after, Abdirak will continue to hit you. Attempting the Performance check (Charisma) will require you to pass a DC of 10 for this section.
- [CONSTITUTION] Try to hold back your cries.
- [PERFORMANCE] Writher in exaggerated agony and cry out.
- [INTIMIDATION] Come on. A child can hit harder than that.
- Stop. That's enough.
As Abdirak hits you, Shadowheart and Astarion engage in quick exchanges as if savoring your suffering. Attempting the Performance check (Charisma) will require you to pass a DC of 10 for this section.
- [CONSTITUTION] Try to hold back your cries.
- [PERFORMANCE] Ah mercy! I can't take it... it's too much!
- [INTIMIDATION] Come on. A child can hit harder than that.
- Stop. That's enough.
Abdirak proceeds with hitting you and he finally acknowledges you that he has served your penance. If you state that you have found the ritual to be interesting, he tells you that Loviatar would like to bless you. You will get Acolyte: A Kiss Without Mercy, an event that inspires Shadowheart. When the ritual is done, you can grab the Ritual Dagger and Ritual Axe on the table if you wish to do so. After the ritual, you will also get the condition: Loviatar's Love. You can leave this area or you can loot a Necrotic Mace from him if you kill him.
On to your next encounter, explore further the Shattered Sanctum at (X: 270 Y:13) you will find Brakkal, a follower of Maglubiyet, who, with your Religion proficiency, is recognized as a tyrannical deity who treats his followers as slaves. In a nearby area, you can interact with a Rat to get further information on the area by using Speak with Animals, or a relevant potion.
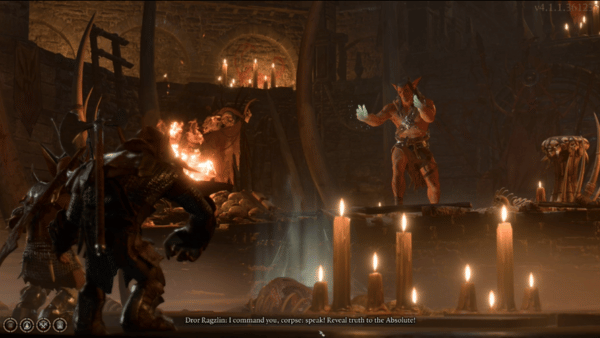
In the next area, still at Shattered Sanctum at (X:290 Y:34), you will find one of the leaders Dror Ragzlin performing a ritual on one of the corpses in front of his followers. Here, you can approach the corpse and get the following choices:
- Study the corpse. Was this the mind flayer that tortured you?
- I haven't made a habit of it.
- What kind of ceremony is this?
- Settle in to watch the proceedings.
- Move in for the kill.
- Turn away from the rite.
As you study the corpse, Dror Ragzlin will claim that this creature had a weapon and they're looking for the killer, and thus, the weapon. He invites you to settle in. As a Dragonborn, the character here feels the anxiety of Shadowheart, who carries the weapon that they are looking for. Next, you will get another choice here on how to tackle this:
- Then let the ceremony proceed.
- Attack the hobgoblin.
- Leave, before the mind flayer can identify you.
Choosing to stay here will play a cutscene of Droz Ragzlin attempting to give a semblance of life back to it. You will get a choice here.
- Allow the hobgoblin to speak freely, lest he sense your intrusion.
- [Wisdom] Dig into Ragzlin's mind and control the interrogation.
- Attack the hobgoblin.
- Leave, before the mind flayer can identify you.
Allowing the hobgoblin to continue the interrogation will give the information through a vision of a memory that reveals you as the killer. Dror Ragzlin is angered by this and you can now choose how to respond to this accusation. Attempting the Persuasion check (Charisma) will require you to pass a DC of 10.
- [PERSUASION] It's a mistake. I'm a True Soul, remember? We connected.
- [DETECT THOUGHTS] Cast Detect Thoughts on him.
- Thrust yourself into his mind.
- Drop the ruse and attack.
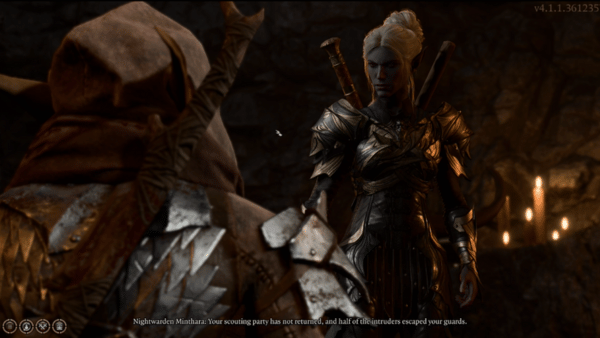
After persuading Dror Ragzlin, he acknowledges that you're a True Soul and commands you to seek Minthara and join her on the attack on the grove. Agreeing here will get Shadowheart's approval. This event will also inspire Astarion 'Charalatan: Devil's Advocate.' As your party walks to the next destination, you will see a Scrying Eye, and Astarion points out not to do anything suspicious while it's watching. Inside Shattered Sanctum (X:333 Y:42), you will find Nightwarden Minthara holding a meeting with other goblins.
She recognizes you as a True Soul, and asks if you will be joining her hunt. Remember that Dror Ragzlin asked you to join her hunt but you can still decide here if you want to go on your own hunt. Here you can tell her that you are looking for Halsin, a druid, who is the same Druid that they're after. You are given a choice before she senses that you have been to the grove. You can confront Minthara here as she is left with very few goblins in this area. If the Scrying Eye spots you in this area, make sure to destroy it too. Pick up the valuable items you can get from Minthara such as the Mind Flayer Parasite Specimen.
Continue exploring Shattered Sanctum to find the Roah Moonglow, a halfling at (X:274 Y:-29). An NPC who sells items within the sanctum. If she recognizes you as a friend of the family, then she will offer a discount, albeit, a small one.
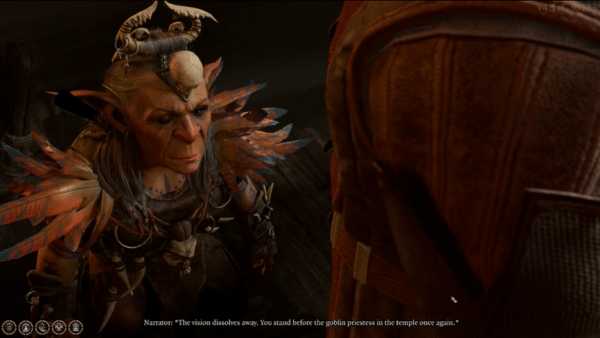
Your next meeting here will happen at (X:296 Y:-25), where you will find True Soul Gut in the middle of a platform. She claims that she will brand you as well, just as The Absolute has done. She claims that it is protection and is embedded in magic. You can dive deeper into her mind here but be aware that she can also do the same to yours, allowing both of you to get further information about each other.
She claims that she can help you with anything and invites you into her chapel, away from the others. Note that agreeing to receive help from True Soul Gut will warrant the approval down of Astarion. Before the ritual begins, she asks the others to leave and then the interaction begins. You can choose if you will attack her here, fight the intrusion, or let her in your mind. Fight off her intrusion, and repel her attempts successfully to complete the quest. She claims now that she can't help you and ask The Absolute for help immediately, you can begin attacking her while she is away from the others. Retrieve the Rancid Note, Mind Flayer Parasite Specimen, and Priestess' Key from her belongings.
Your next destination is the Worg Pens (X:393 Y:-60) where you will find a caged bear that is being hurt by Brawler Birka. The bear asks for your help and you can decide to interfere with them and offer your assistance to the bear. Agreeing here will cause the bear to attack the gate and the battle begins. Your goal here is to not let any of the witnesses escape as you help the bear. After winning the battle, the bear transforms into Halsin, the Druid that you were looking for.
Seek his help to remove the parasite and he acknowledges that you are different from the others, and not bowing down to the powers of the True Absolute. He informs you of what he knows about the parasites and is aware that someone is using powerful magic to modify the tadpoles, he then explains that he can't cure you, but still offers to help. He tells you that these powers come from Moonrise Towers and that it's possible to find a cure there.
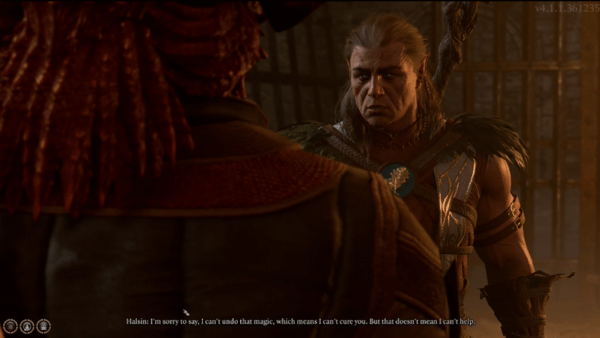
He claims that killing the three leaders will restore order. He asks for your help and offers to help you out after he is secure the safety of his grove. In this next selection you can choose how to go about tackling this:
- Having a shapeshifting bear-druid at my side might make things easier.
- I'll deal with this. You get to safety.
- The grove isn't my problem. I have to concentrate on saving myself.
- You ask too much of me. I can't help you.
Choosing the second option here that lets Halsin leave will grant the approval of Astarion but the approval down of Shadowheart. After this conversation, you will find a locked Grated Iron Doors at (X:410 Y:-32) and have Astarion unlock it for you. You will find a corpse of an elf on the wall. Attempting the Investigation check here will require a DC score of 5. Pulling out the body reveals a tunnel that can possibly lead to another area.
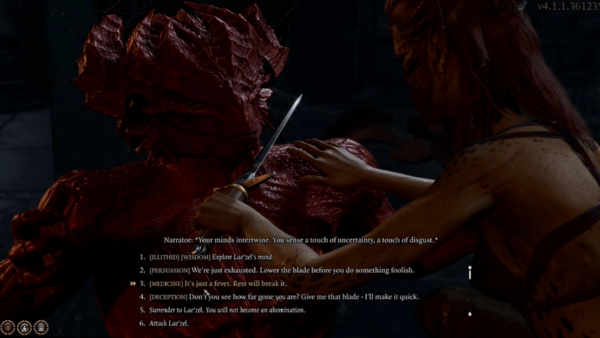
Take a long rest before proceeding in this area and as you struggle to calm yourself, Lae'zel sneaks on you and goes in with her blade to your neck. You connect with her through your mind and will be presented with 6 options. In this playthrough, the Persuasion check (Charisma) will require you to pass a DC of 15. This will also grant the approval of Gale and Lae'zel.
As you rest, you will drift into a dream where an elf visits you. You recognize her voice and she reveals that she has saved you before, and will save you once more. She also claims that she will protect you and prevent you from becoming a mind flayer. She claims that the way to win it over is to learn how to wield it, and she will keep it from consuming you. In this dream, she shows the fight for the fate of Faerun.
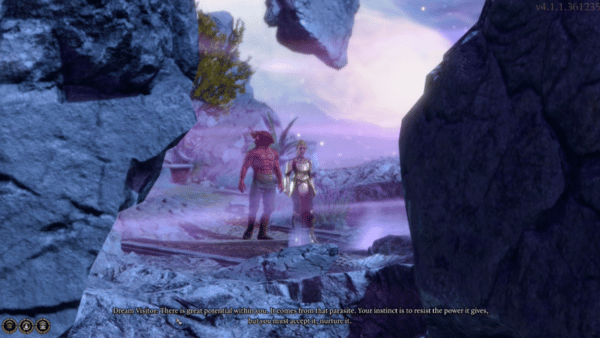
You return to your party and feel better from last night. Here, you will speak to Gale who shares about having the same visitor from your dream. Sharing with Gale that you have had the same dream will get him to ask you if you will take the word of your visitor. If you say that it's only a dream, then Gale will appreciate your caution. Next, you can offer to give Gale a magical artefact to gain his approval. However, he claims that he isn't feeling the same effect as last time and needs time to himself.
While you're at your campsite, make sure to interact with Volo to complete your quest here. When Volo decides to remain in the camp will reward you with a Blazer of Benevolence. When you're done at camp, return to the mysterious hole that you found. When interacting with this, you find out that it is still blocked so you will attempt to clear this out. For now, you will return to Dror Ragzlin's throne where you first encountered him. This time, there are no rituals but he is seated on his throne. For a better chance of surviving this battle, you will want to take out the Narvass, the Novice of the Absolute who is alone above the throne behind Dror Ragzlin.
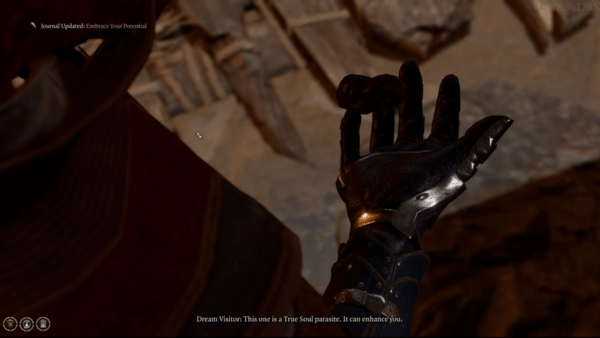
An enemy will detect this, however, but you will have an advantage now that you were able to take out one of them. Be careful not to get anyone killed in your party, but if you end up having one of your allies dying, you can use Scroll of Revivify on them. When the battle is over, go to Dror Ragzlin's body and recover his key and the Mind Flayer Parasite Specimen. Your thoughts get interrupted as the dream visitor speaks to you in your mind. It commands you to absorb its potential which can enhance you. Rejecting the tadpole here will not gather any approval or approval down from the current party.
However, if you decline, Astarion offers to at least let one of the party members try it than just let it sit in your pack. This will update your journal under Personal Quest if you prefer to Embrace your Potential by harvesting the parasite's memories. With the key that you recovered from Dror Ragzlin, you can unlock the Iron Gate right on the balcony behind his throne to get valuable items such as Amulet of Selune's Chosen, Infernal Iron, Springstep Boots, and other items.
Proceed to the locked Heavy Oak Doors at (X:310 Y:-25). Be careful as opening this door will launch enemies into attacking you and your party. This will be a long battle and you must be well prepared for it. After winning this, you should by now, have killed all of the leaders of the goblins. This is an event that will inspire Lae'zel.
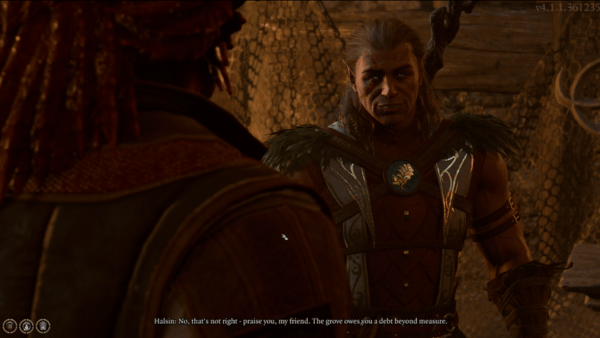
Next, return to Halsin who has asked for your help in defeating the goblins to restore order and protect his grove. You will find him at (X394 Y:-31)., inform him that you have slain all three of the leaders. Now you can invite Halsin to join your party and help you on your quest to get to Moonrise Towers. After this area, return to Druid Grove by using the Waypoints that you have unlocked. The closest will be Emerald Grove Environs and you begin traveling from there to continue your quest with Halsin.
Notes & Tips
- You can save Liam from the torturer by passing the Performance/Deception (15) check.
- You can let Abdirak, a worshiper of Loviater (Maiden of Pain) torture you, pass the performance check (5 and 10) to make him happy, and gain the favor of Loviatar.
- If you pass a wisdom check (10), you can control Ragzlin's interrogation. However, if you let him sense your presence in his mind, you need to pass a persuasion check of 10 to talk your way out of this.
- Approaching the Worg Pens, you need to decide whether to help the captured bear or the goblins. Once you saved that bear from goblins, he will transform into Druid Halsin. (Related Quest Save the refugees and Removing the Parasite.)
 Anonymous
Playing as a Bard when you meet Dror Ragzlin trying to talk to the dead mind flayer you have some class specific dialogue options that allow you to take over without needing to pass any skill checks, controlling the interrogation this way you can even ask straight up "Who killed you?" and the vision will fade to black before the corpse reveals your identity

 Anonymous
Astarion's approval goes down, not up, if you tell Halsin to leave and get to safety

 Anonymous
If you choose to let Haslin join you (because a bear is really useful, and it adds like a beast companion or familar, so doesn't take up one of your 4 party slots), then every goblin and drow you encounter thereafter will be hostile. This can be a lot of fun, and you can still take short rests or go to camp whenever you feel like it - but it means that you will no longer be able to access the vendors here any longer. The priest of Loviatar doesn't turn hostile, but he doesn't buy or sell items either, so he's not much help.

 Anonymous
You can control ragzlin's mind and ask who is the absolute as the first question and then about why it was in faerun and then what the gith wanted with the ship. It will exhaust all questions and he won't suspect you.

 Anonymous
The Worg Pens is a seperate area and can be accessed through a door in the NE area of the Shattered Sanctum, directly east of the Scrying Eye.

 Anonymous
For the Halson encounter "Choosing the second option here that lets Halsin leave will grant the approval of Astarion" this option gave me DISapproval with Astarion, same as the first option "Having a shapeshifting bear-druid at my side might make things easier."

 Anonymous
Also not included here: once you have the priestess' key,return to her chambers. To the left there's a room with a bunch of explosive barrels and some loot -- you can detect an area for short people to go but I had none -- and then you can go to the right by using her key and unlock a separate area. There, you can kill Polma (the guard that will solo goombastomp you) and then grab more loot (including a recipe for the Elixir of Arcane Cultivation, whatever that does).

 Anonymous
Another option: Agree to allow the priestess into your mind, get knocked unconscious, wake up in a cell, attack the floor to escape (don't open the door or you'll get goomba stomped by a 75 hp guard). Once you run around that small area a bit, you'll run into two spiders who, if you animal companion persuade them, will start randomly killing goblins. It bugs up the fights but you get two free 30 hp spiders to tank a bunch, and they heal after every fight reset. At first their AI seemed to chase all the goblins, but after a while their AI failed so I brought the goblins to them. Made both the hobgoblin and priestess fights much easier.

 Anonymous
As a horny degenerate, I made Shadowheart strip off her armor before enduring the pain. Turns out that you'll get a temporary condition that gives +4 bonus to intimidation and perfomance checks.

 Anonymous
 Anonymous
There's a dude that gets pushed into a spider pit right before you reach Razlin's throne. You can save him if you want, but he doesn't give you anything other than a "Thanks, I thought I was a goner." before he leaves. Just a heads up for any chronic do-gooders.
The guy suffers from classic Fire Emblem green unit syndrome, in that he'll suicidally run TOWARDS the goblin horde (with no armor and 6 measly HP might I add) and PUNCHES THEM with his bare fists! With some good tactics, you can kill some of the goblins before they get to attack him, but he'll still have to dodge like a god just to not get 1-shotted. Good times to be had if you want the challenge.
 Anonymous

I didn't see this mentioned here, but you can also enter the Sanctum via a burrow hole on the way from the Mountain Pass to the Shattered Sanctum. Personally I got in there with my druid character's Wild Shape: Cat ability, but I think characters on the smaller side like halflings might also be able to get in there. You can see the burrow clearly if your characters pass a Perception check
1
+10
-1