Explore the Ruins |
|
|---|---|
| Type | Quest |
| Act | Act 1 Chapter One |
| Location | DANK CRYPT |
| Reward | Scrolls |
Explore the Ruins is a Quest in Baldur's Gate 3. Explore the Ruins can be acquired during Chapter One of the first Act. Completing Explore the Ruins will progress the story forward.
Explore the Ruins Objectives
- Shadowheart was trying to get into a building to look for supplies. We should see if there's anything useful in there.
- We met some bandits near some ruins. They've been trying to break into a crypt - with no success. Whatever they're after is probably still inside.
- We found a way into the abandoned ruins.
- We found a locked door, but it doesn't have a keyhole. There's got to be something interesting behind it.
- The strange door led deeper into the ruins. There's bound to be some interesting artifacts down here.
- A strange hooded figure emerged from one of the sarcophagi we opened. Seems like it has something to say.
- The hooded figure said he would see us again soon. He was probably the ruins' greatest secret, but there's no harm in checking for more valuables.
Explore the Ruins Walkthrough
If you are a rogue, you can lockpick the door behind Shadowheart (Where you first meet her). But you may want to spend more time exploring the beach before entering the ruins. Without enough companions, it's gonna be very challenging to fight the bandits inside.
When you reached the Chapel entrance, there are two bandits (Gimblebock and Taman) arguing about the crashed ship. Successful persuasion or deception can avoid a fight with them. You can then use deception or performances to trick the bandit inside the ruin to open the door for you. Or shot the hanging rock, open a crack on the ground, and jump in.
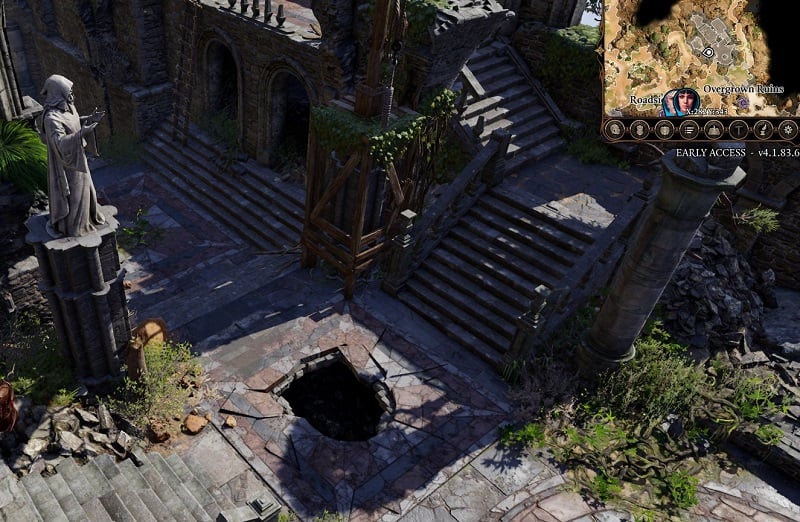
(You can jump through the hole to get inside the ruin. If you find the ruin too dark, switch your controlling character to Shadowheart, as a half-elf she has Dark Vision, allowing her to see more clearly in dark places.)
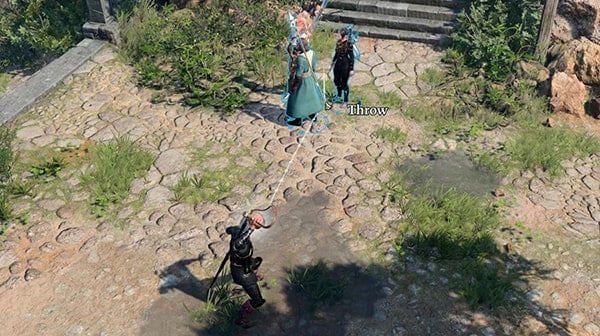
Tips: Most Potions works if you simply throw it on other characters. For example, if you throw a Potion of Healing on a companion, then he or she will be healed. Works better if you stick your team members together and use one potion to cure the entire team.
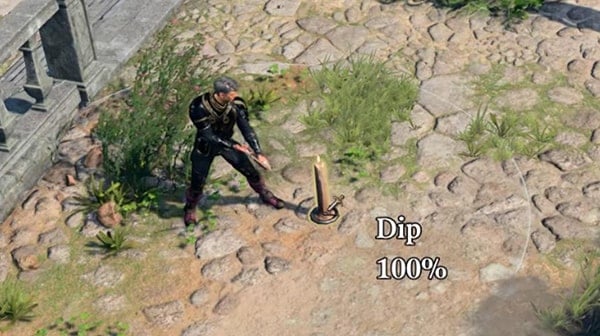
Tips: You can always carry a candle, place it before combats and use it for weapon dip. Extra fire damage can make a lot of combats much easier.
If you get in the ruin through the chapel entrance, there's a trap, and you need to kill bandit Andorn, and find the key on his body. After you loot the valuables in this hall, open the locked door and prepare to fight the rest of the bandits.
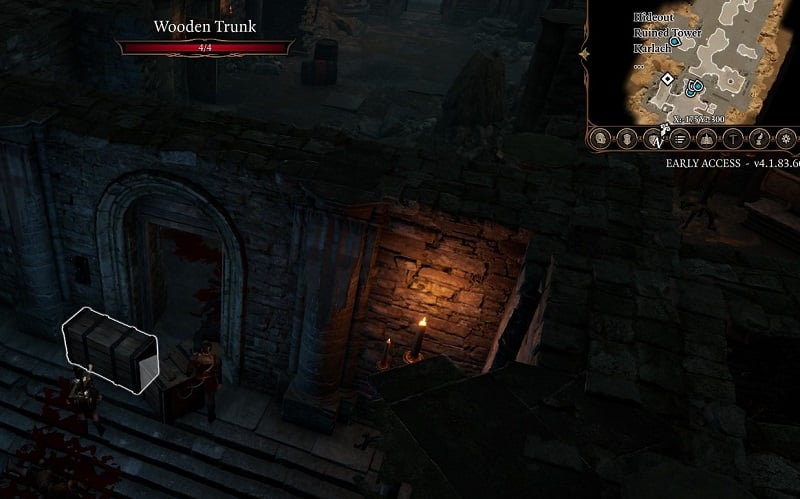
(You can move some crates to block the door, even create a bunker and use ranged attacks to put bandits down, if you have a wizard in your team, you can use the Grease spell to create a surface of oil and then lit it up. Burning can deal lots of damage to enemies, especially when they stand close.
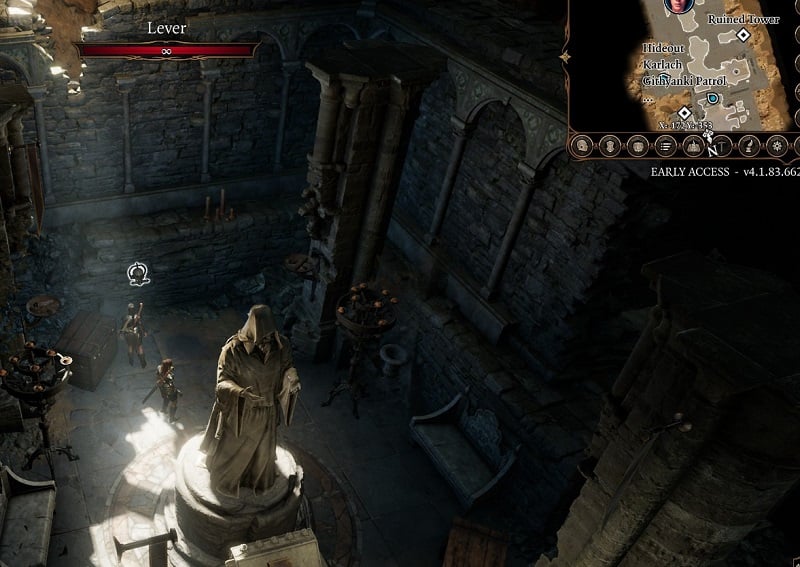
Keep explore the area, behind the altar, there's a hidden lever to open the door without a keyhole, which leads to a deeper area of the ruin.
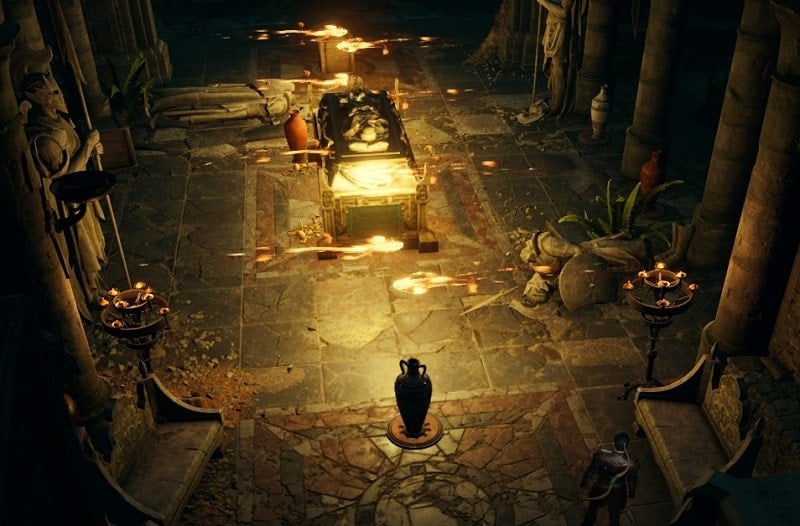
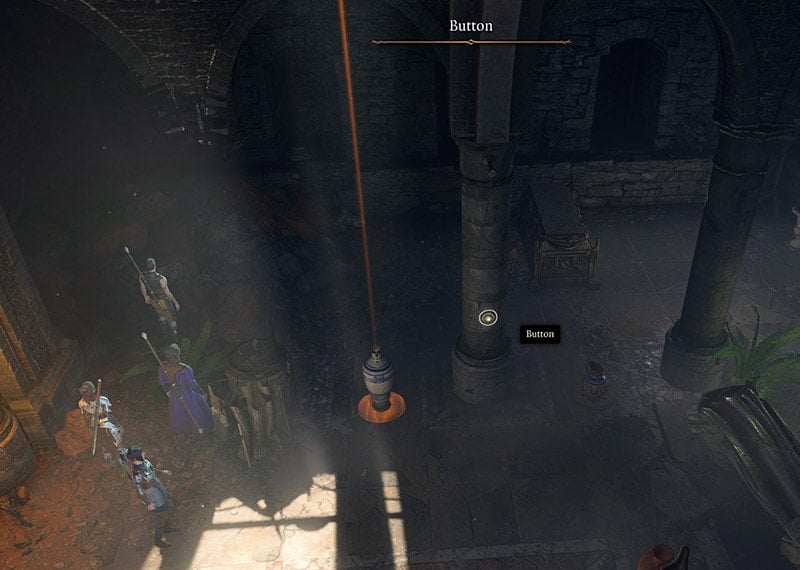
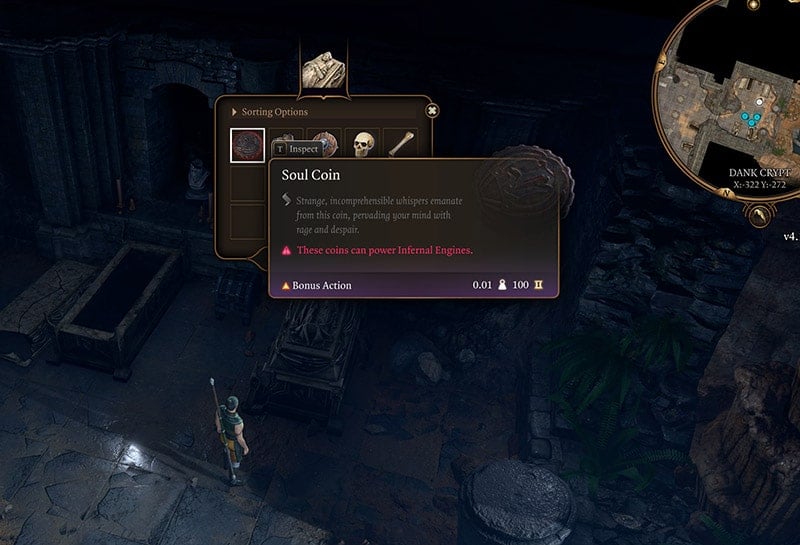
In Dank Crypt, the above Sarcophagus contains an uncommon weapon and an engraved key. Open it will trigger the traps. However, you can disarm them or place some objects like vase or crates above these vents to prevent them from producing unfavorable terrain. There is also a Soul Coin in this part of the crypt, inside one of the sarcophagus.
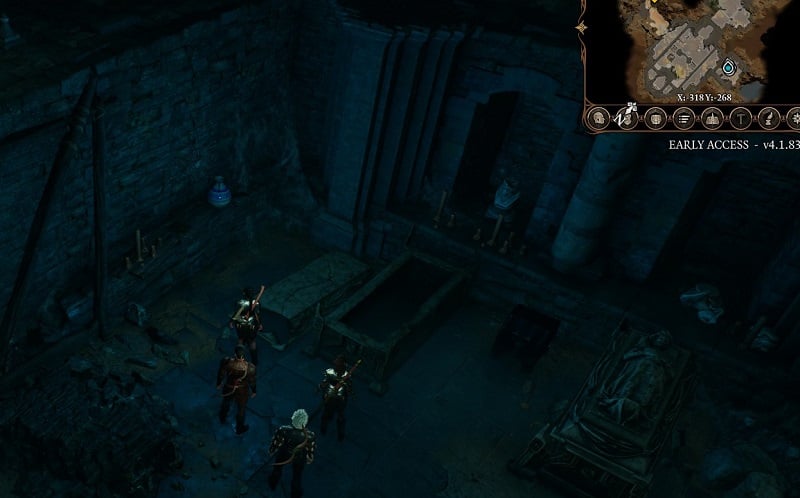
On the other side of the sarcophagus, in one of the rooms, there's a chained book called Book of Dead Gods. If you managed to open it by pass strength, dexterity, or intelligence checks, you get some scrolls. Succeeding in the religion check will reveal more information about this crypt.
There is another Soul Coin in the sarcophagus. (X322, Y272)
Now make your team combat-ready, once you found the pressed the hidden button at the left corridor, all the dead scribes will rise to fight you. (You can't attack these scribes before they rise, but you can disarm them before pressing the button) After putting them down, you can find a very rare amulet in the hidden room, along with a hooded undead, who claims to be the caretaker of this place. Lucky for you, he does not wish to fight, so loot the area and leave.
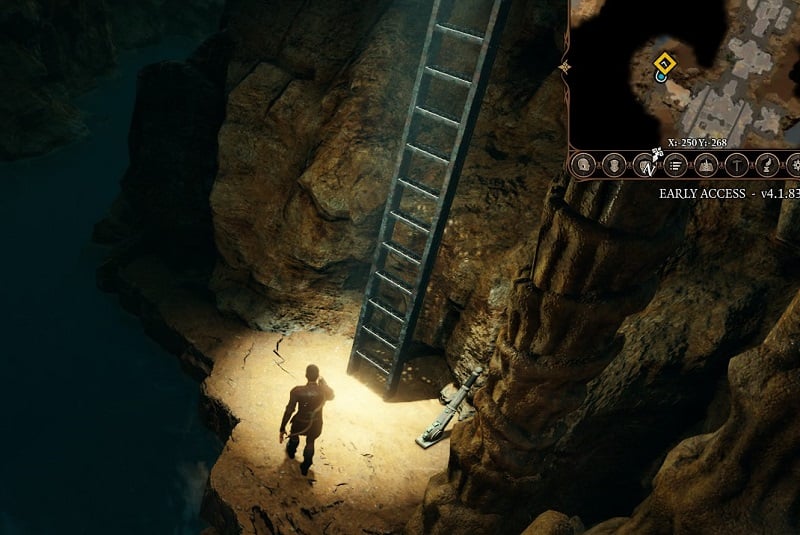
(You can leave this ruin using the ladder)
That Hooded Skeleton will later show up in your camp. He provides resurrection service, Hirelings and character respec.
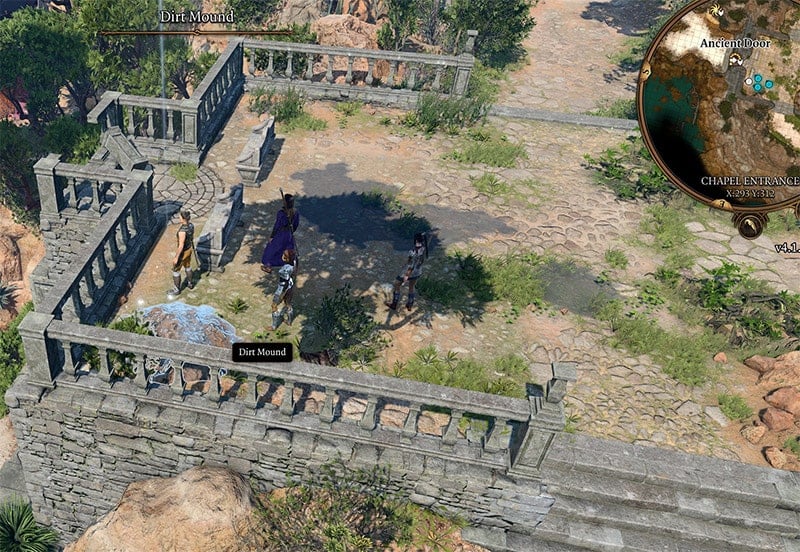
There are 2 Dirt Mounds at Chapel Entrance containing scrolls and other loot. Pass the survival check to reveal them.

How to unlock Explore the Ruins
Explore the Ruins Rewards
- Rewards
Background Objectives
The following background objectives can be completed during this Quest:
- There's a soul coin in the ruins. If you acquire a Soul Coin for your personal collection, you will complete a Noble objective called Soul for Sale, you can find a Soul Coin in the puzzle area, near a crypt.
- Unlock and read the Book of Dead Gods. The book of dead gods can be found in the Dank Crypt near the room where you find the Entombed Scribes. You have to pass a Check to open the lock and another check to examine the book closely. If you get both, complete this objective. By doing so you can complete Divinity Undone for the Acolyte and Secrets of the Sundering for the Sage background.
- If you loot the chest located in a small room after fighting the Entombed Scribes, you will find The Amulet of Lost Voices. Loot it to complete The Final Scribe's Boon, for the Acolyte background.
Explore the Ruins Notes & Tips
- Notes & tips go here
 Anonymous
To complete the quest if Withers doesn't show up when you click on the sarcophagus:
Go to camp (button next to "End Turn") on the spot.
Look for him there and talk to him.
Then leave the camp (same button).
Now click on the plaque in front of the sarcophagus. (This will update your quest log)
Go to your camp and talk to Withers once more and click on the new dialogue option.
 Anonymous
Near the sarcophagus on the middle pillar (East side) is a button that disables the traps once activated but I can't remember if this was from a skill check or not. I moved all my but one of my party out of the room and opened the sarcophagus then immediately went to push the button. It seems that one fireball from each gargoyle will still fire but my character only took 3 damage from it, the grease seems to dissipate immediately once the button is pushed so it never ignited.

 Anonymous
The door locked, after i killed everyone and now the door wont unlock... lol. What the hell. I got the key off the body, but it still doesn't work -- wtf.

 Anonymous
the sarcophagus room with the traps (first room you enter if going through the door immediately behind shadowheart) is far simpler than placing things on vents. if you have a rogue (or even if not) and you have the trap disarm toolkit (found on beach somewhere, but don't recall where atm... sorry), just walk around the room with your party. passing perception checks will show you: 3 gargoyle heads on the walls on both sides (total of 6). there's also one I couldn't figure out how to reach, above the caved in area in a room corner. you will also find 6 vents in total. just right click each gargoyle and vent to see the context menu option of DISARM. if you have shadowheart, you can have her cast guidance (her cantrip) to increase your success on the skill check.

 Anonymous
Crappy walk through. I'm already inside the crypt and still the explanations make no sense to me.


Do not use the Throw option on the Entombed Scribes / Warrior, will trigger the fight immediately
0
+10
-1